Here’s a fairly exciting roll! While shooting this, I received two new lenses for my lovely Pentax-K mount camera. First, a 28mm prime lens, which should allow more wide angle compositions. I was personally most excited for this lens, even if the 28mm look is a little different to what the human eye sees. The other lens, a 70-200mm zoom lens, is a real relic. Rather than being a nice twist to zoom, these old zoom lenses are push/pull zooms, which are generally very unstable and lead to “zoom creep” where a subtle slipping of the sliding element can ruin exposures. However, this comes with the territory, and the lenses were very cheap! The other downside of these new lenses; they are not SMC. Super Mutli-Coating was a frankly incredible technique in lens making which massively reduces the refractive losses at each optical interface (glass-to-air or air-to-glass). Considering these lenses might have a dozen interfaces, loosing even a little light each time can massively reduce the total light reaching the sensor / film. SMC makes for “faster” lenses, and hence are more sought after. The new lenses are not SMC, but they are by no means unusable.
The second half of this roll is a lot of experimentation in using these new lens and include several duplicated frames in which the only variable is the lens used. I learned a lot from this, which hopefully you will appreciate below! This roll was also another foray into the Ilford Delta series, this time Delta 400 rather than Delta 3200. I personally love this look — the tabular grain is so beautifully smooth it’s almost difficult to go back to HP5+. Furthermore, as mentioned in the last Delta roll, tabular grain typically pushes a bit better, so maybe we could take this roll to ISO 800 or even 1600 with nice results? Is the additional 5 NZD per roll worth it? I suppose we will see.
Camera: Ricoh KR-10 Super
Lens:
Film: Ilford Delta 400 Professional
Post Processing: GIMP

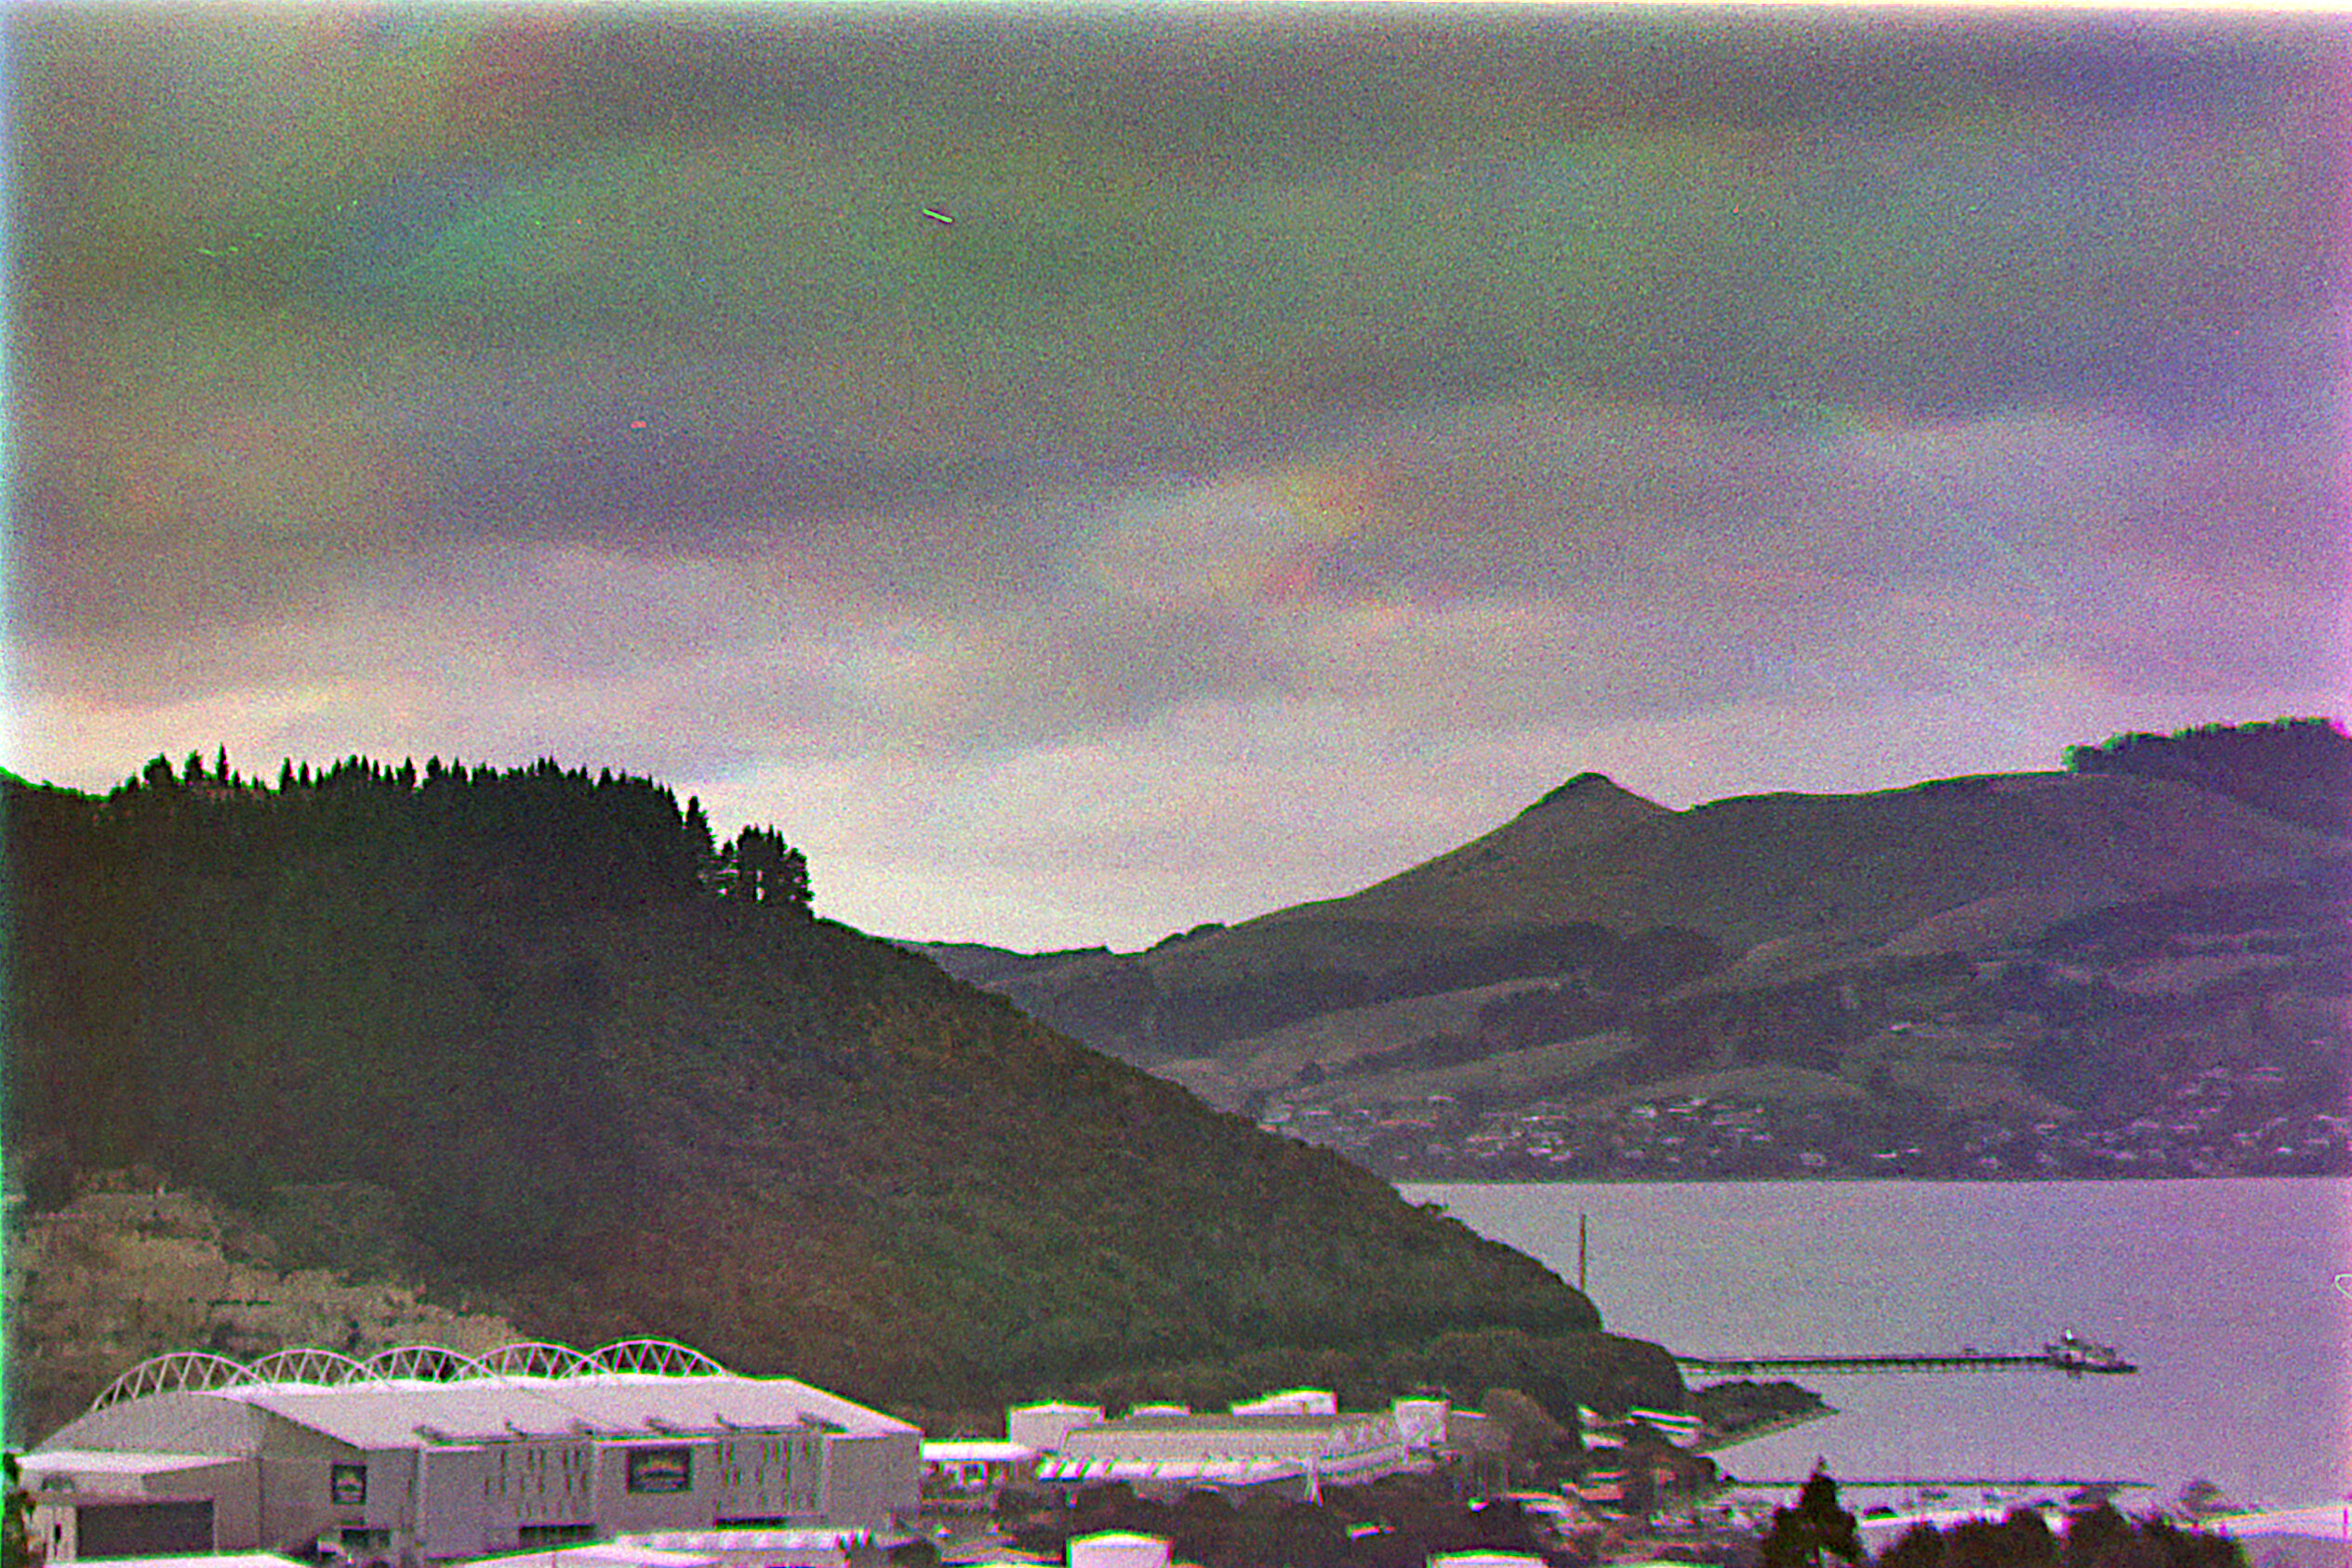
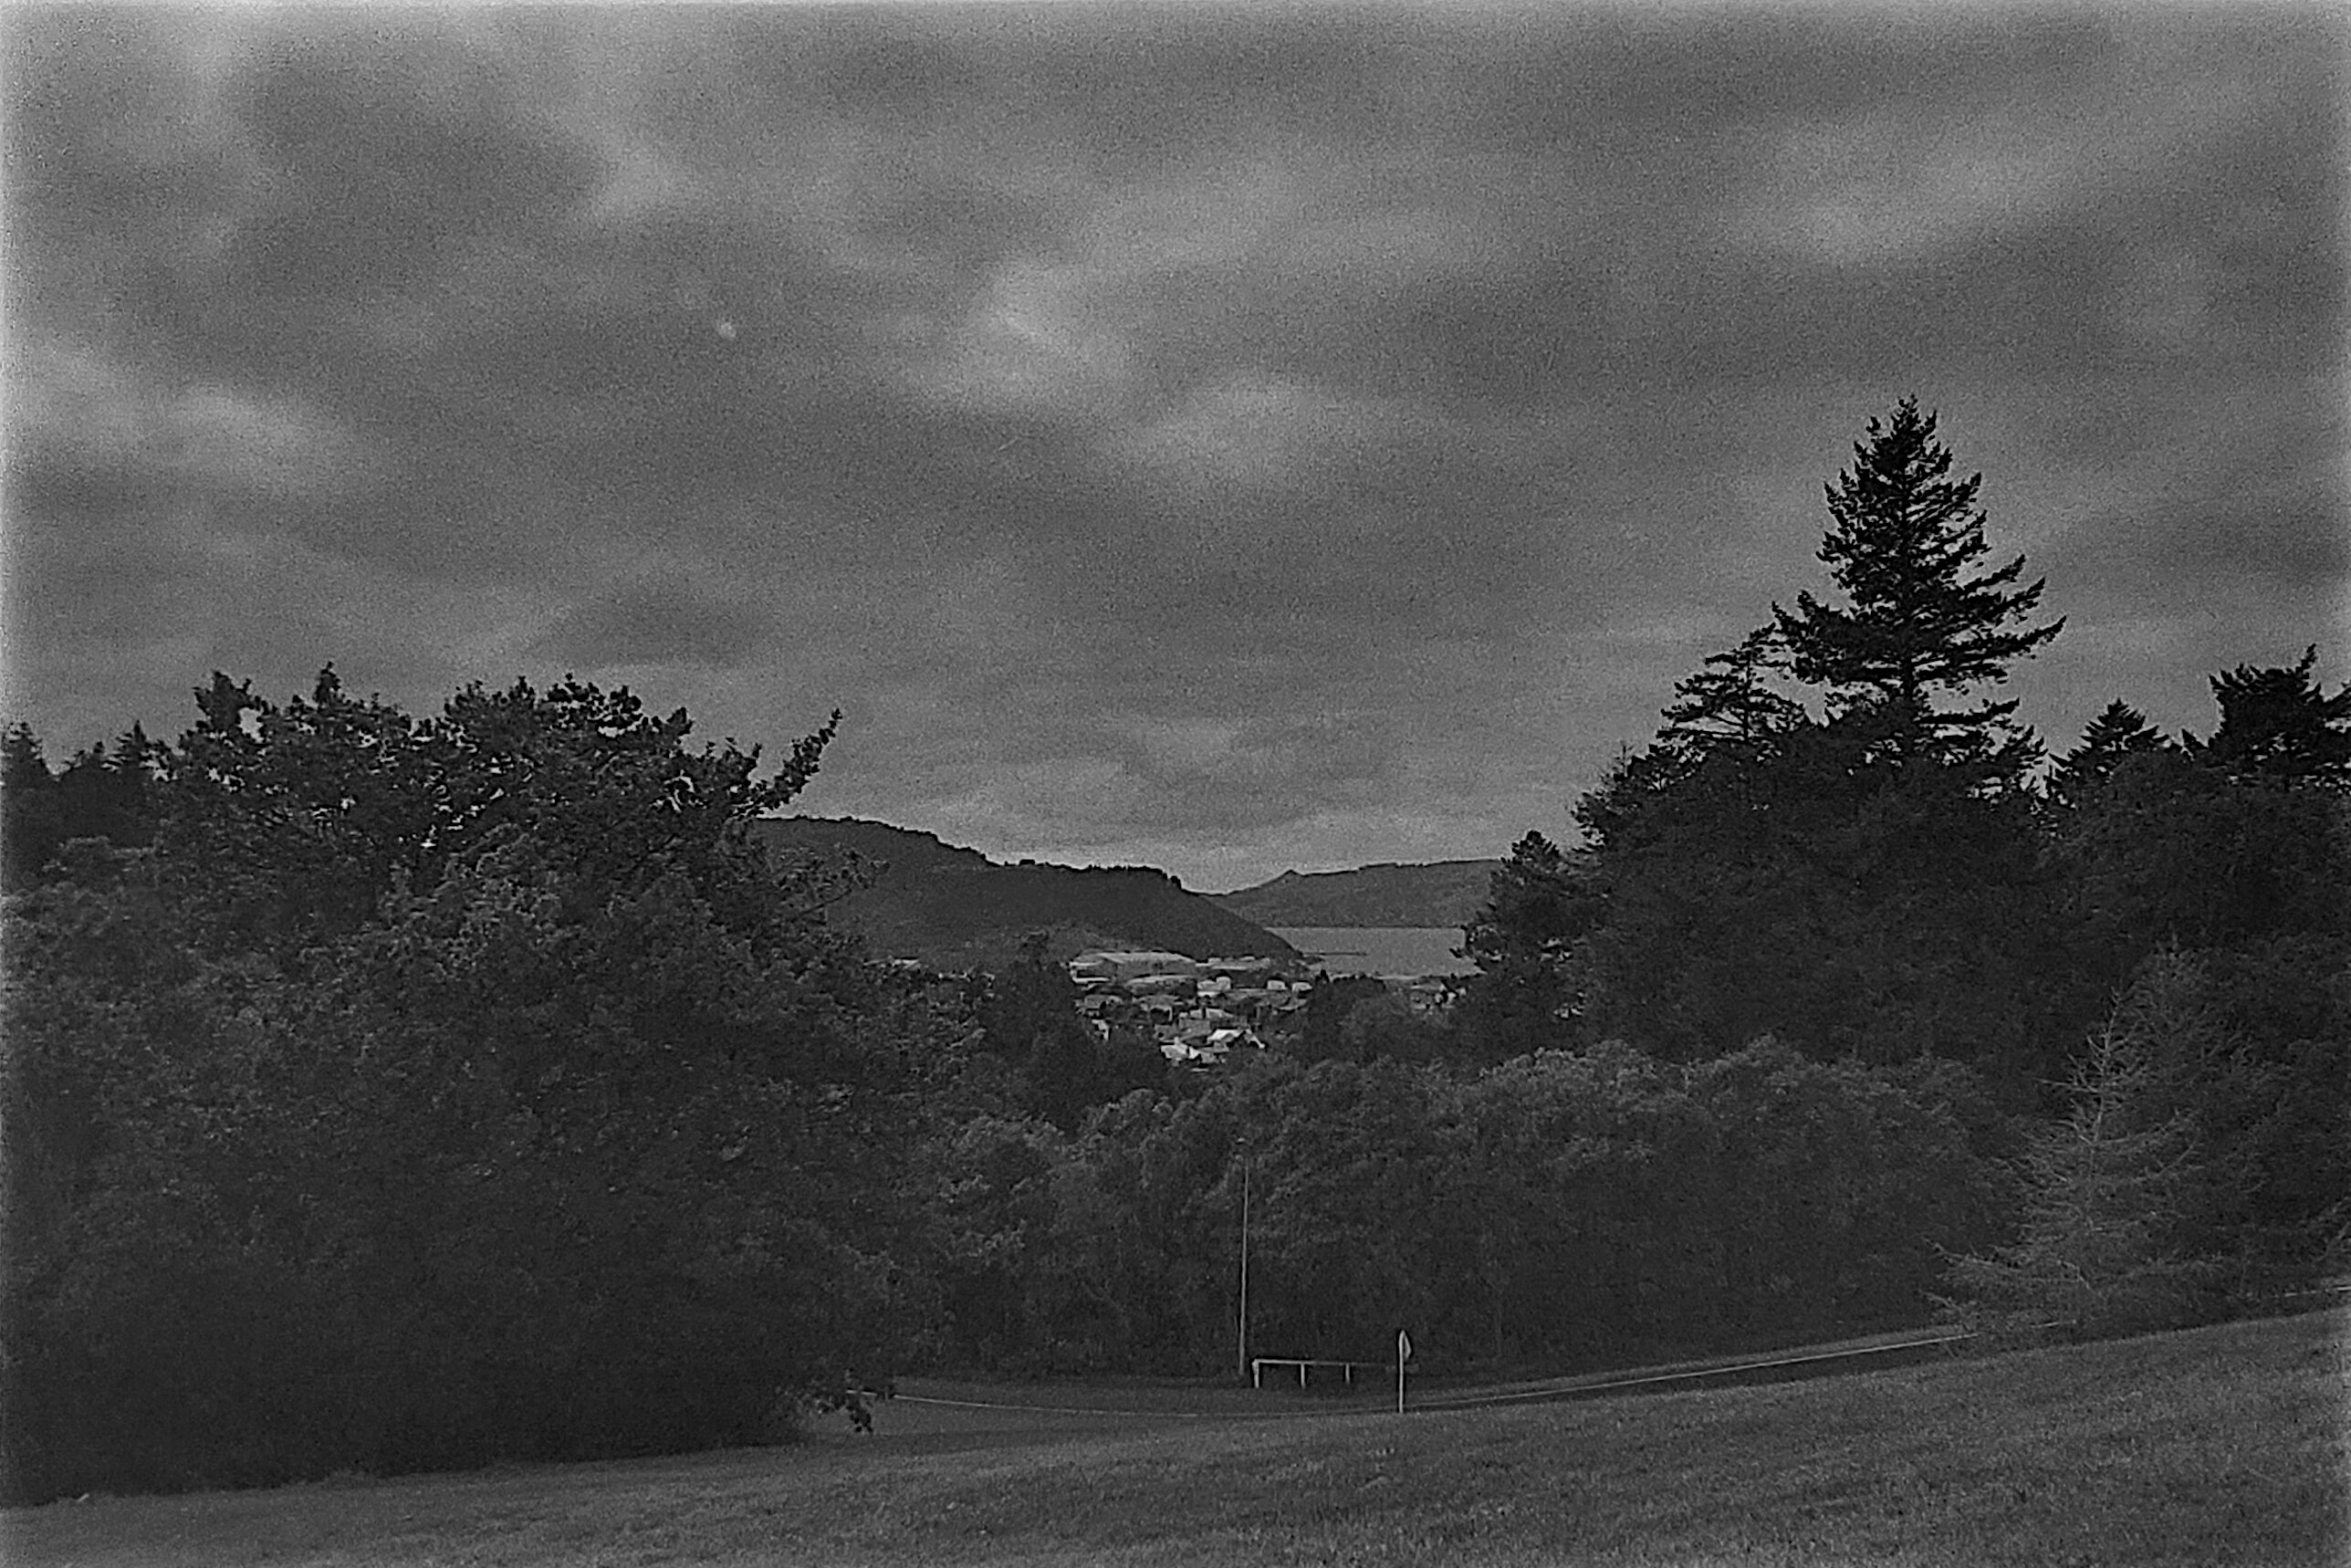
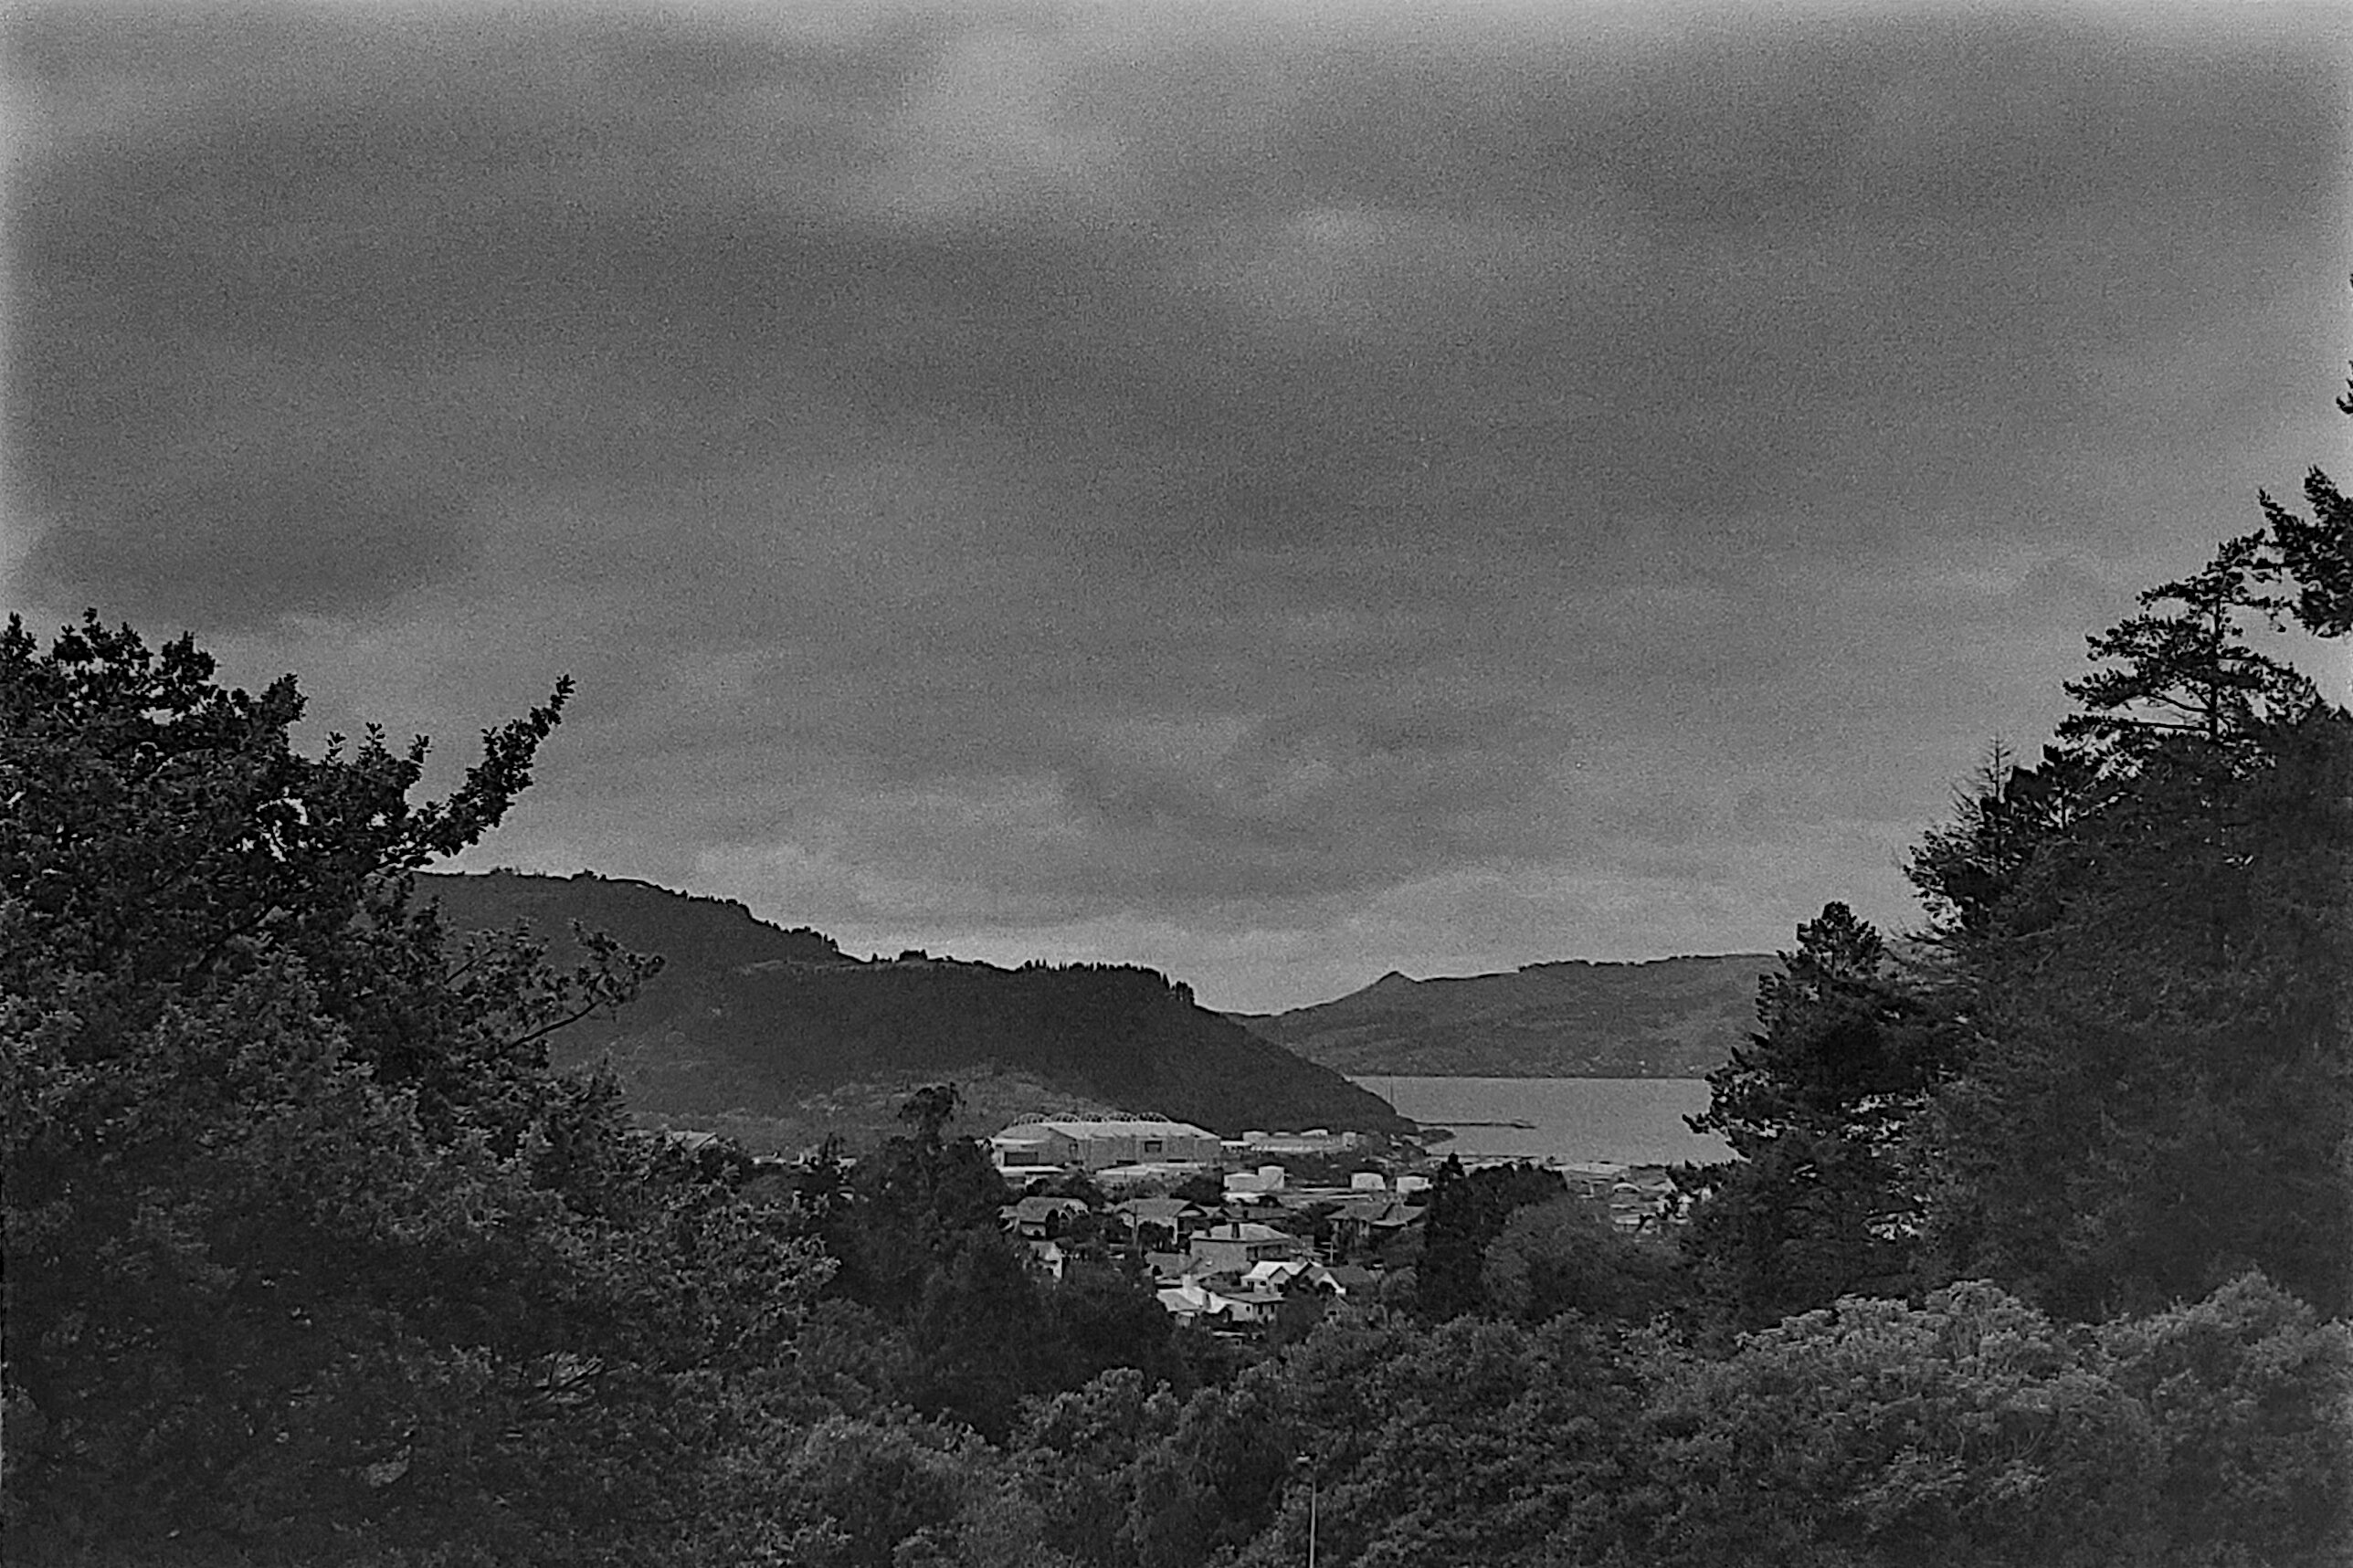
This landscape was taken with a 200mm lens, from a park bench that Google Maps labels the “bench with a great view”. In my opinion, the view is fine but not deserving of the moniker of “great”. Still, after this photograph, maybe I could come around to it.
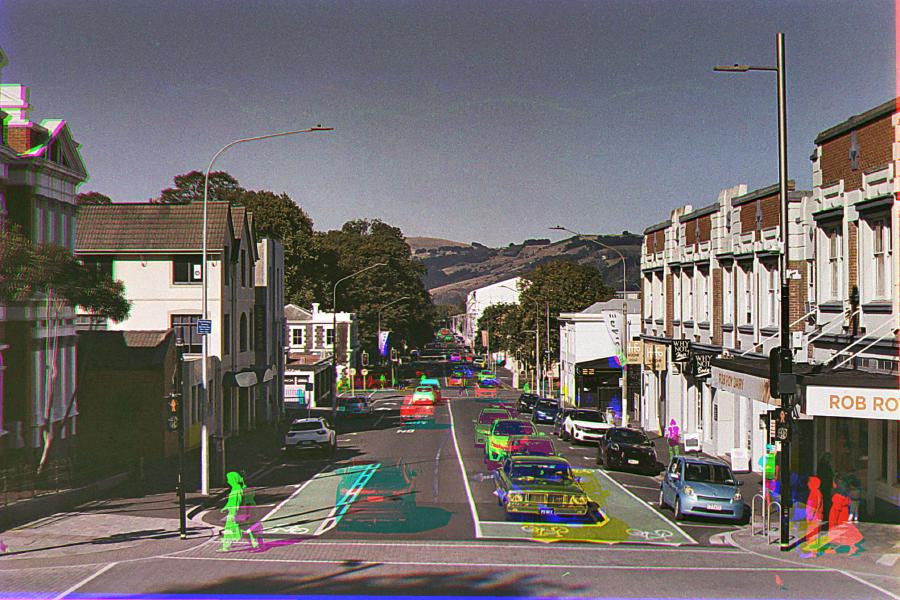
In this trichrome I specifically wanted to have a collection of static elements (the buildings and trees) and kinetic elements (people and cars) that will leave ghostly trails in the various color channels. Technically, I achieved this. However, I would prefer that the ghosts were more separated, e.g. having traffic only in the red channel rather than the red and blue. That would require far more patience as well as some serious luck! I’m happy with this first attempt. 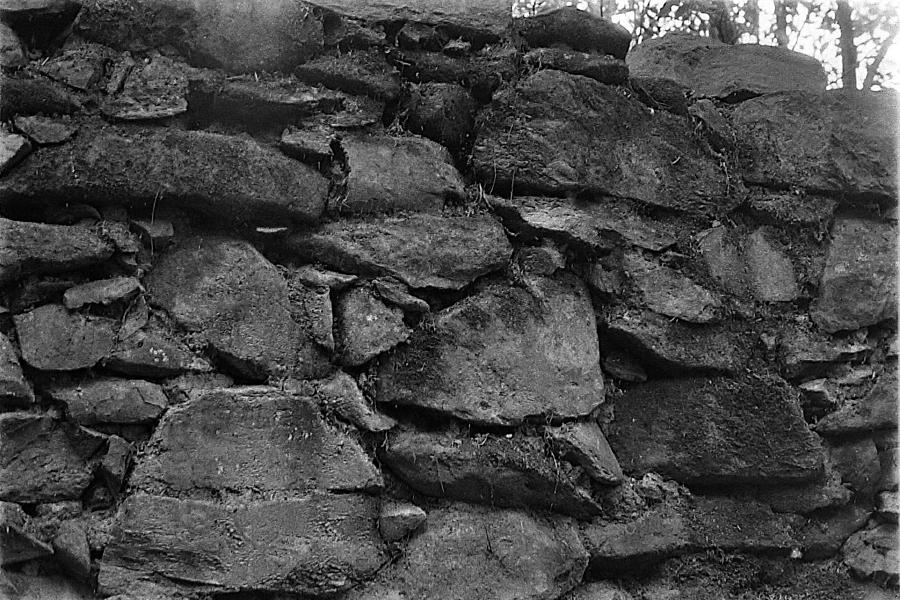
Starting off where we left the last roll, this is a close up of the rock walls of Little Ruin. I liked the moss and lichen, and wanted some nice contrast. I think I got it, although it took me a few frames. 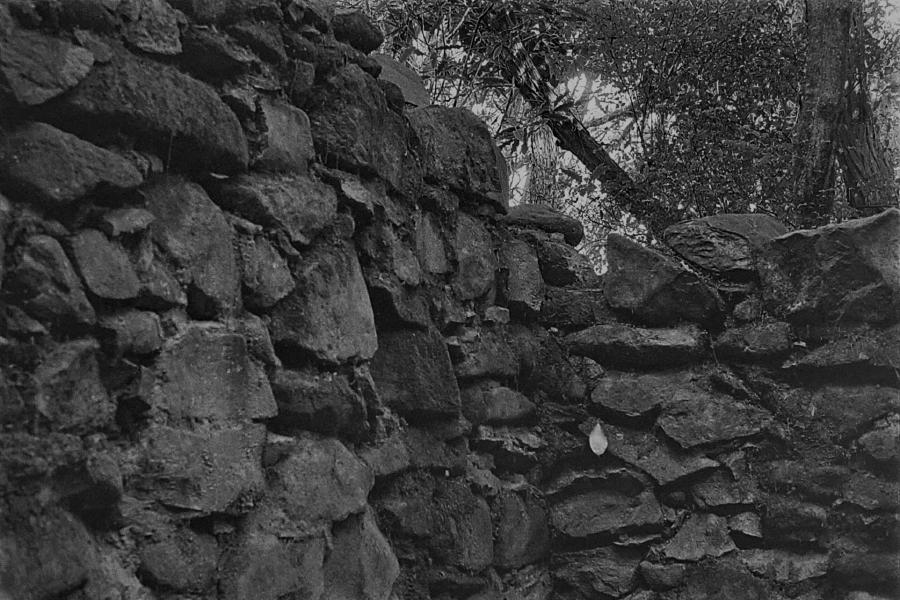
Something about Little Ruin just entranced me! I must have spent about five dollars in film just on this pile of rocks. 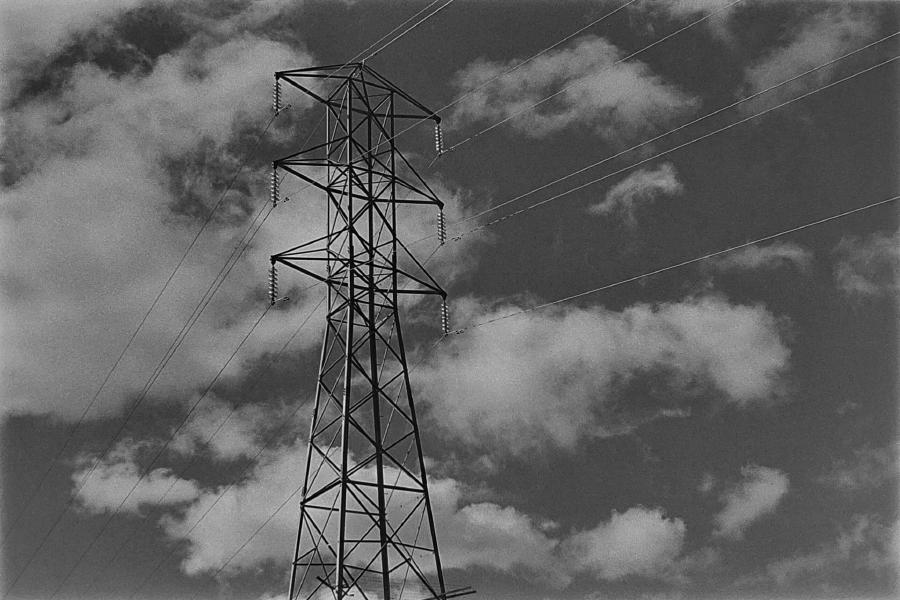
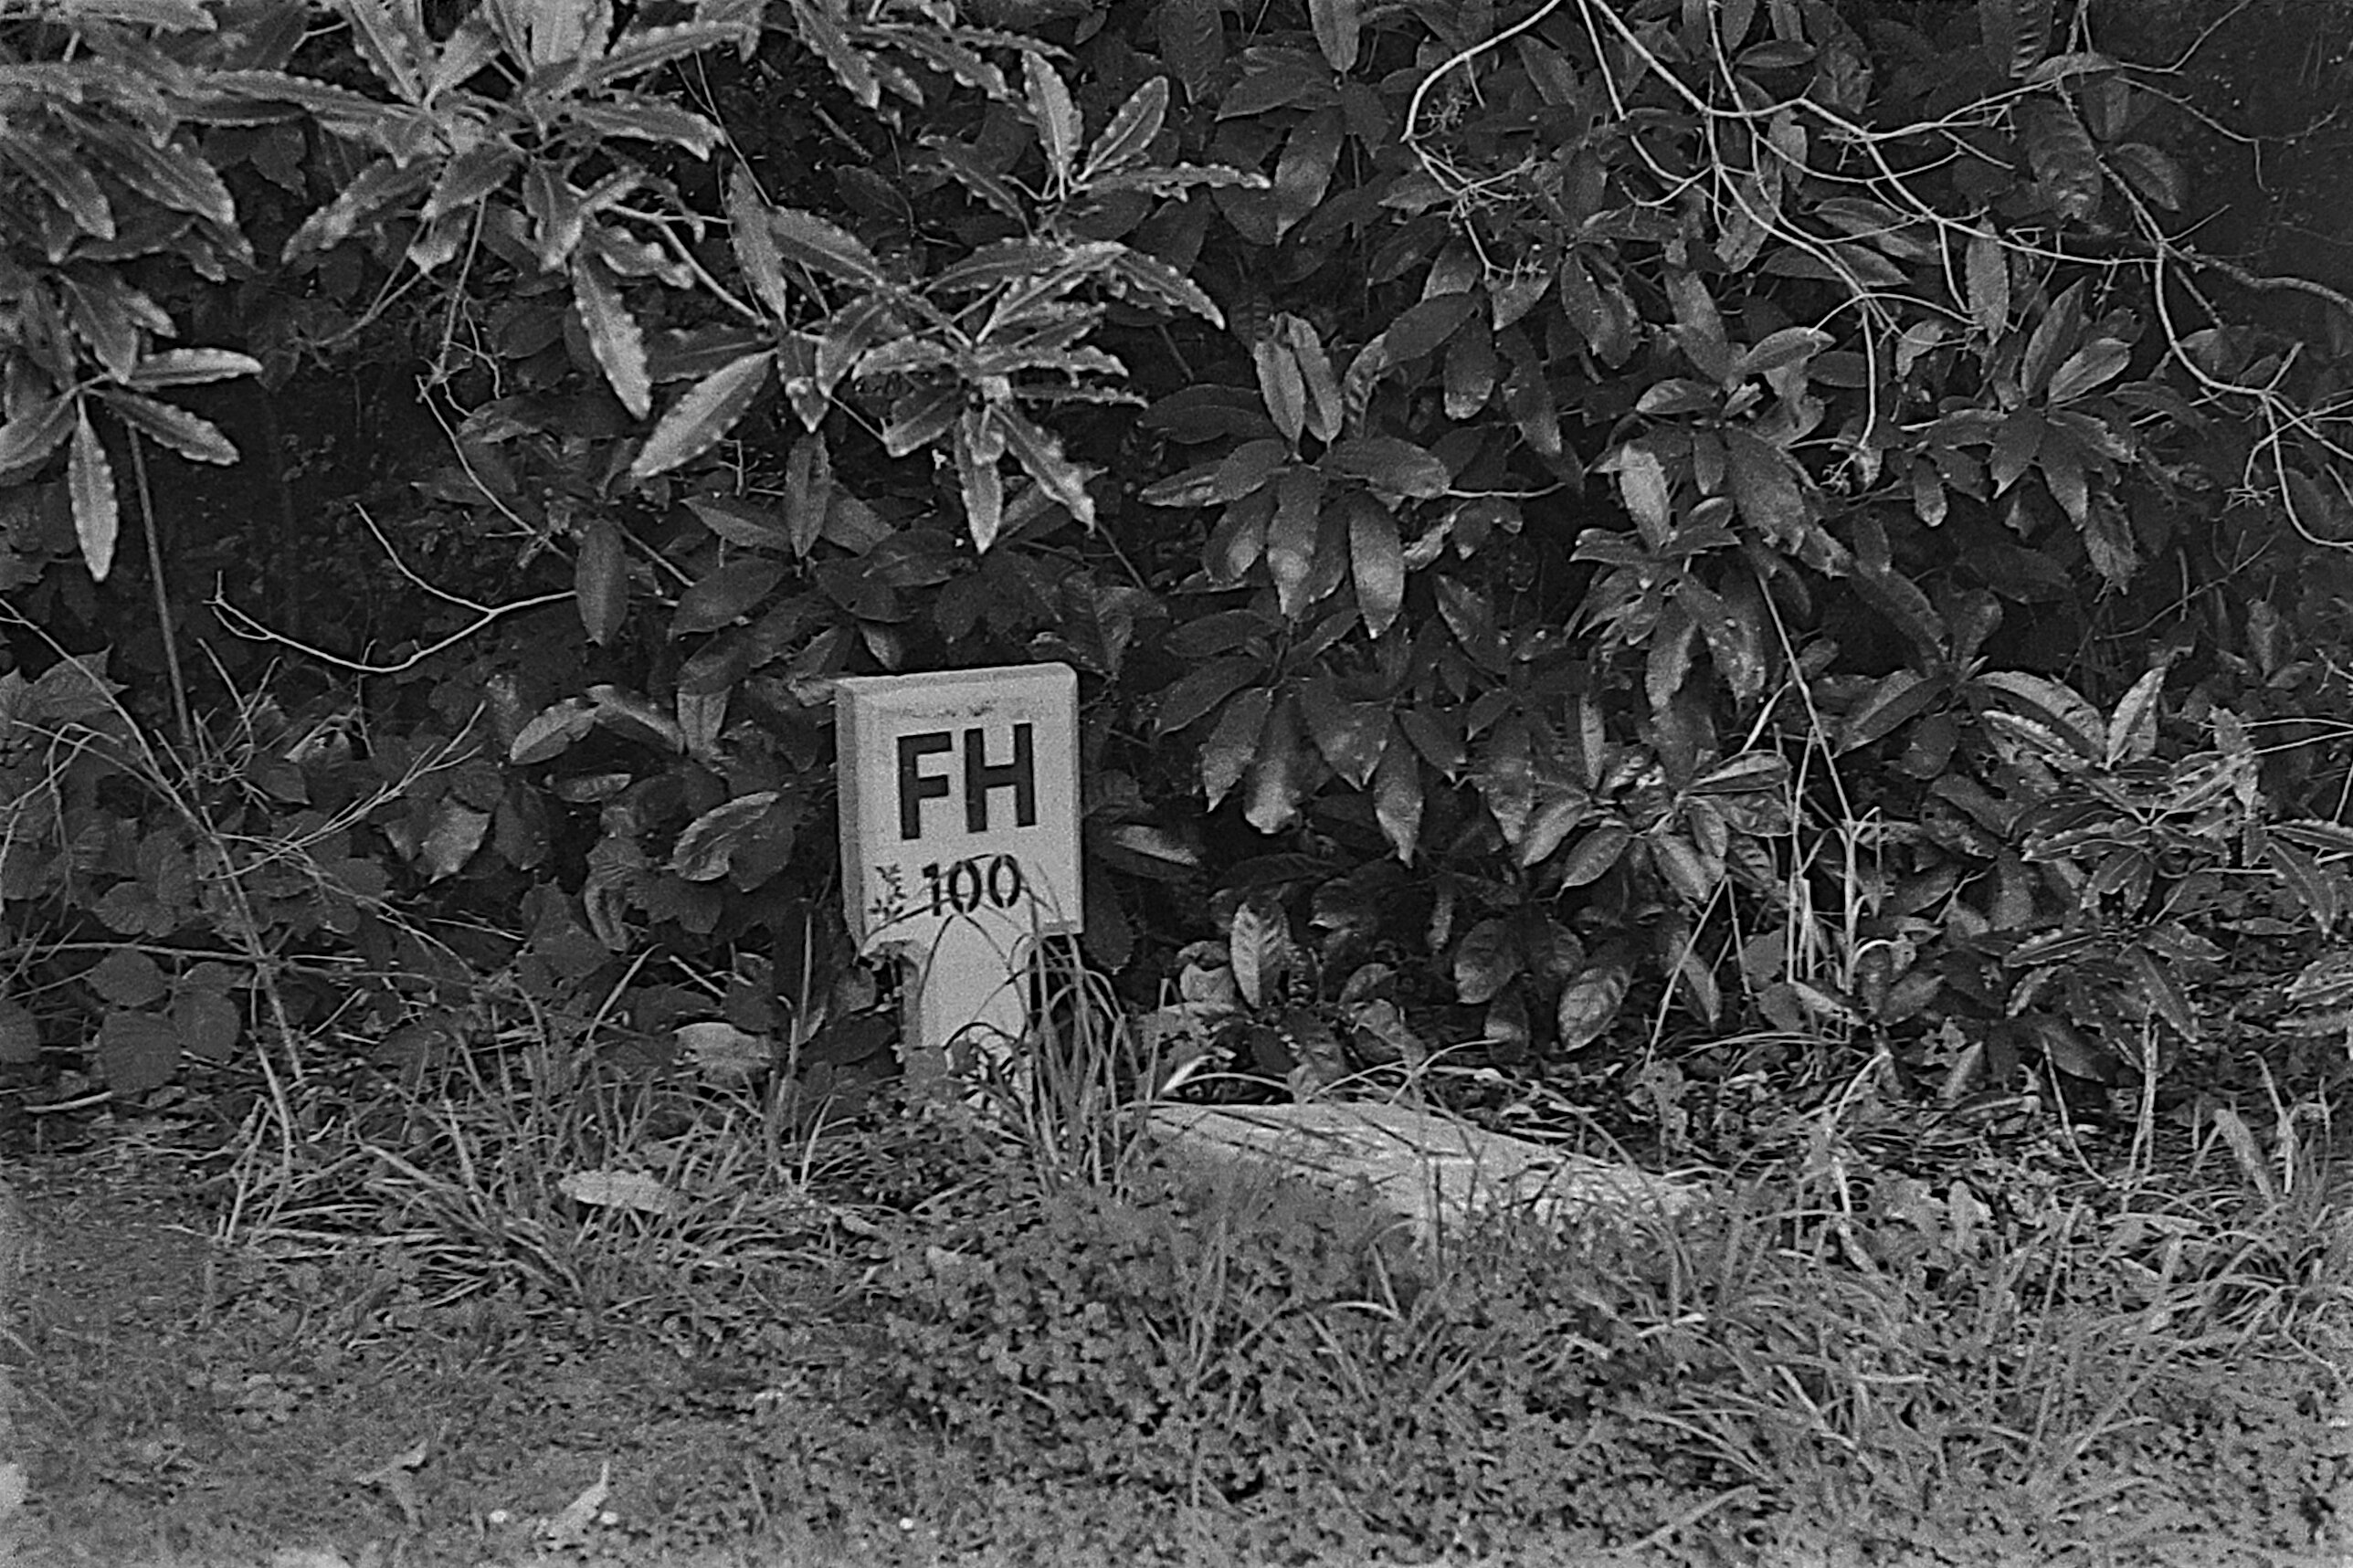
Moving on from Little Ruin, we walked up to Craigieburn reserve. Here’s a nice pylon with, drum roll, a high contrast sky! Using the red filter trick gives some lovely results. However, as I found later in this roll, I think I would prefer something between raw-skies and red-filter-skies… so perhaps I will order an orange and a yellow filter next time I succumb to purchasing photography equipment. 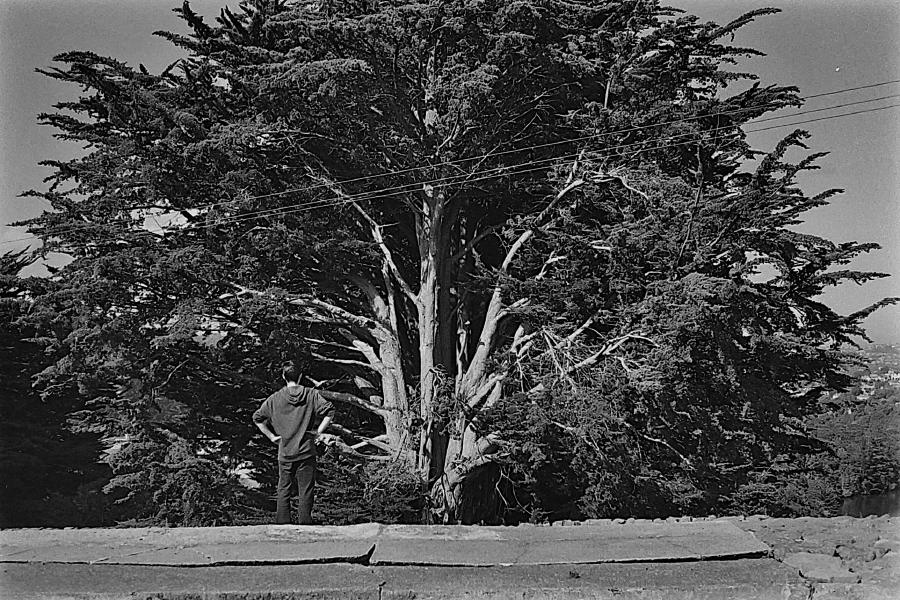
Friend! We spoke legends of a set of swings somewhere at Ross Creek Reservoir; lo and behold we found it! This ancient tree held the swings we sought, which was a nice surprise. 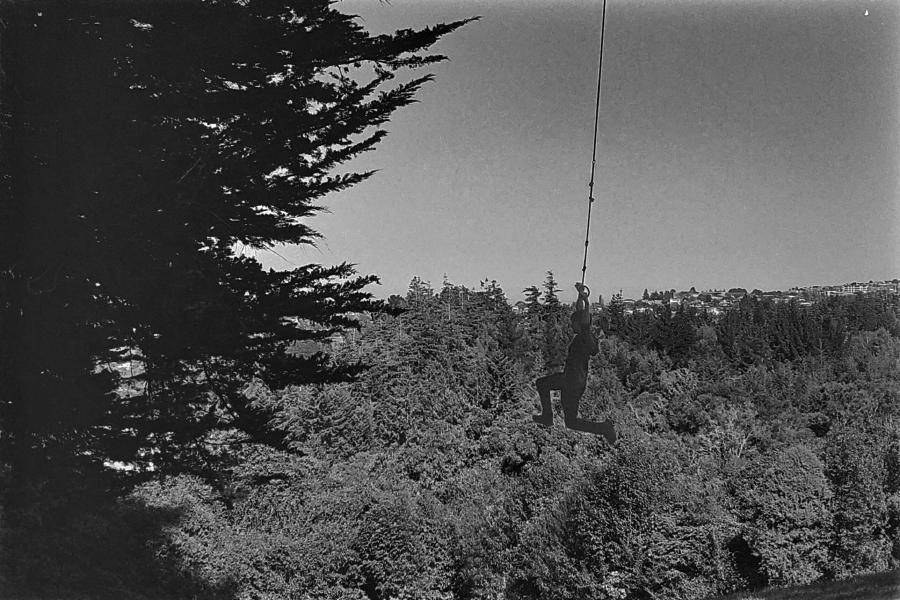
I spent some extra time editing this exposure. I’ve found that humans tend to occupy the same luminosity as other objects in a scene. Trying to draw detail from a person will also affect other aspects of the scene, and separating the two can be tough. Here, my friend was the same luminosity as the tree to the left. I wanted the tree to remain dark, to give context to the shadows in the scene, but I wanted the detail on the person. This required isolating the two and editing separately without making it super obvious. 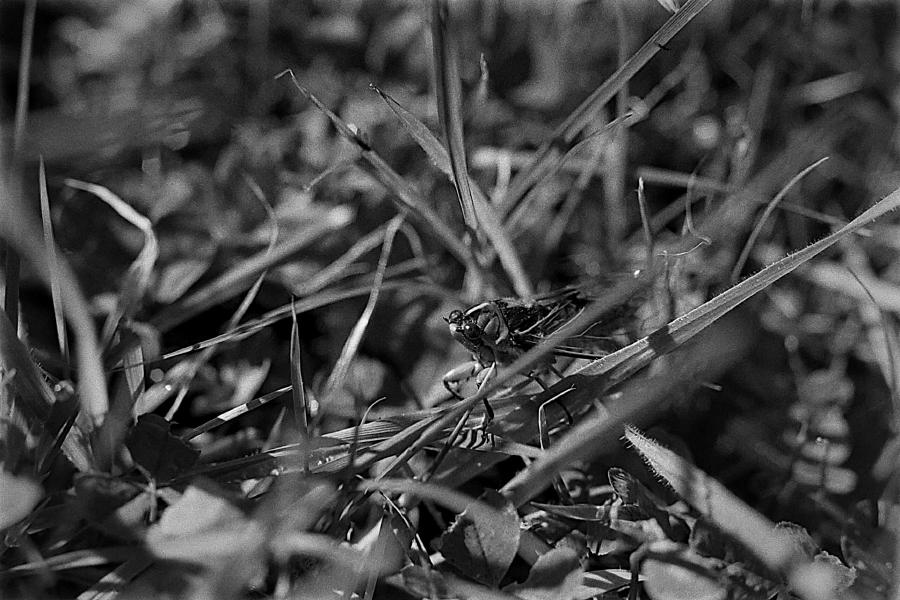
Macro extension tube! Here’s a cicada, and I was tremendously happy that I got the right focal plane and exposure here. 
This exposure, on the other hand, was probably a little too low-light for a hand held photo. Oh well, it’s only a little blurry. 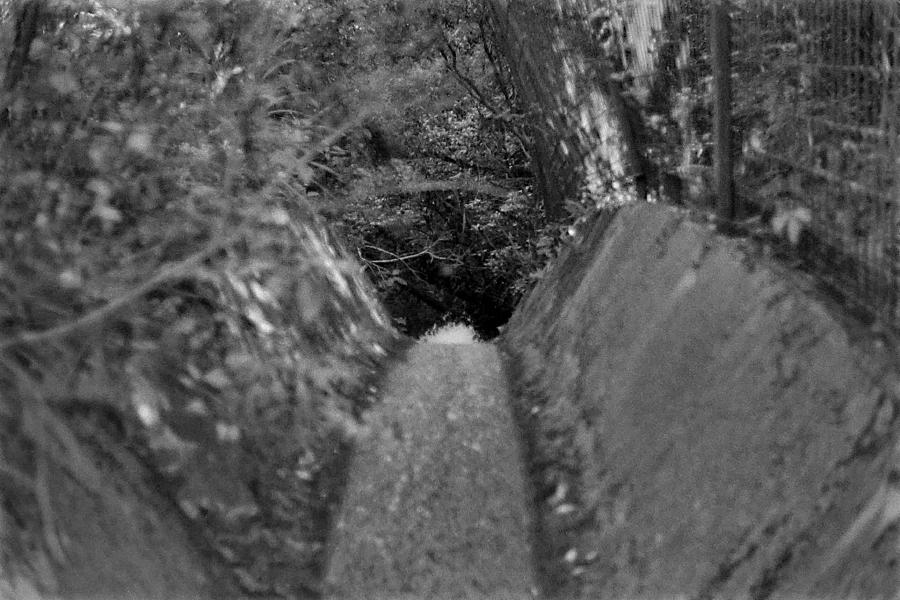
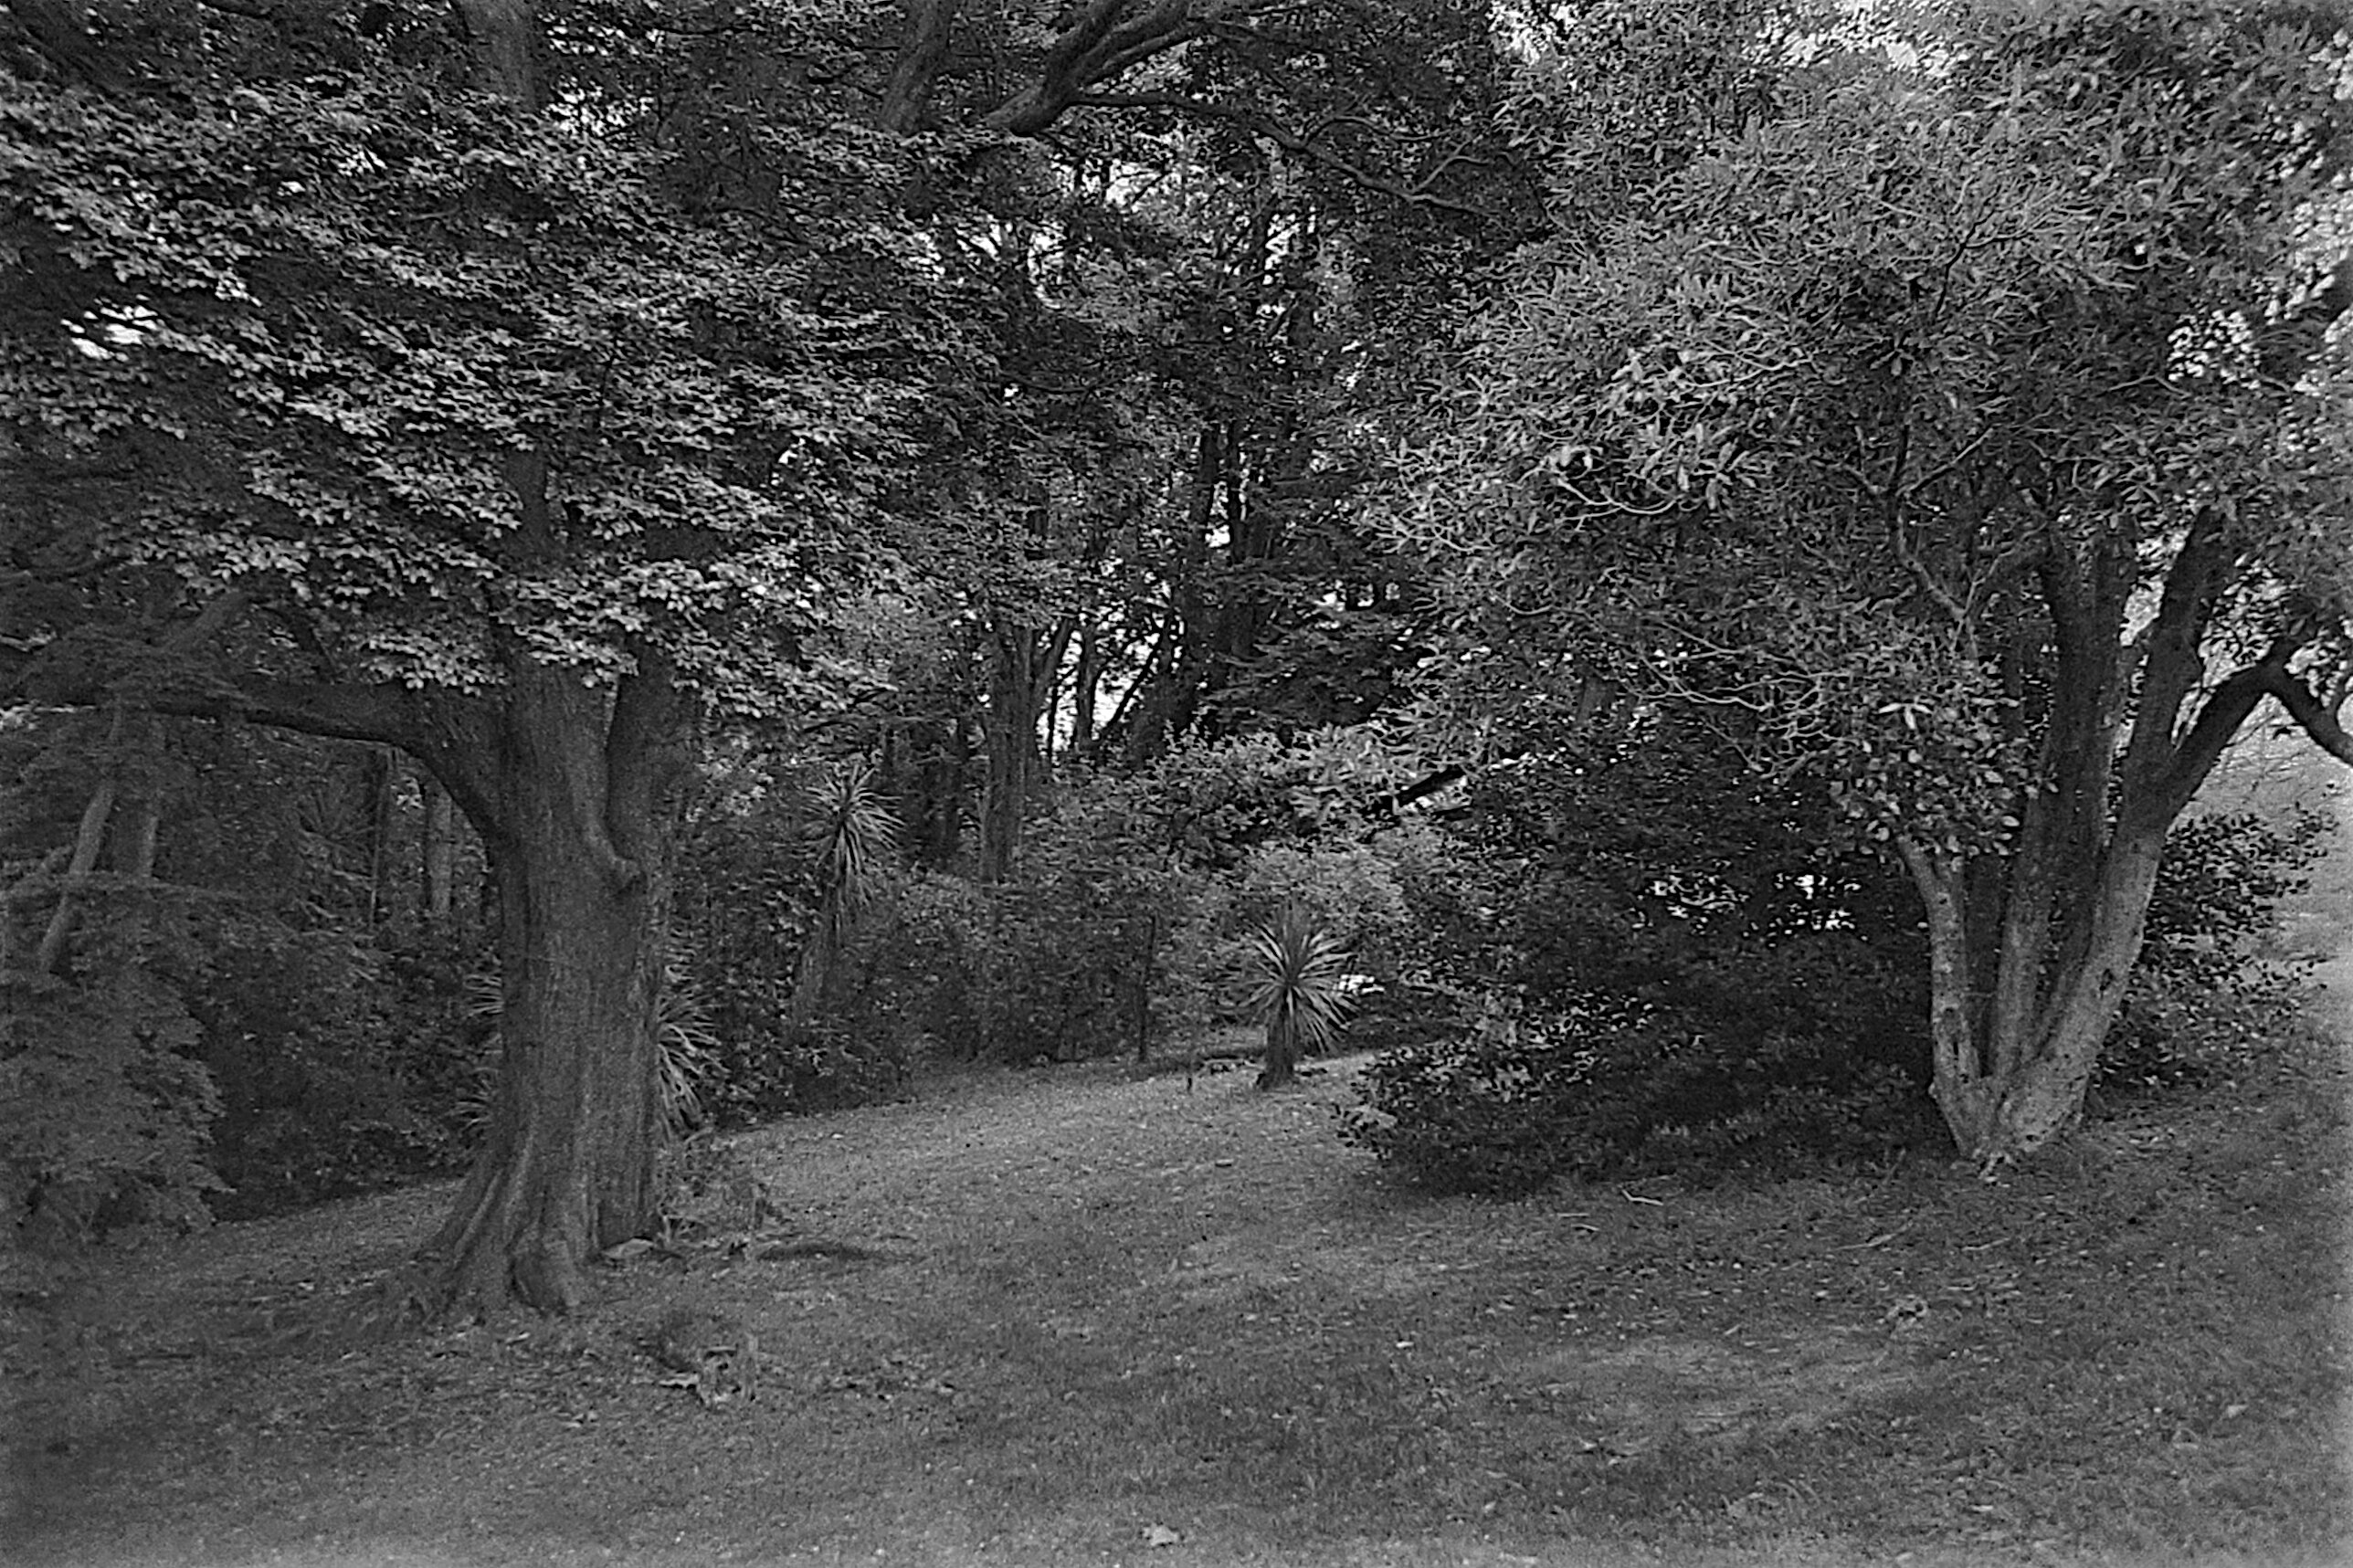
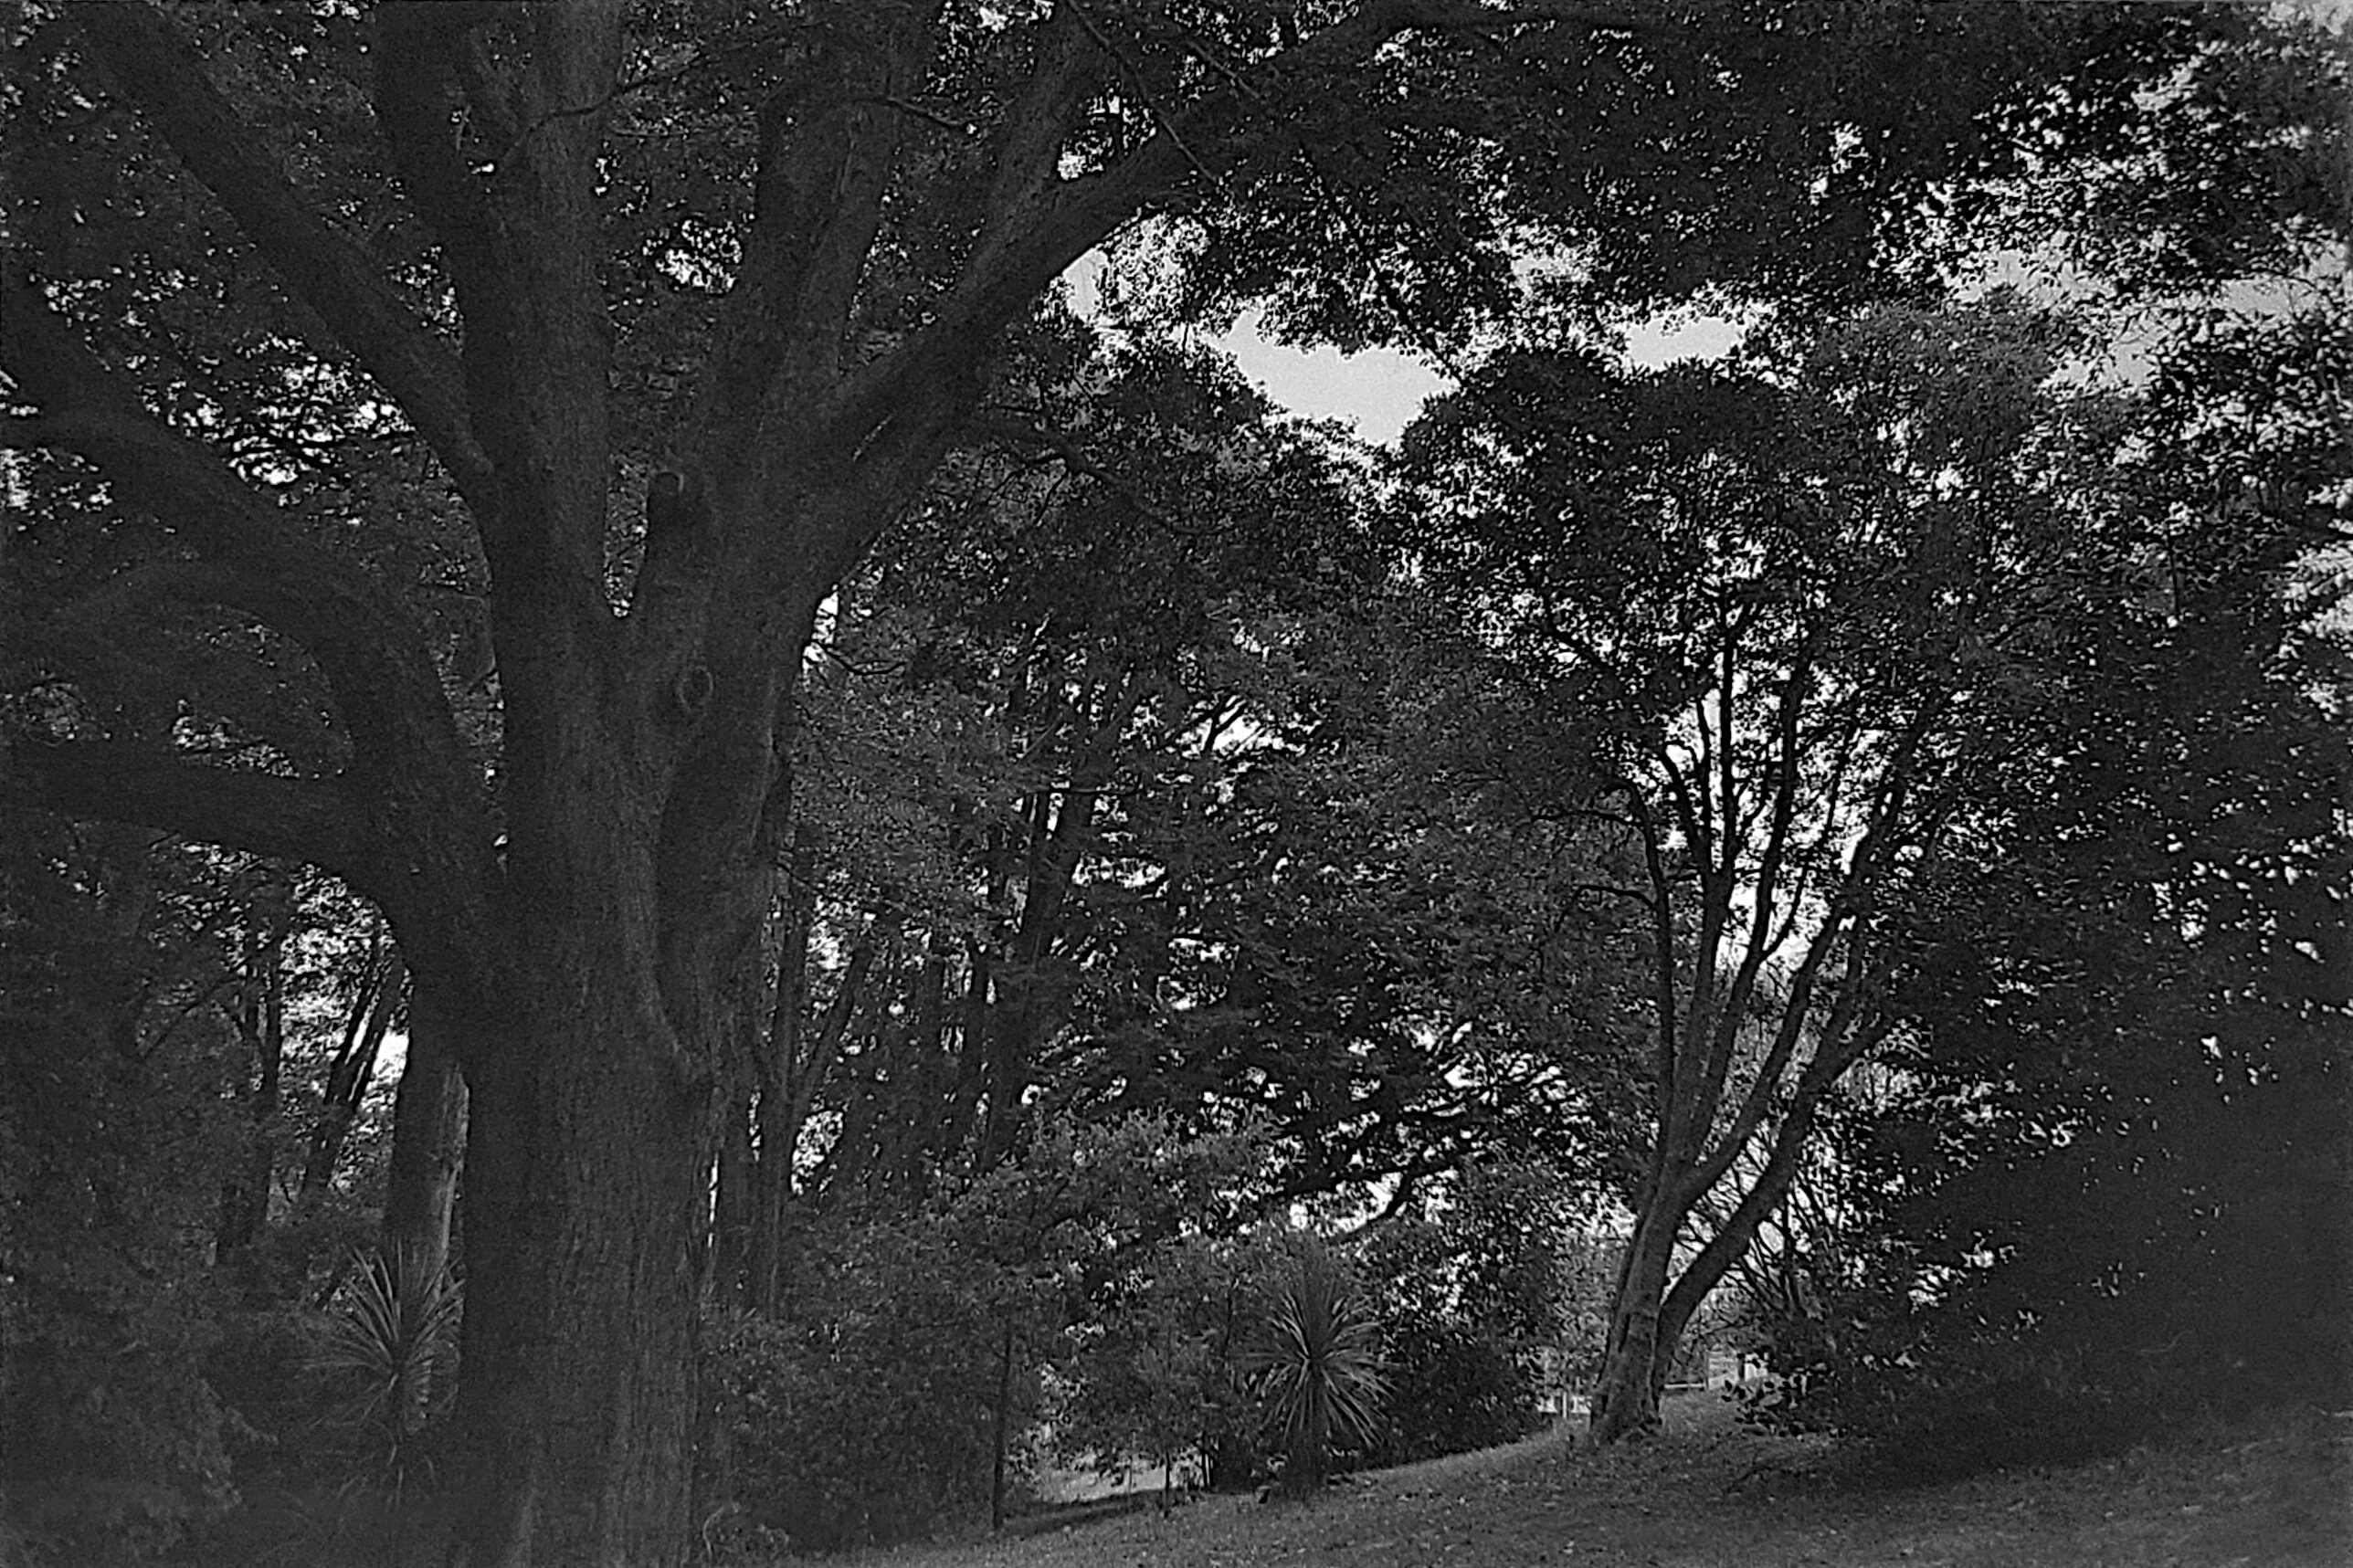
Many of the creeks and gullies in this roll suffered from lots of tree cover, leading to some less-than-stellar results. Here I would have liked to have a faster shutter and a smaller aperture, but had to compromise on both. 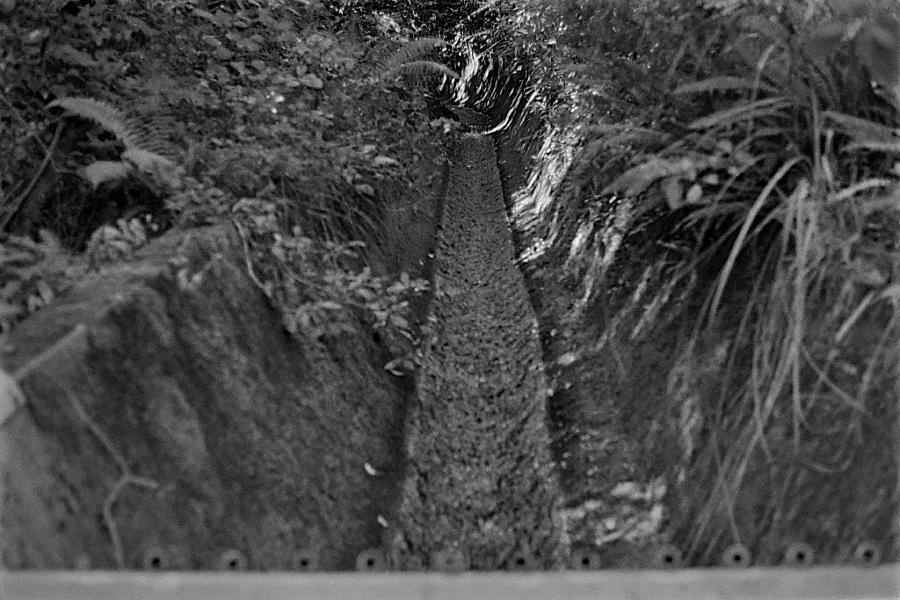
This side of the gully had a little more light on it, so we got to speed up the shutter a little. The aperture is still wide open, though, so the foreground is too out-of-focus for my liking. 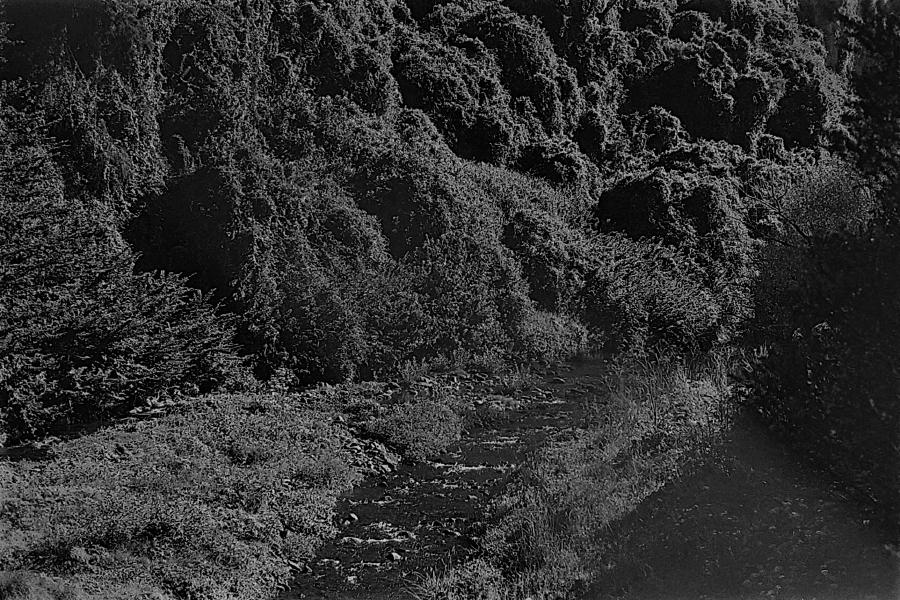
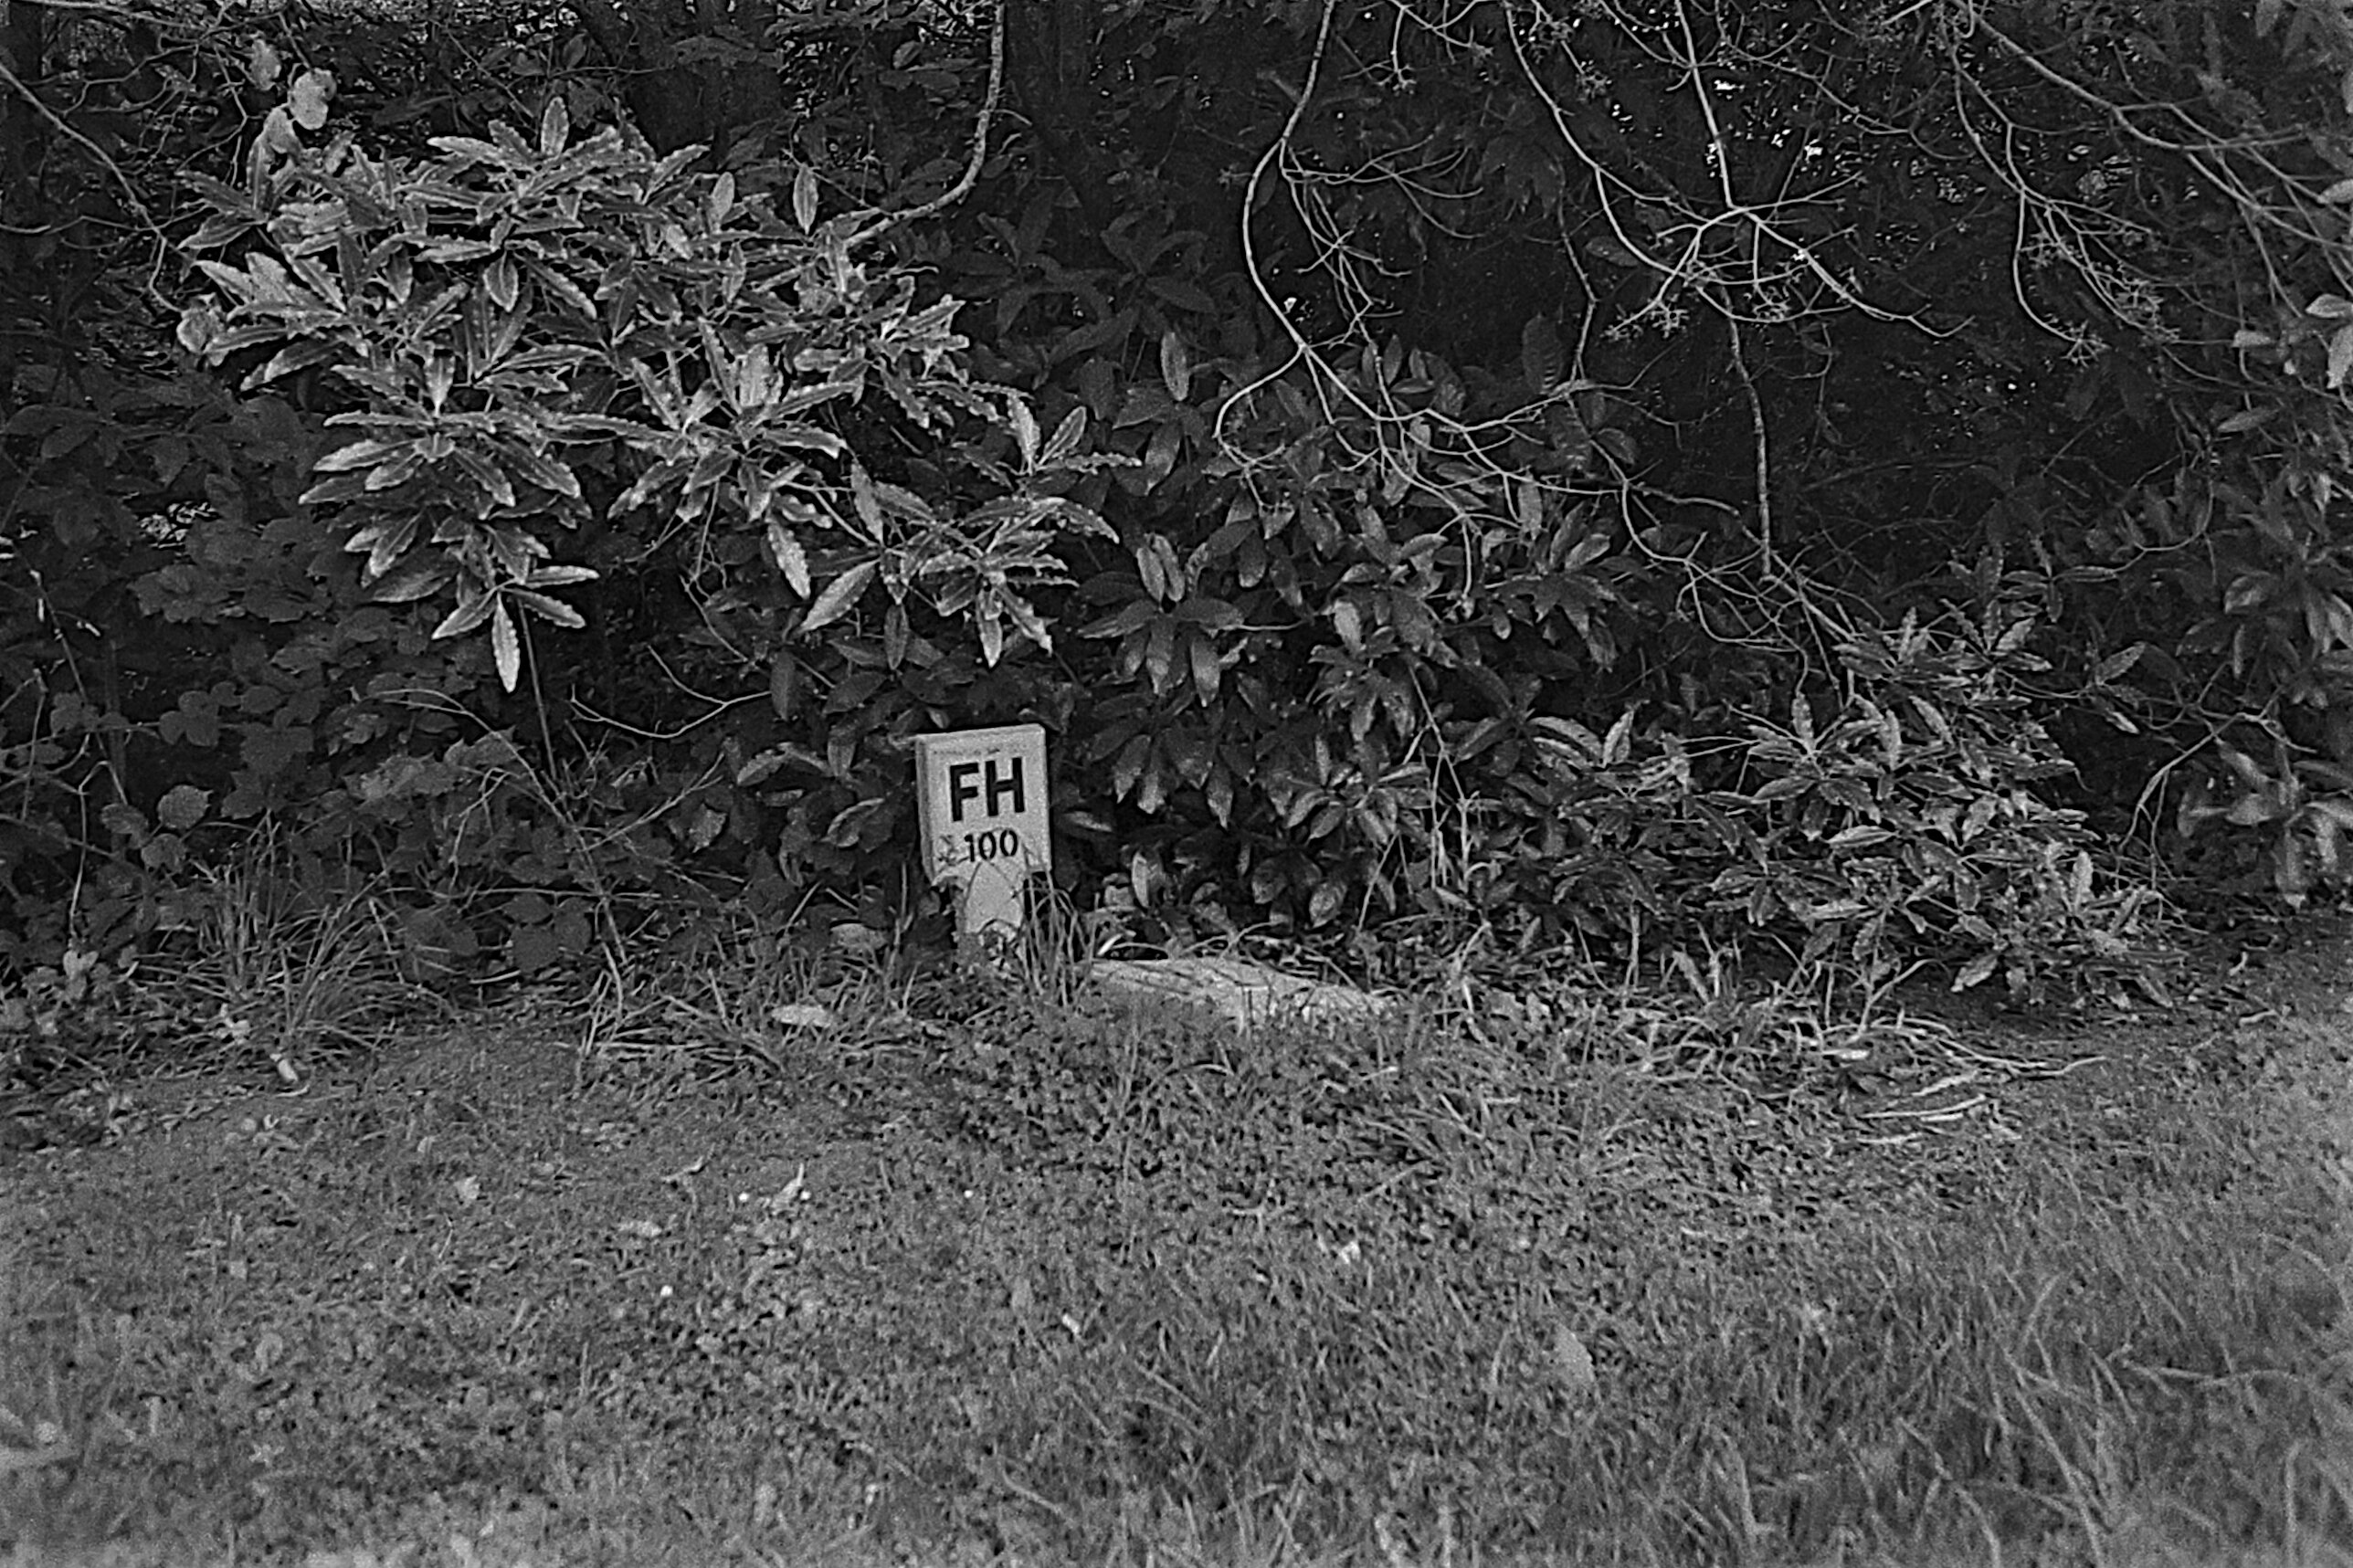
This composition would have been a lovely trichrome, but I like the current composition too. Not sure what caused the odd light patch at the bottom right… hopefully not a light leak in the camera! 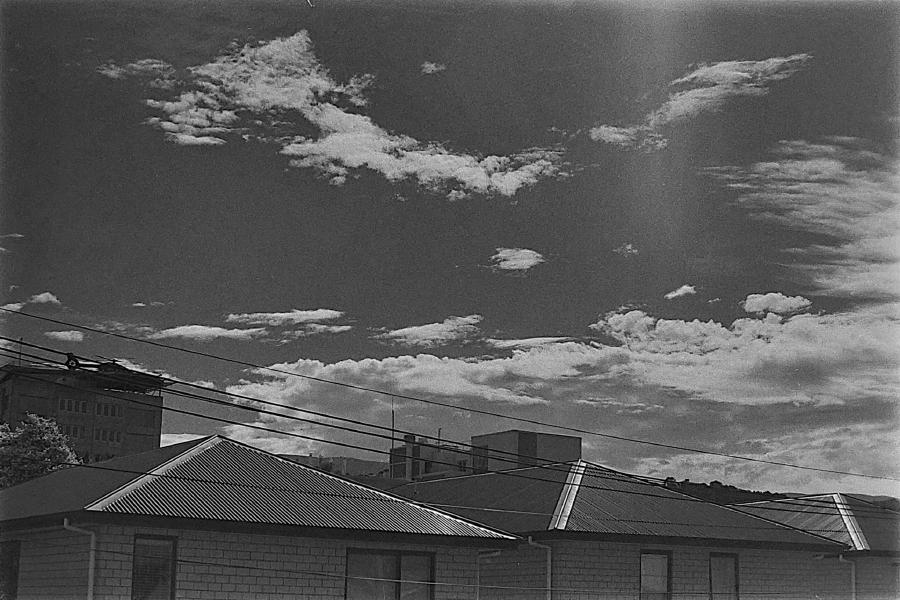
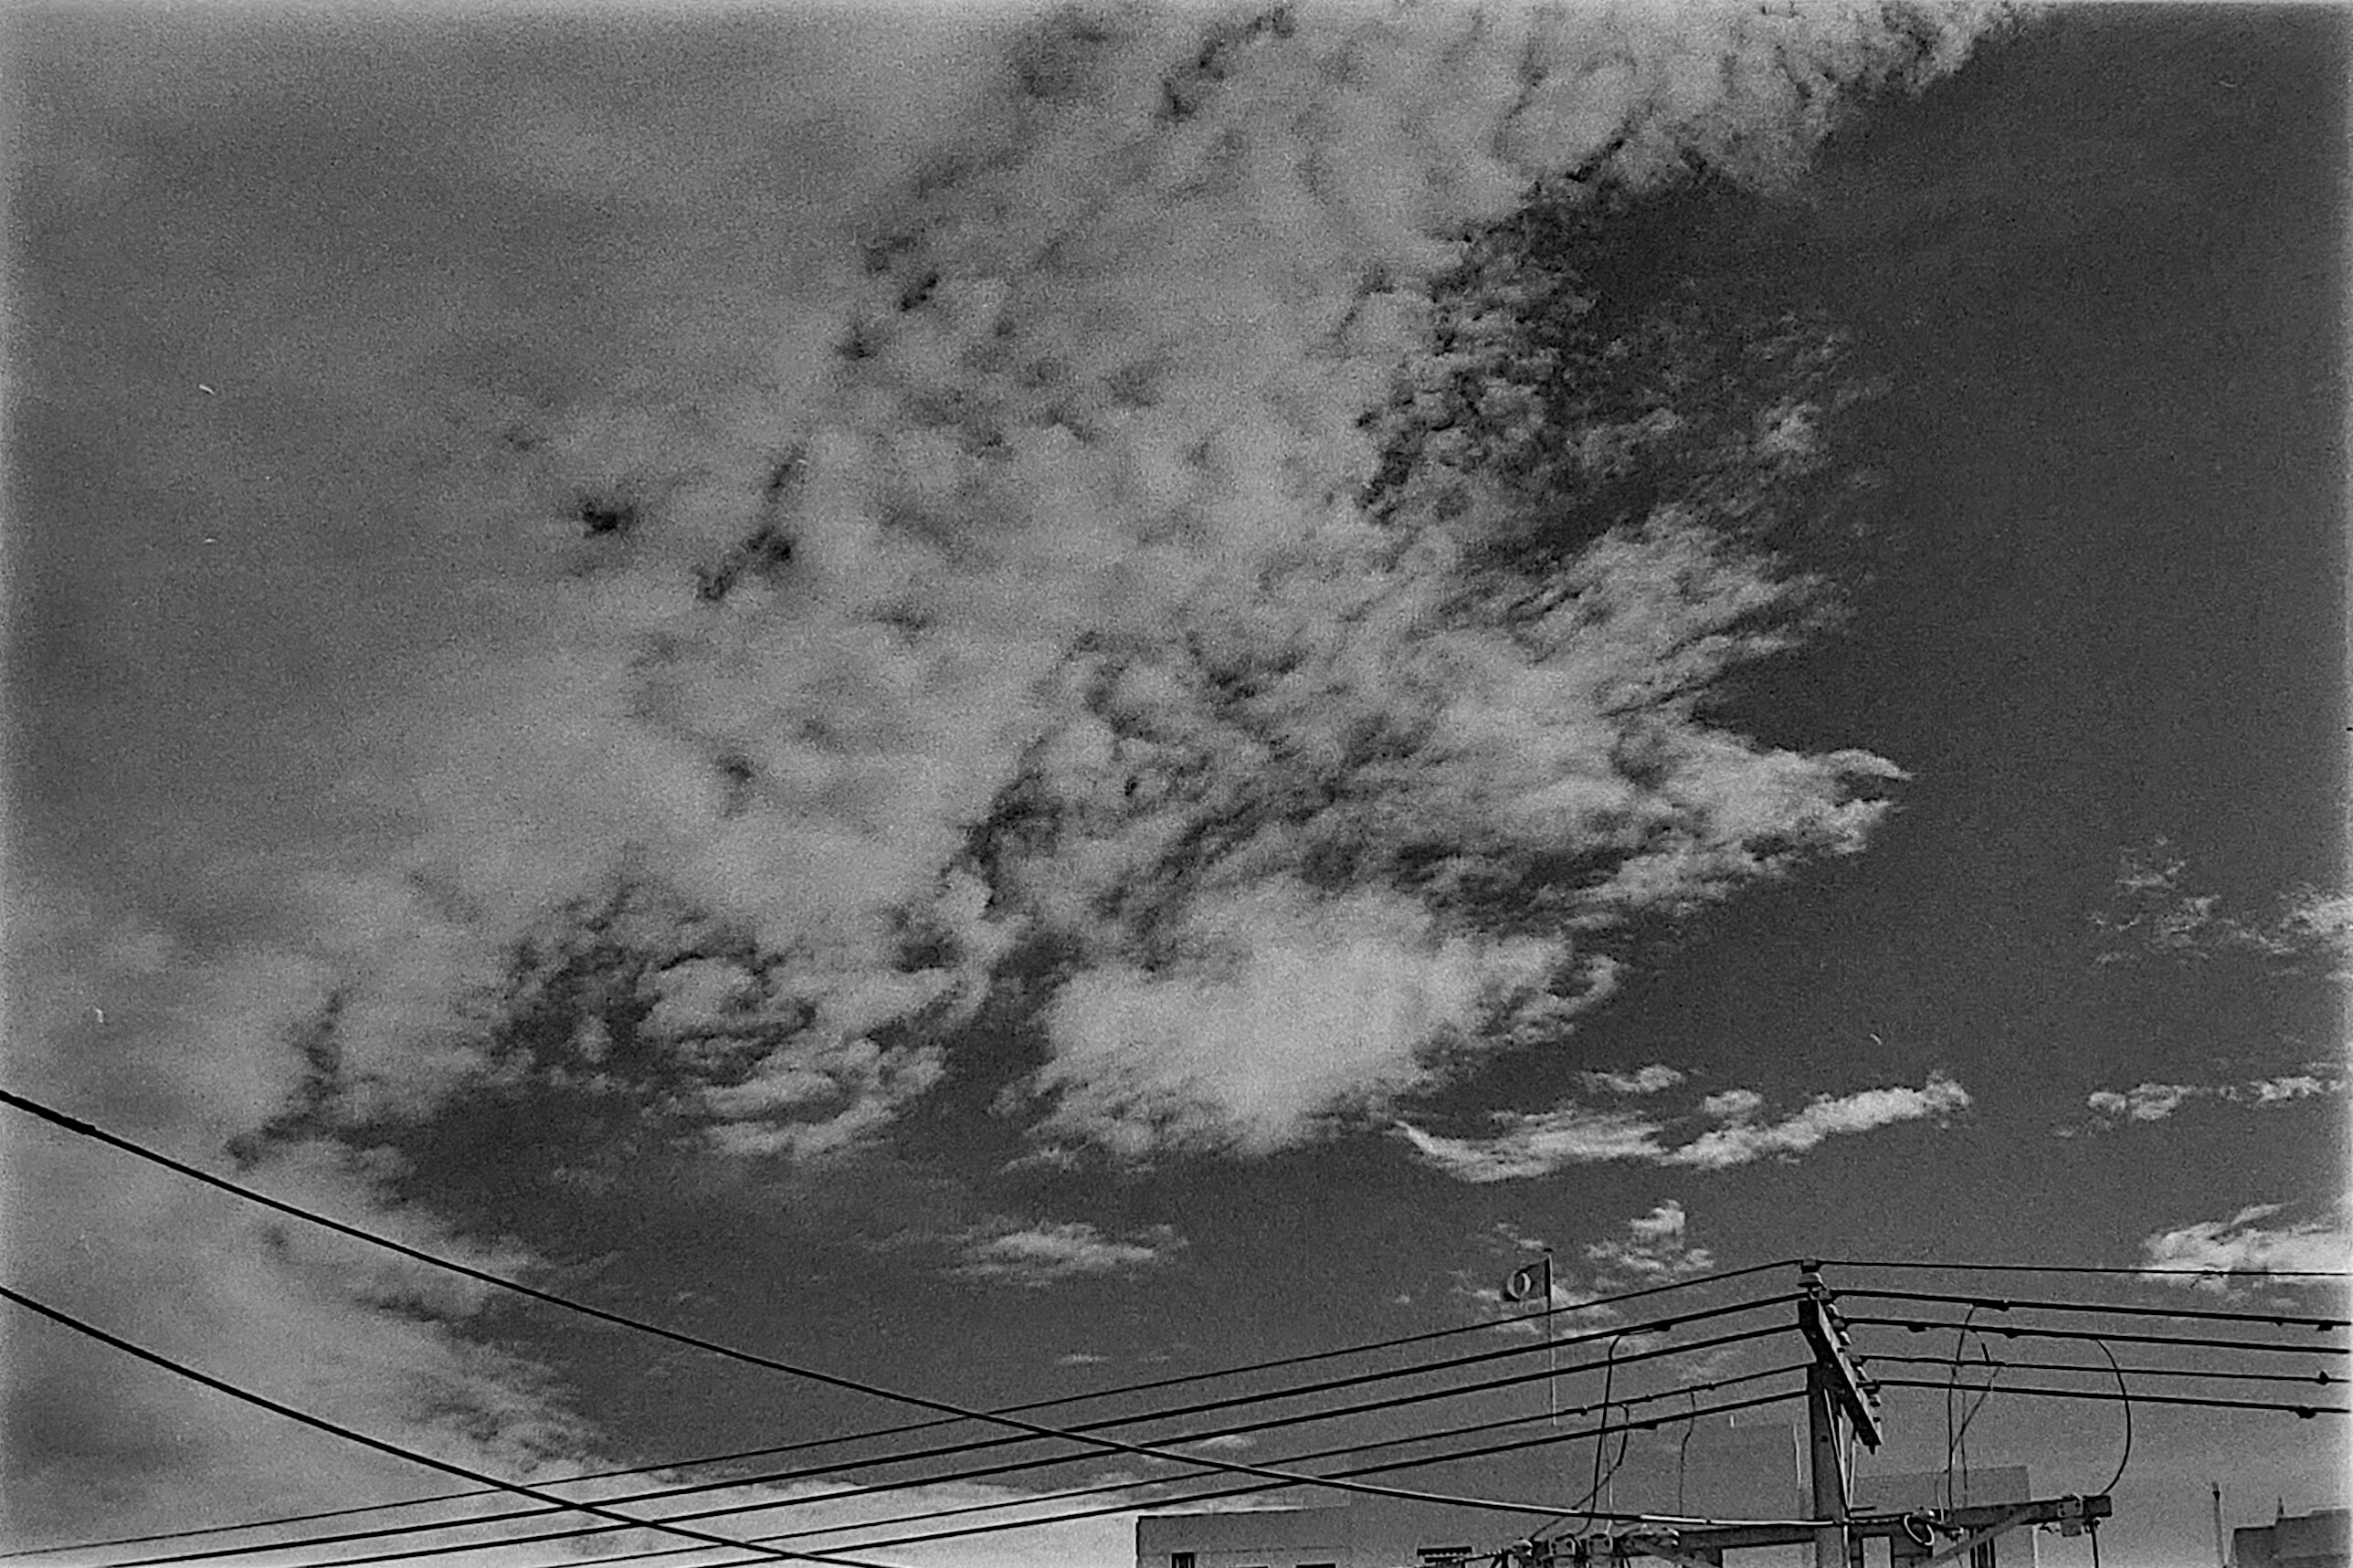
Home again, here’s another couple of high contrast cloud photographs. I would like the sky itself just slightly lighter… so an orange filter might be perfect. 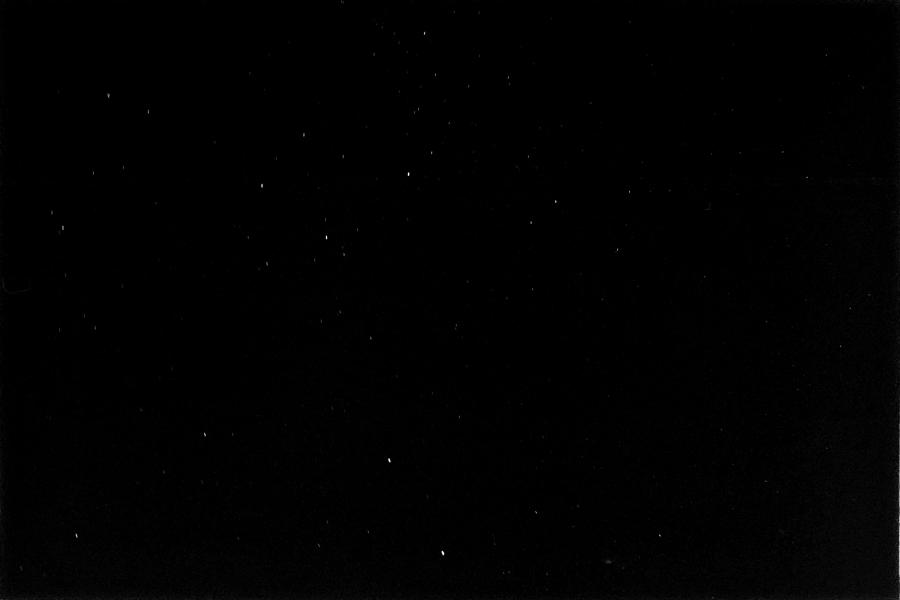
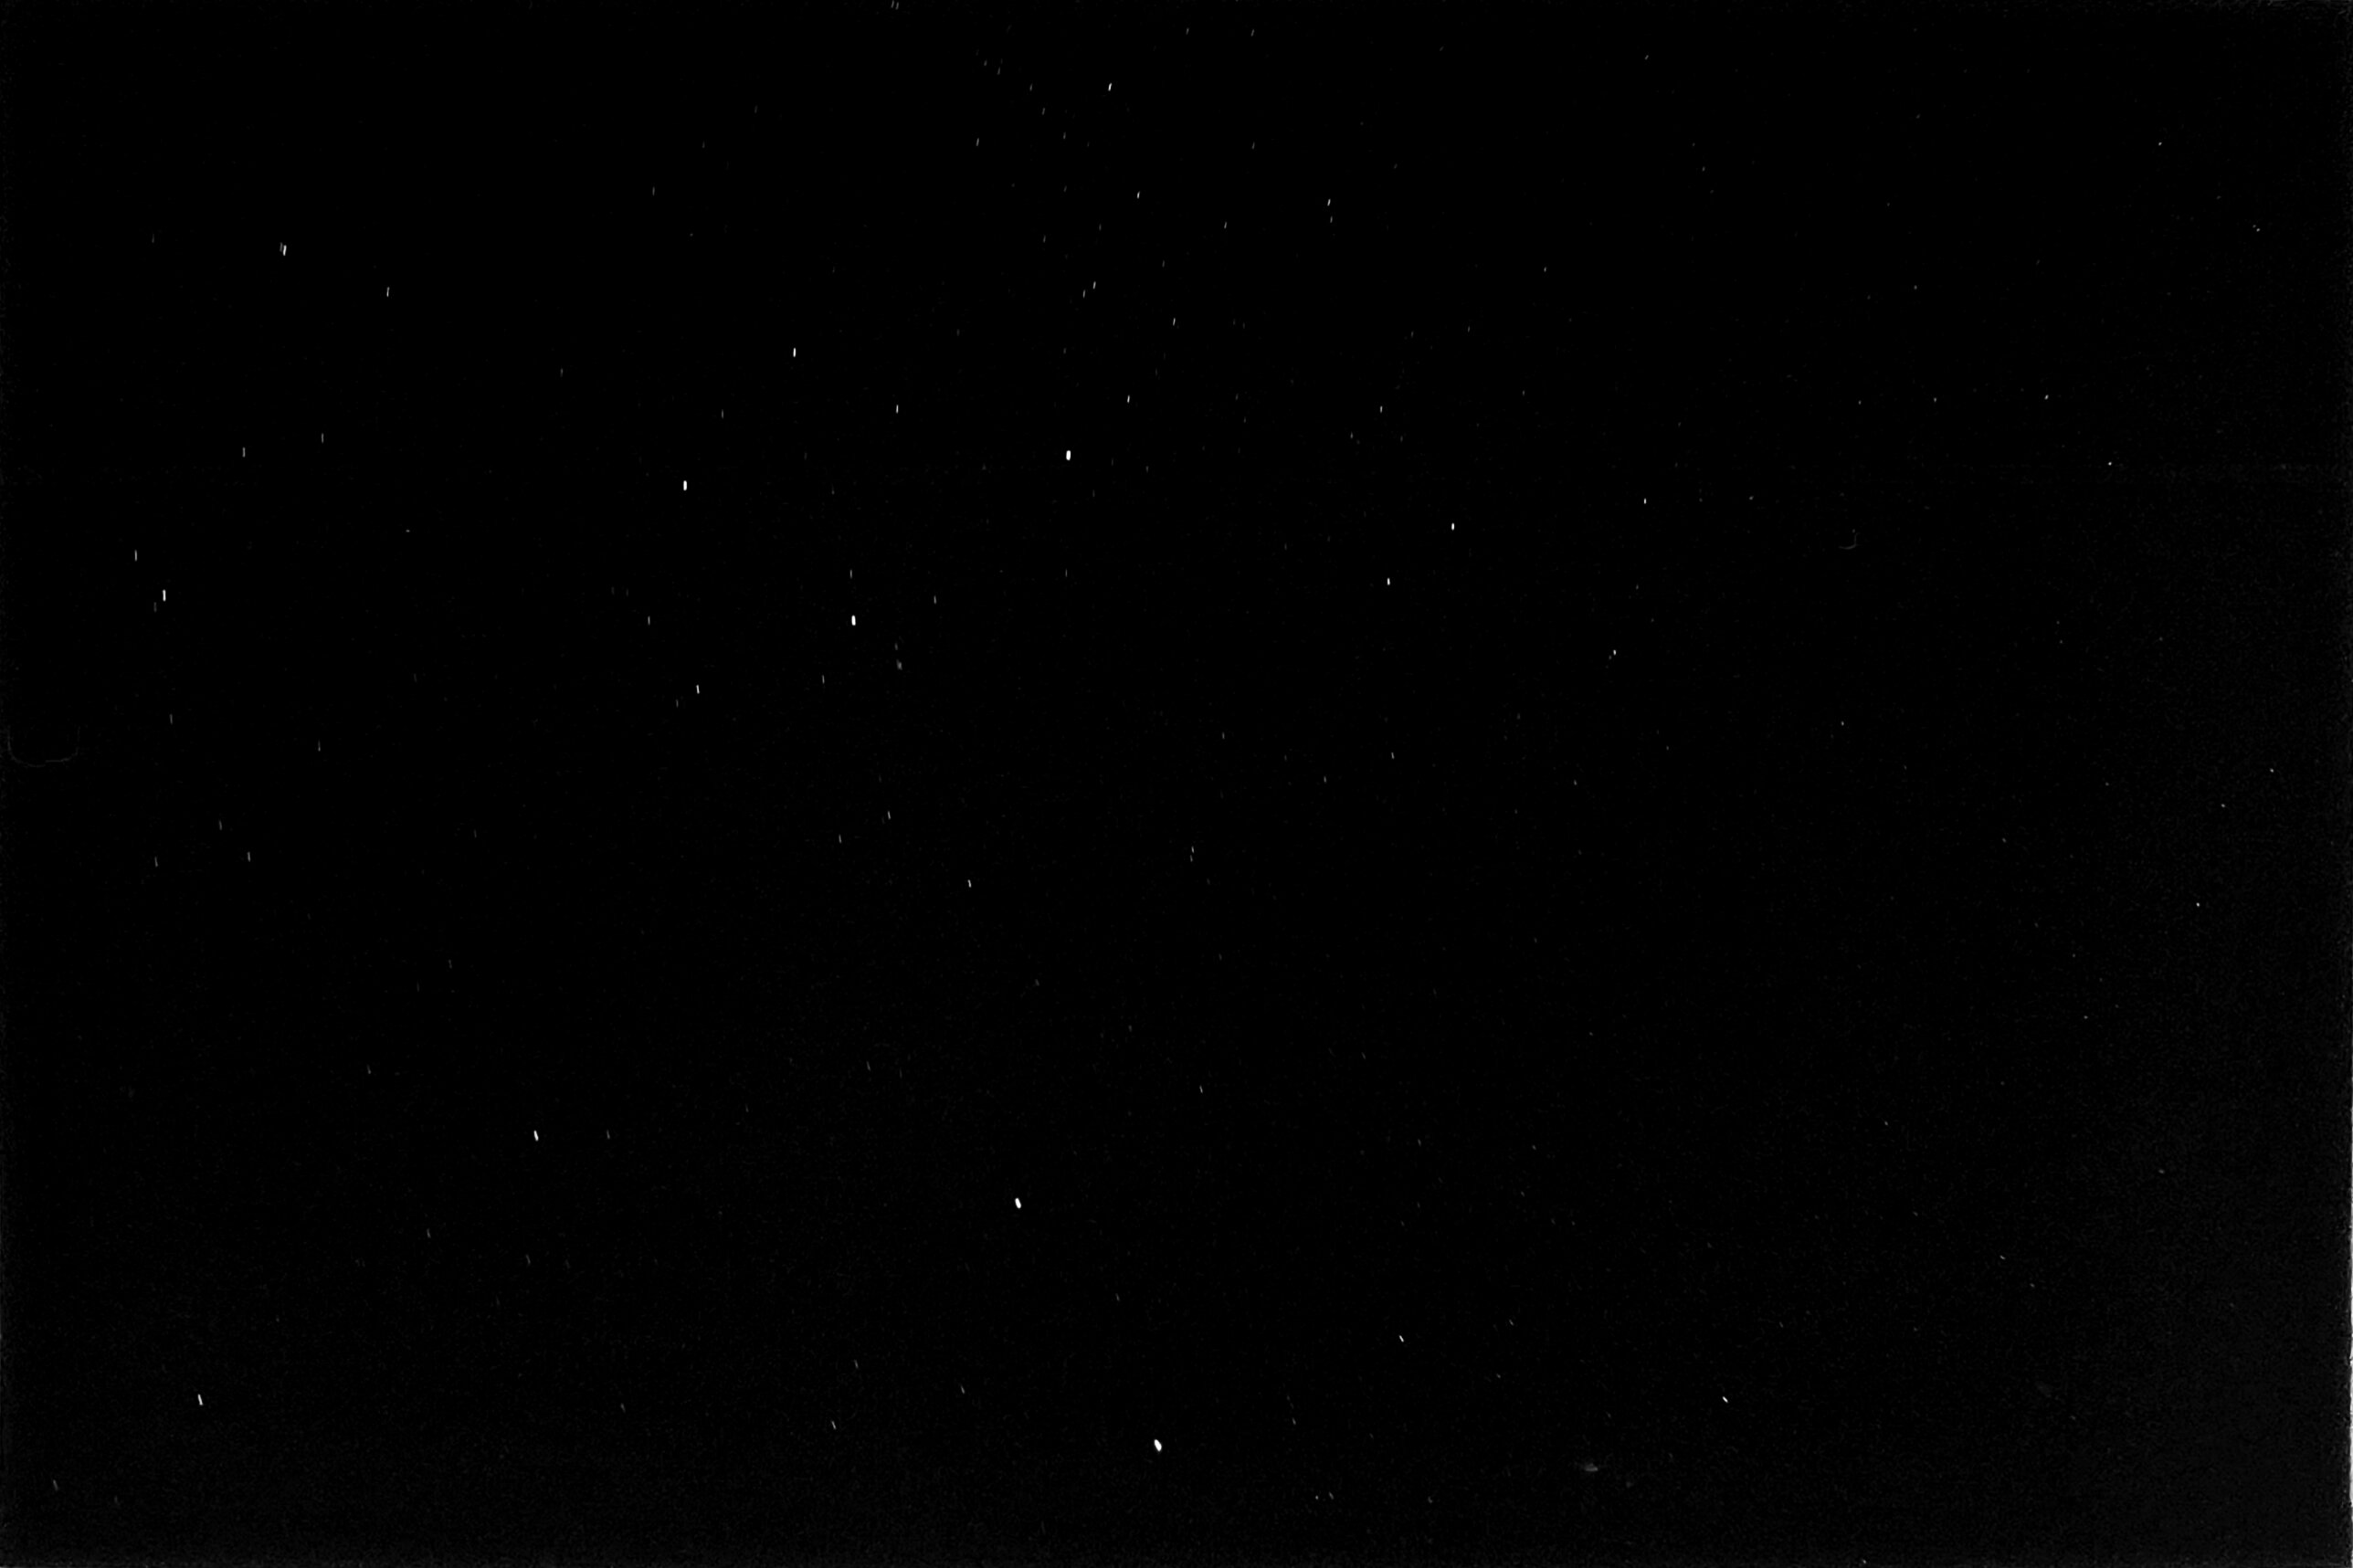
This is another experiment I tried my hand at. Astrophotography on film! This was taken at f/4 with a full sixty second exposure. Thank goodness my cable release has a locking mode, other that would have been nigh impossible. The trails here are not from camera shake, but instead the stars themselves moving across the sky over the course of the exposure! In this frame we see the Southern Cross and the “pointers” as the brightest stars. 
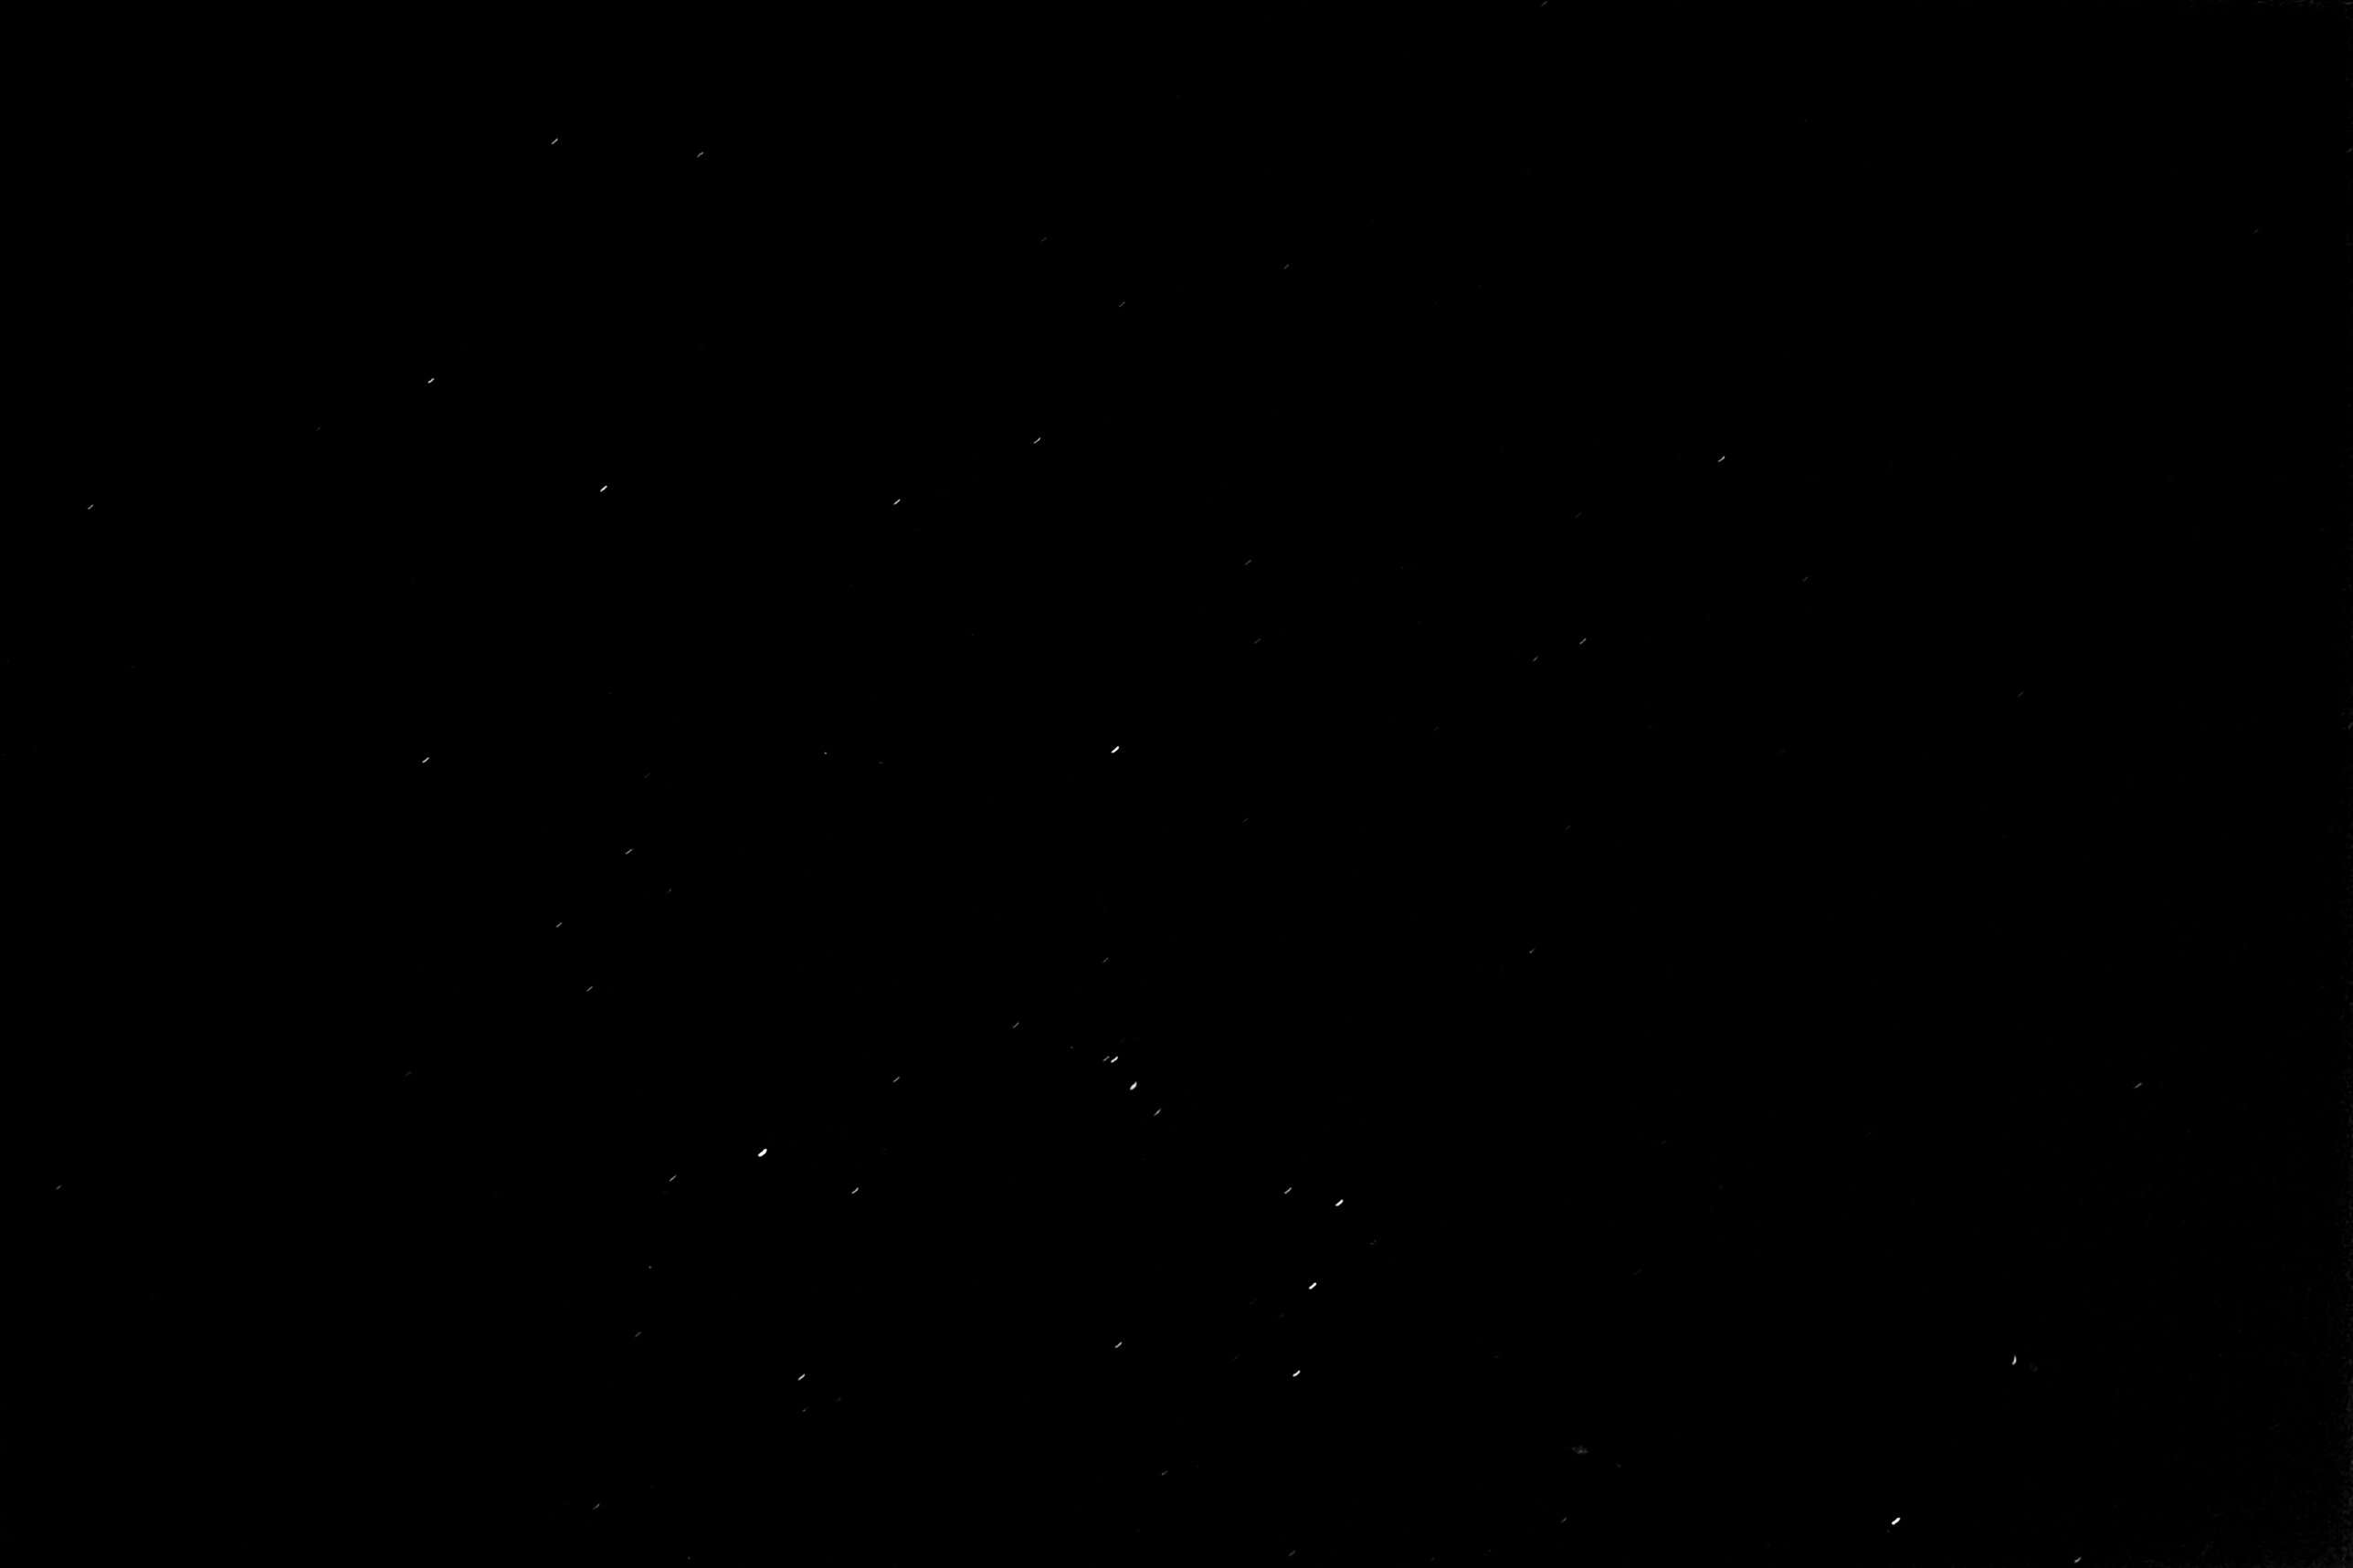
This exposure was a mere thirty seconds, now looking at Orion. The belt is clearly visible at the bottom of the frame. The trails are less pronounced due to the lower exposure time. I would like to return to this, since it’s a genuinely nice challenge! 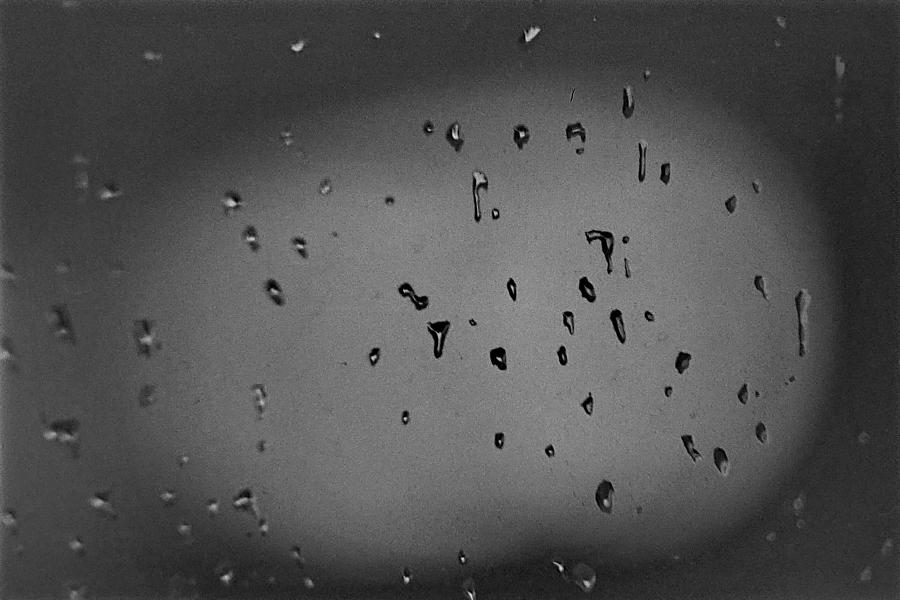
Here’s some raindrops on a window again, this time with macro tubes to really push in close. I like the result, especially with a wide open aperture to limit the focal plane. 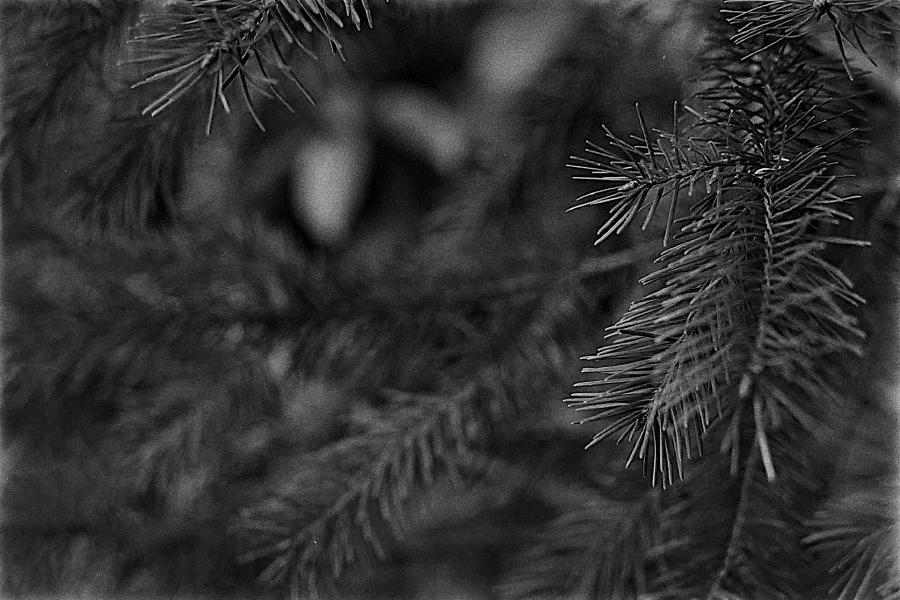
Macro needles, anyone? 
Starting with this frame we begin experimenting with the new lenses. This was taken the 28mm lens, which gave a much wider composition than I could get with the 50mm. 
Here’s another shot of the same tree at 50mm, but like a fool I moved to recompose! 
This time, I purposefully did not move while swapping lenses. This frame uses the 28mm lens. 
And this uses the 50mm. Notice the composition is pulled much further in, and the perspective on the sigh is altered slightly (the 28mm is almost a fish-eye effect). This is what is meant by the wisdom that humans “see at 50mm”. I don’t mind either, and I think the distortion at 28mm is only really noticeable when compared side by side like this. 
Another series of experiments to end the roll. Here’s a composition at 28mm. 
50mm. 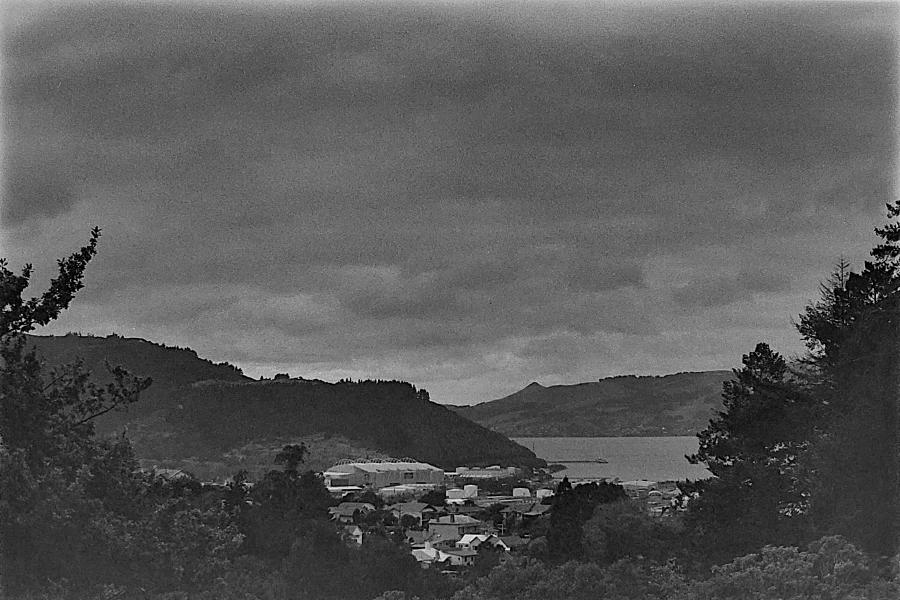
Now on to the zoom lens. This is zoomed out at 70mm (barely different to the 50mm). 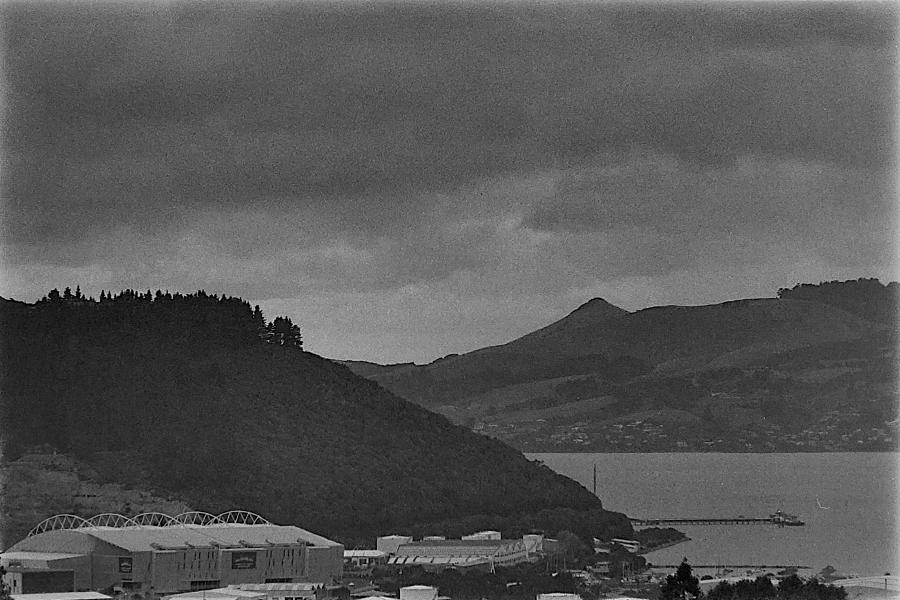
And zoomed right in to 200mm, which is noticeably different! Immediately after this I had to try trichroming the shot, which is shown at the top of this post. So what did we learn? Different lenses have different effects? Watch out for distortions? The zoom lens needs a really sturdy tripod, or a steady hand? All of the above, I suppose. I was just happy to play around!