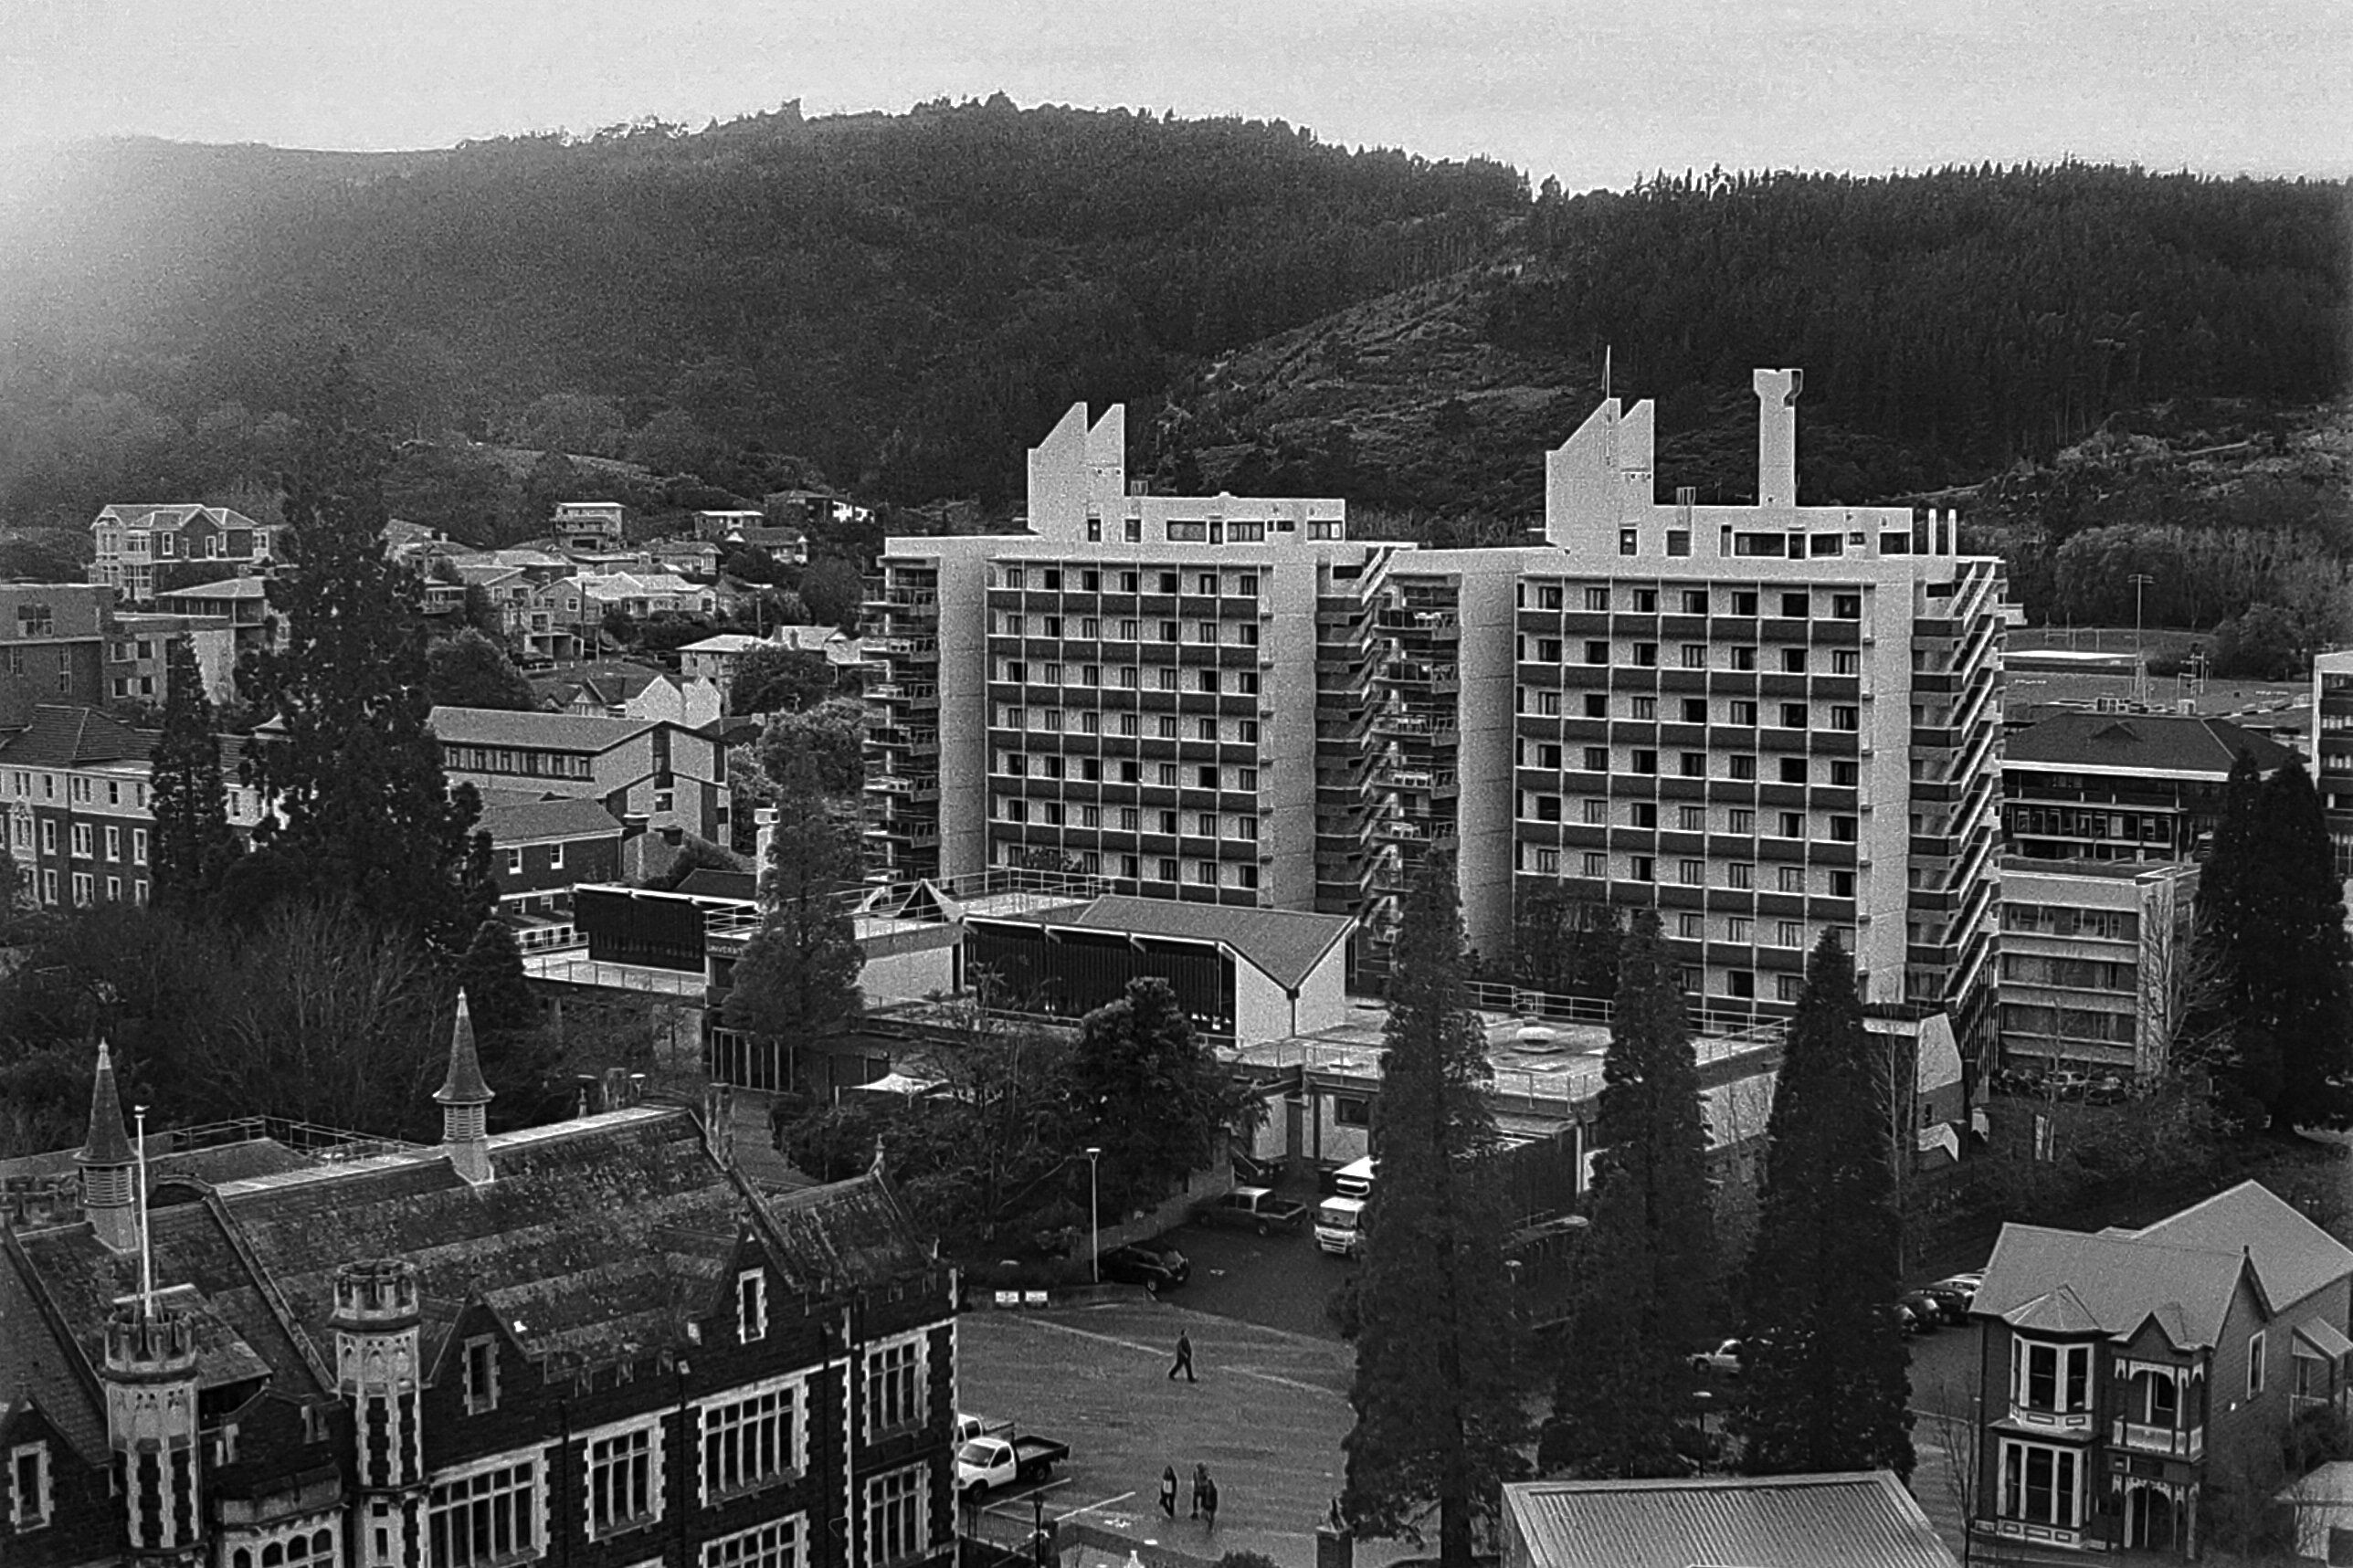
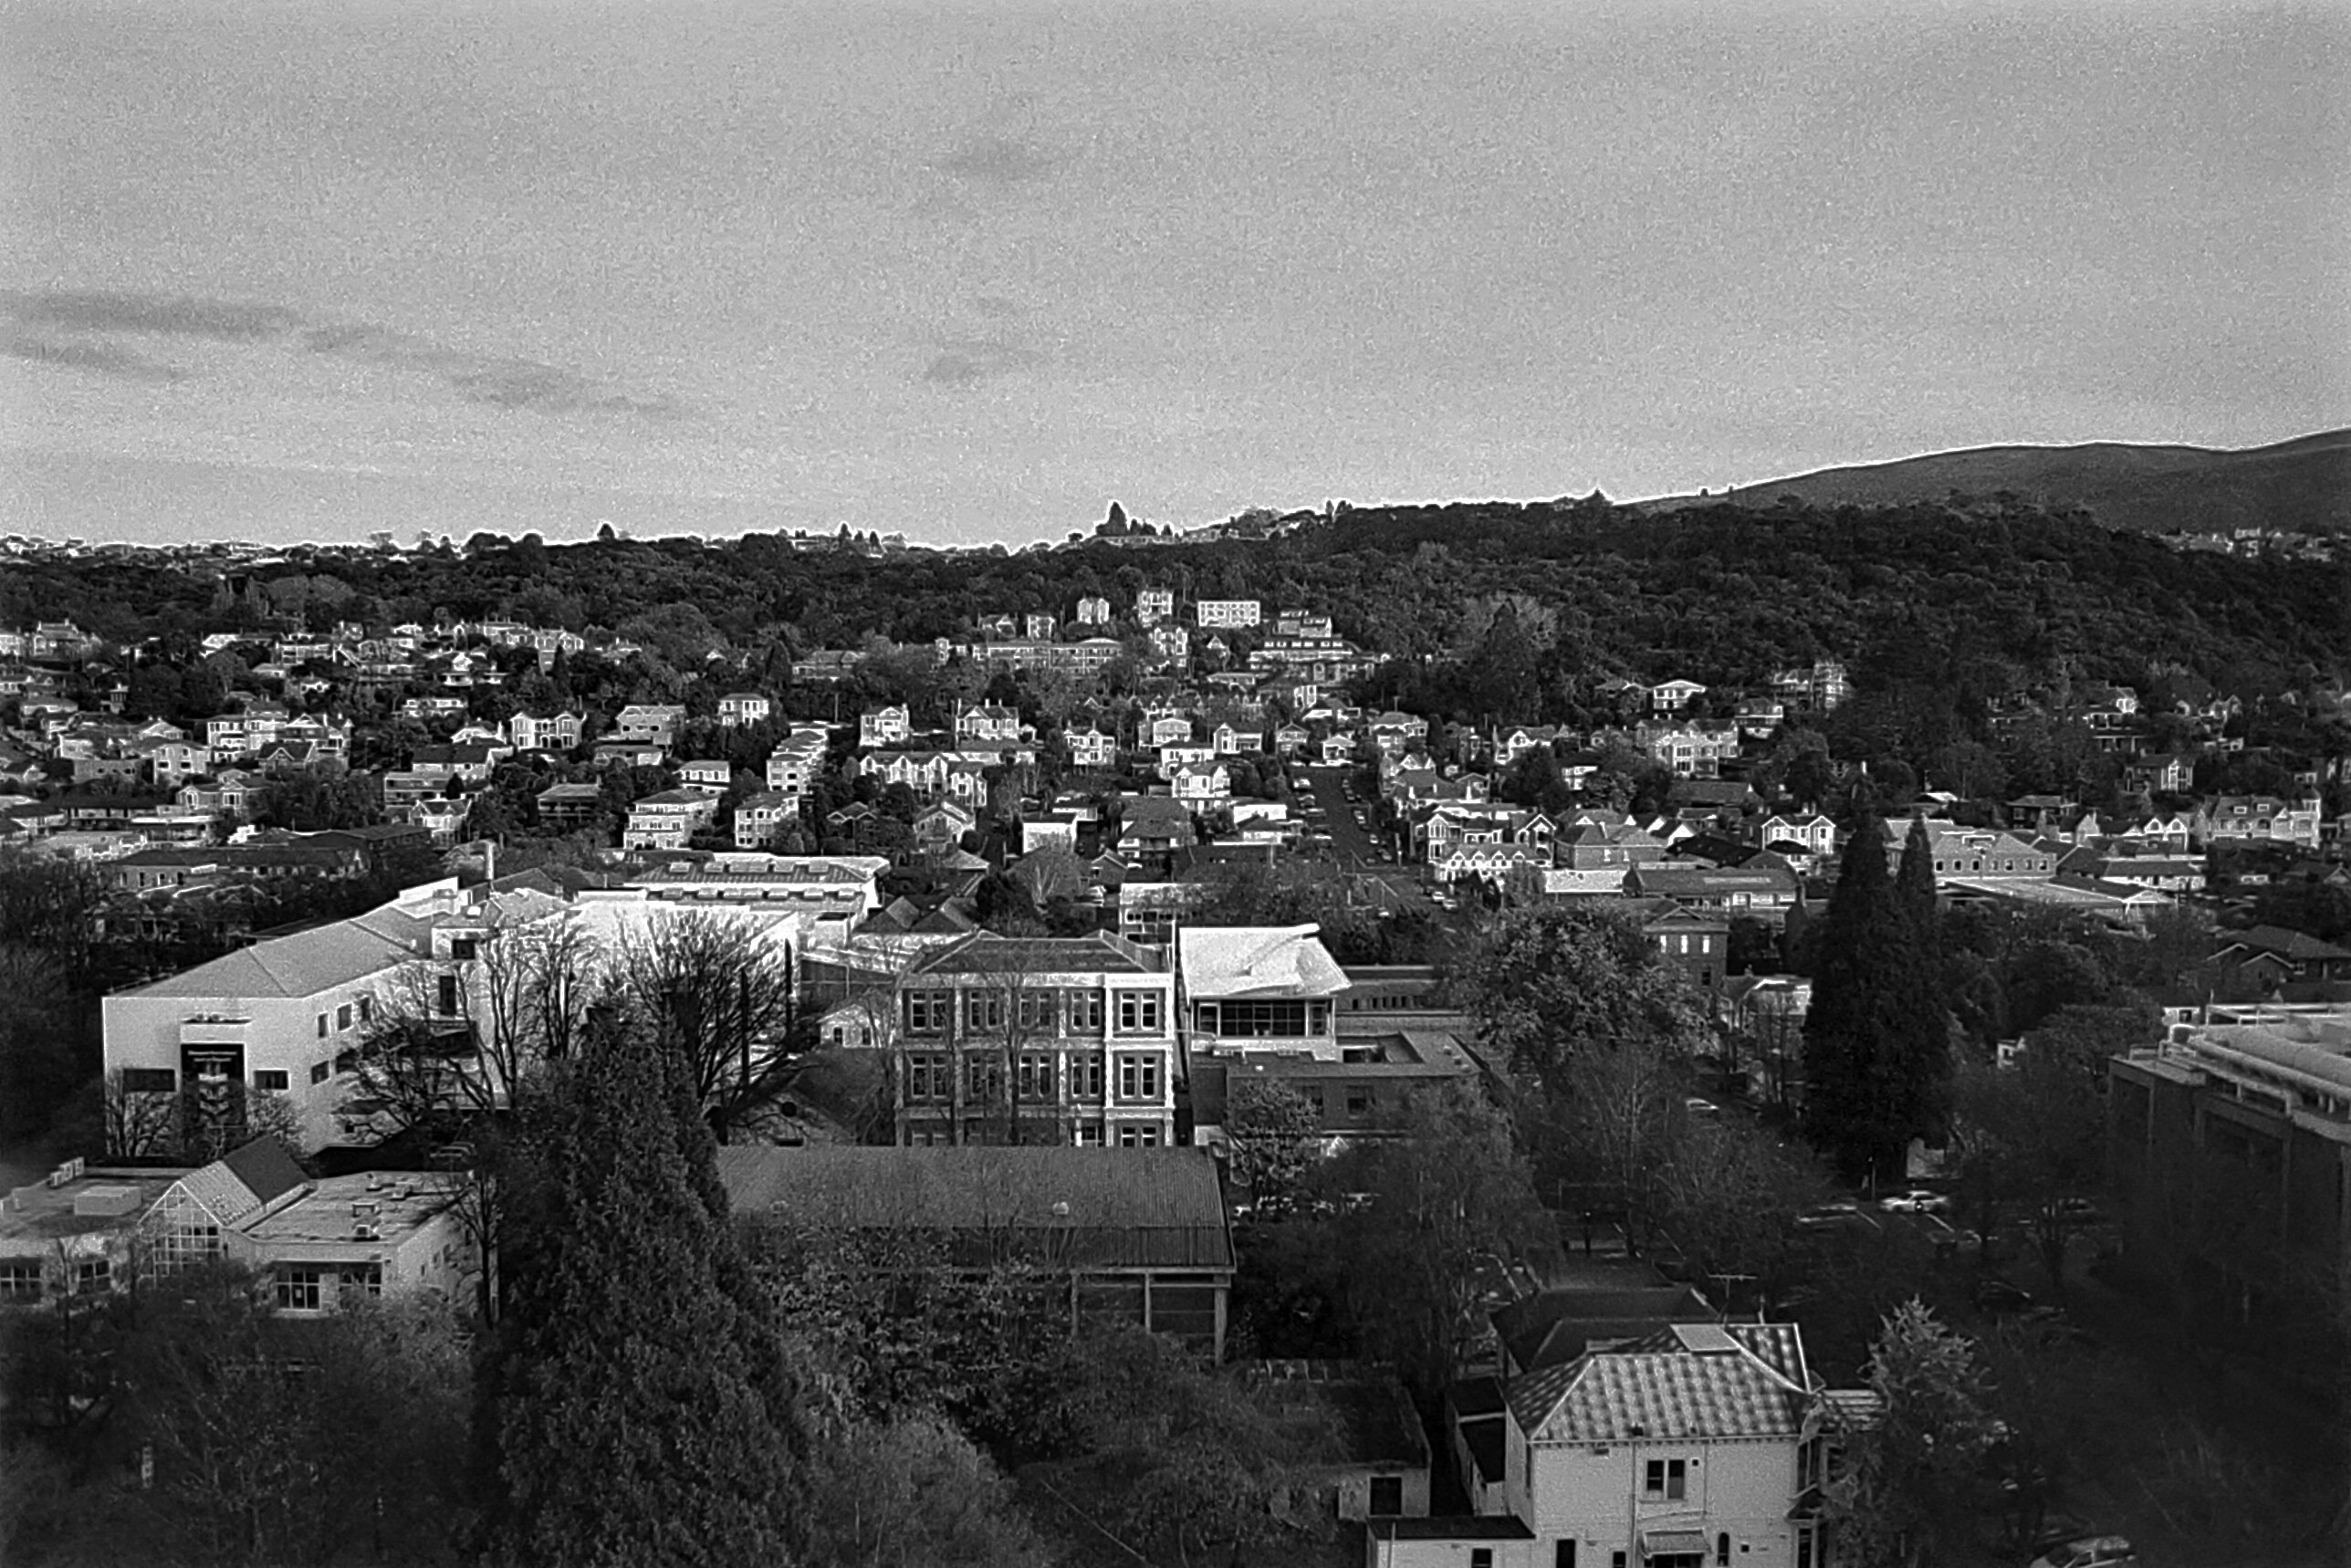
The first “real” roll put through the Pentax K2, after the test roll I put through it a few days ago. I am overall very happy with the results of this roll. I was slightly concerned that shooting in harsh daylight would expose any lightleaks from old light seals, but that problem didn’t seem to arise. There were some lightleaks, but these were constrained to the beginning of the roll, so I’m fairly confident these were due to the film roll itself not the camera body.
I purposefully overexposed this roll by around a stop based on the internal light meter. This was based on the test roll, but honestly I think dropping this back to a 1/2 stop or even no compensation at all would be better.
Camera: Pentax K2
Lenses:
Film: Rollei Retro 400S
Post Processing: GIMP
Faux Aerochrome
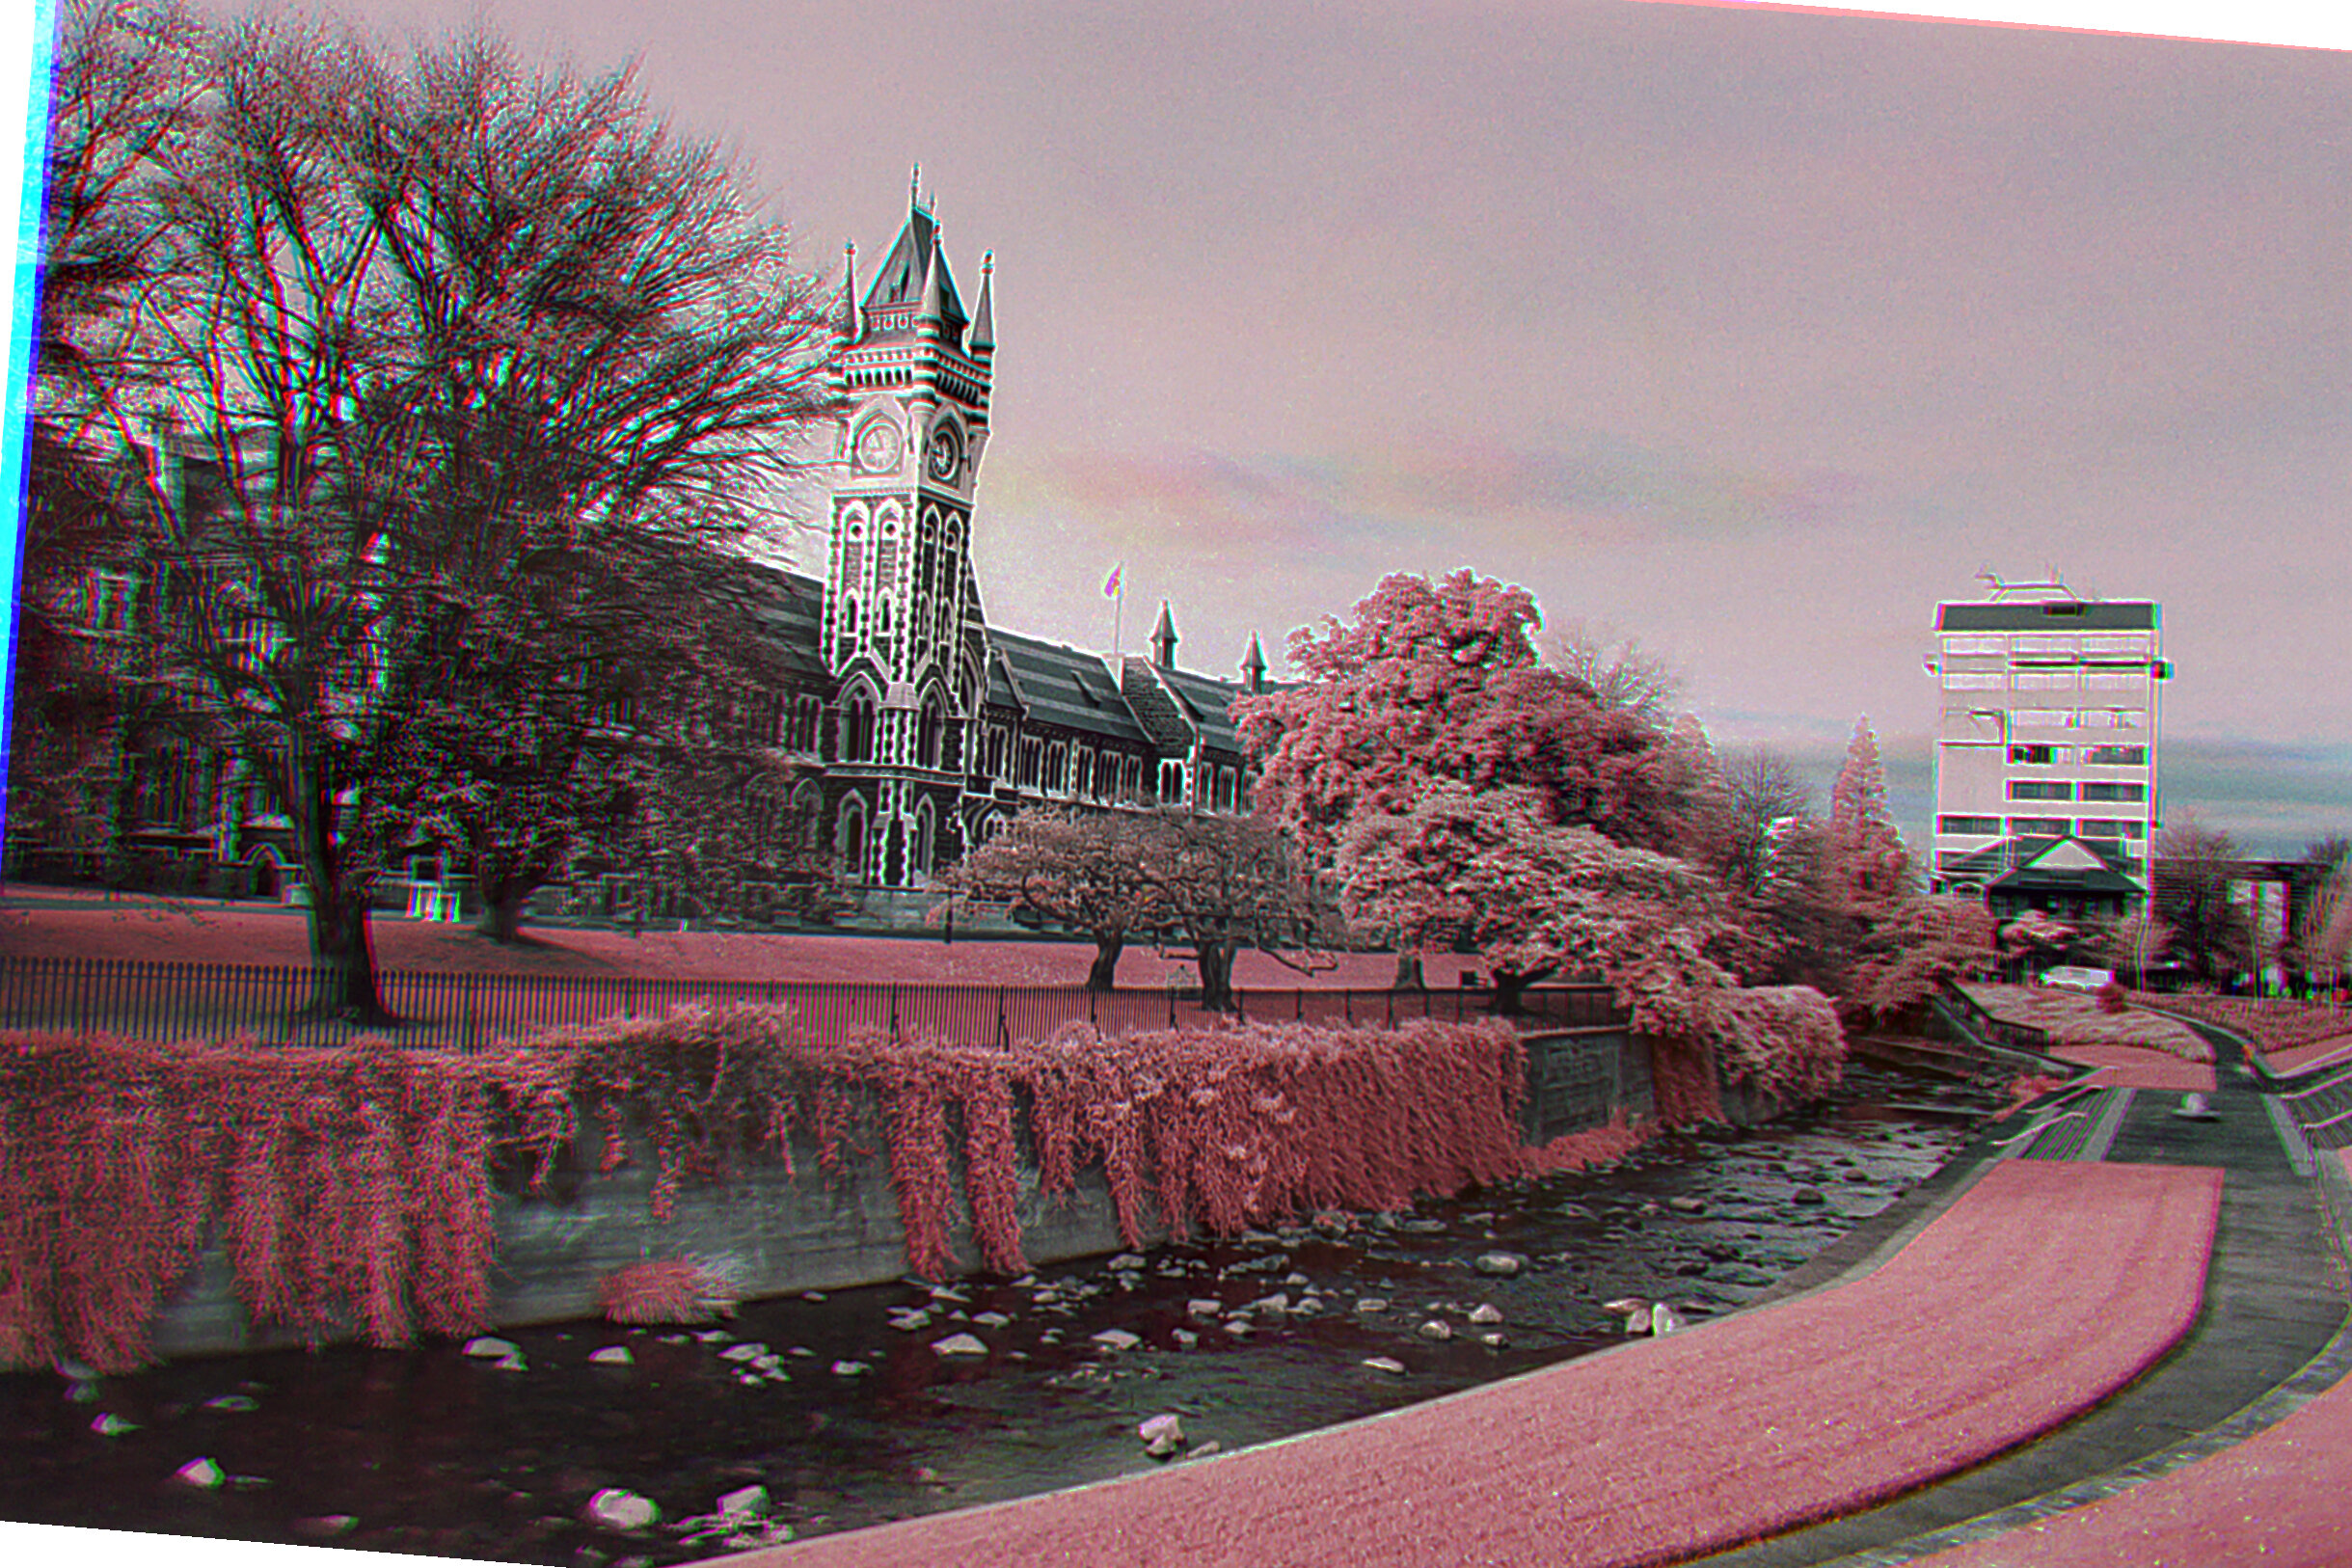
There comes a time in every film photographer’s life that they have to utter the infernal phrase: Kodak Aerochrome. This is an ancient color filmstock, euphemistically given its name as it was designed for “aerial photography”. The true intent behind the film was more gruesome: camouflage detection for military applications. Kodak achieved this by using superpanchromatic film (infrared sensitive) but pulled some dark magic to shift the color bands around in development. Very roughly, infrared light became red in the developed film, red light became green, and green light became blue. This gives false-color positive images with a very specific look. After Kodak released the film to the public, it became a hit among photographers, was used in several album covers, and was used to shoot some documentaries of the Rwandan genocide (hey, I never promised the history of this filmstock would be pleasant).
Kodak discontinued Aerochrome in 2009. Since then, rolls of the film have skyrocketed in price as the supply dwindles (both from use and degradation). This has led some photographers to investigate methods to mimic Aerochrome using other, more readily available methods. One such method is to replicate the above discussed dark magic manually — expose an infrared trichrome and stitch the frames together in post. Considering I don’t even shoot C41 color negative film, this was absolutely the approach I was going to take.
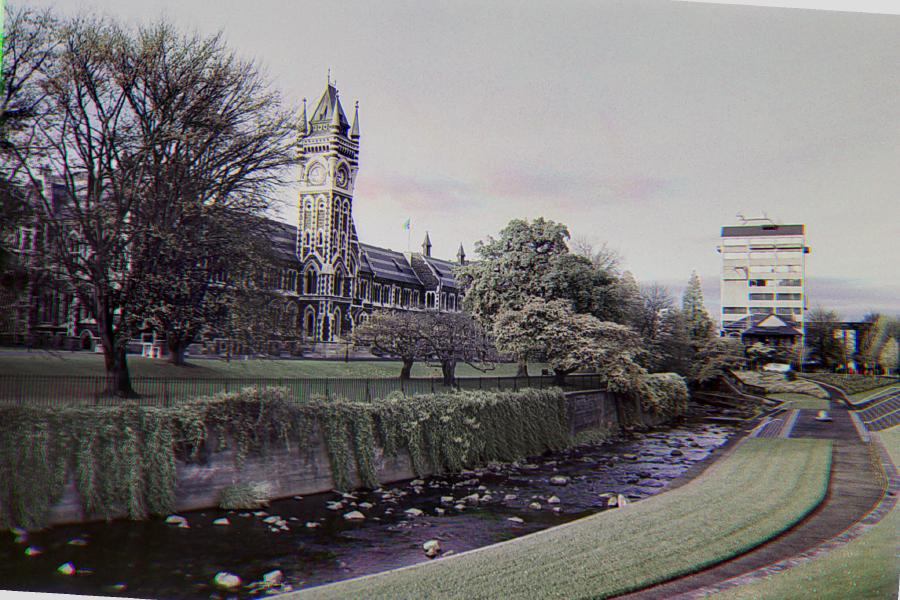
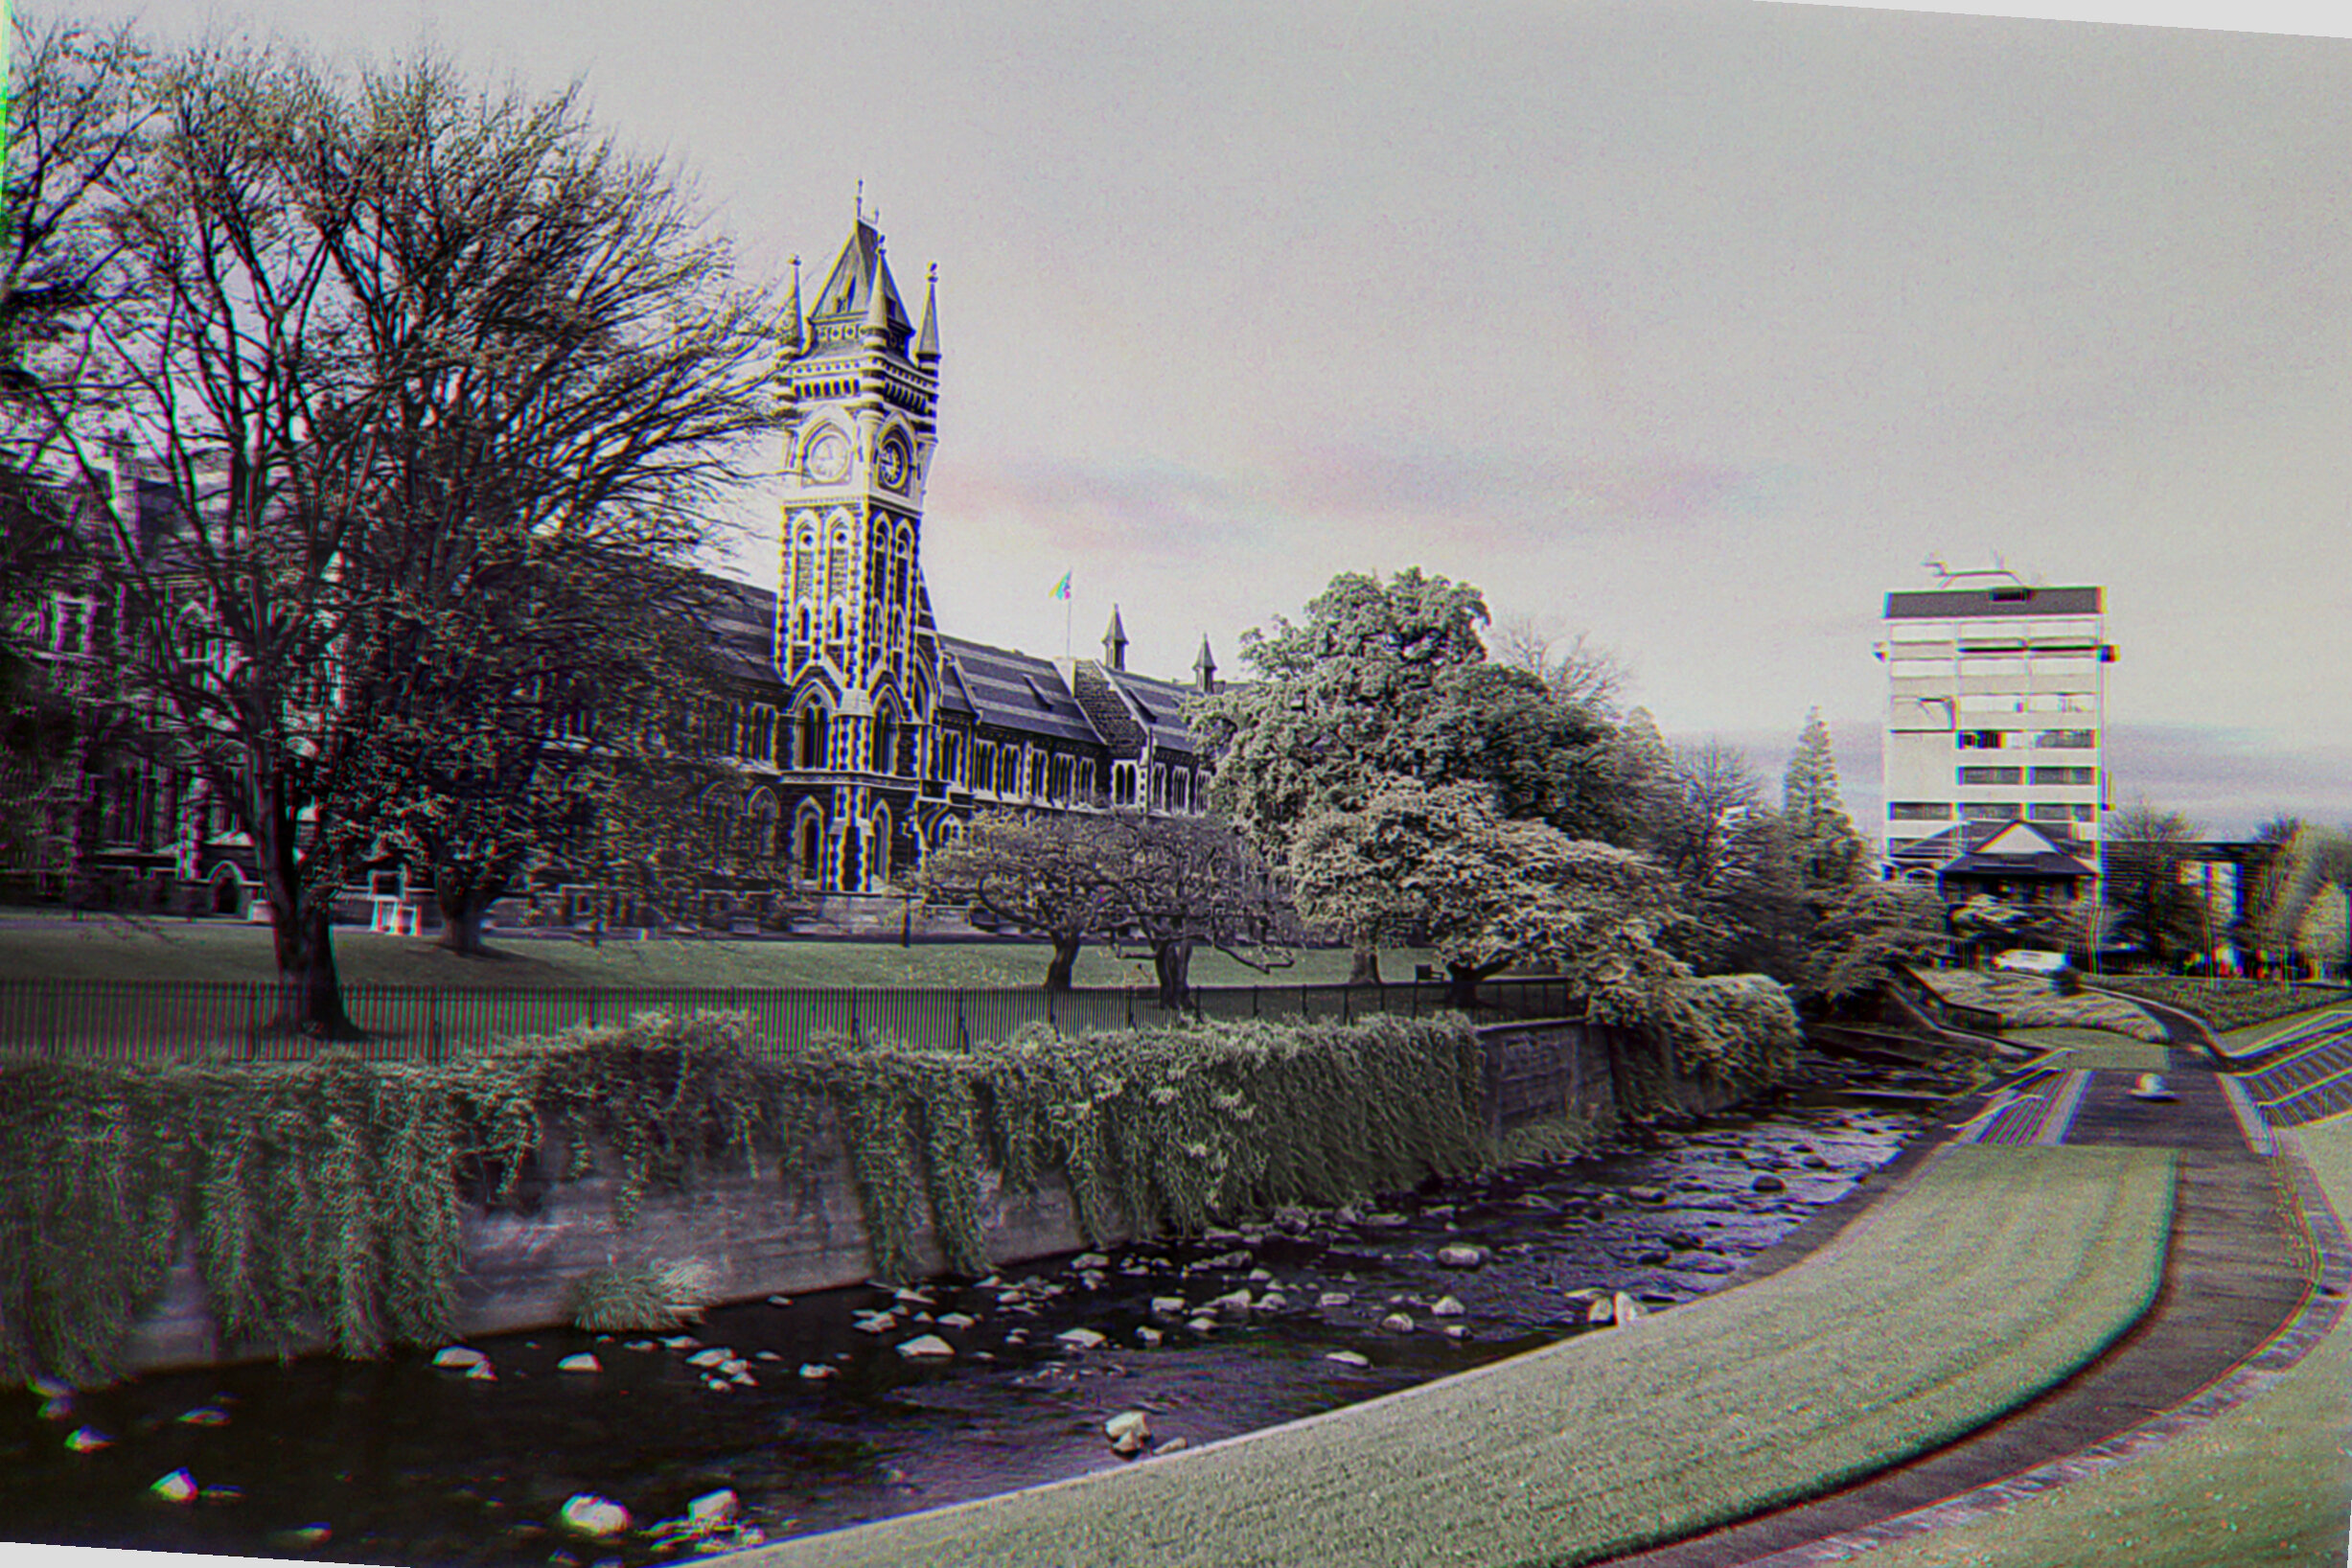
Here’s a trichrome of the Otago clocktower using the typical, RGB trichrome method. The colors are “true” up to film artifacts and overexposure.
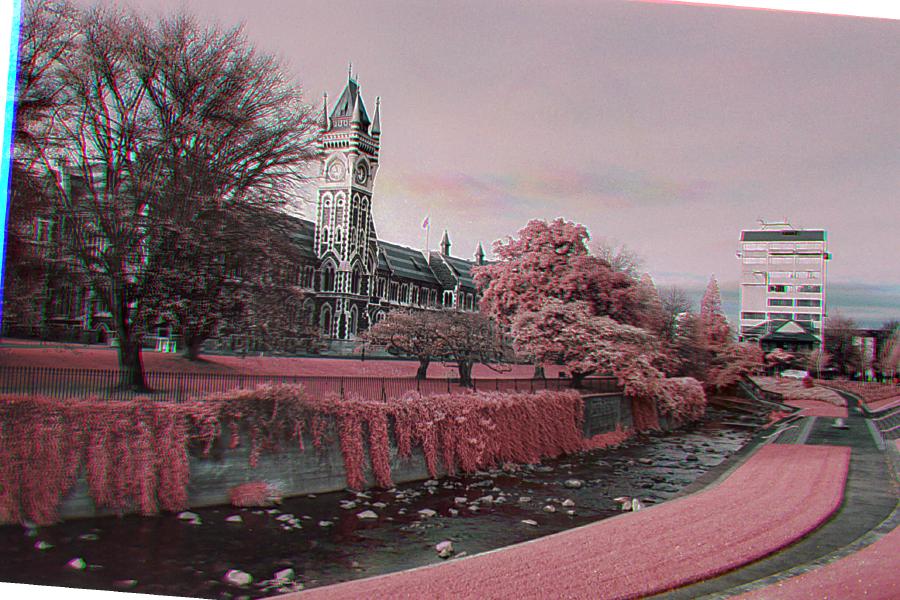
And here’s the same composition using the faux Aerocrhome trick. We get a pretty good imitation of the filmstock, mainly from the striking red-pinks of any foliage. Brilliant! I plan to incorporate these kinds of shots into my repertoire going forward. It’s such a wickedly cool effect!
Macro Flowers

In using the macro extension tubes with the Pentax K2, I found the frames were consistently very overexposed. That’s… odd, since extension tubes tend to lessen the light entering the camera, which should result in underexposure. Perhaps this was my overzealous overexposing, but in any case the result was mostly recoverable. The depth of field was difficult here, though, and I could have done with stopping the aperture down a little more. 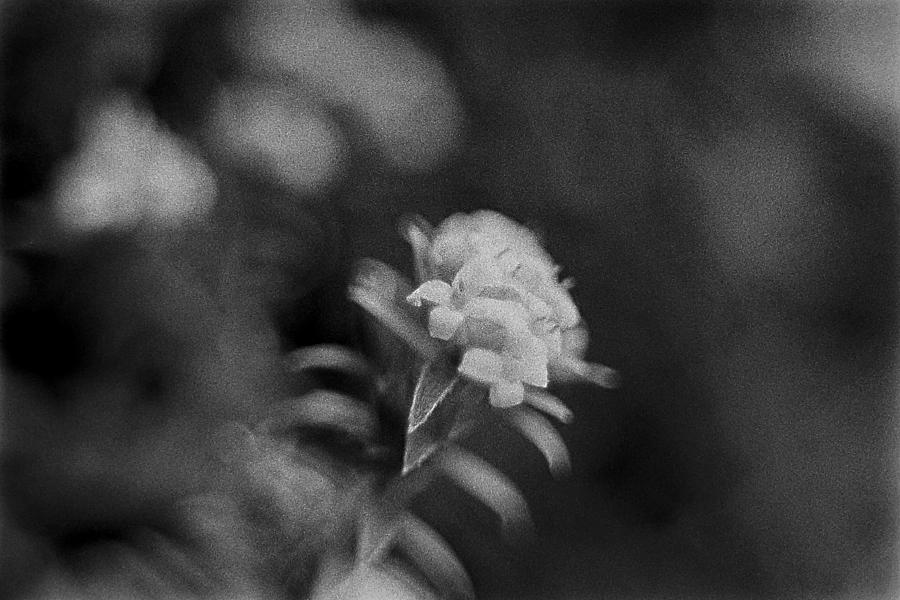
I’ve toned down the overexposure in these shots, but it was very noticeable in the negatives. 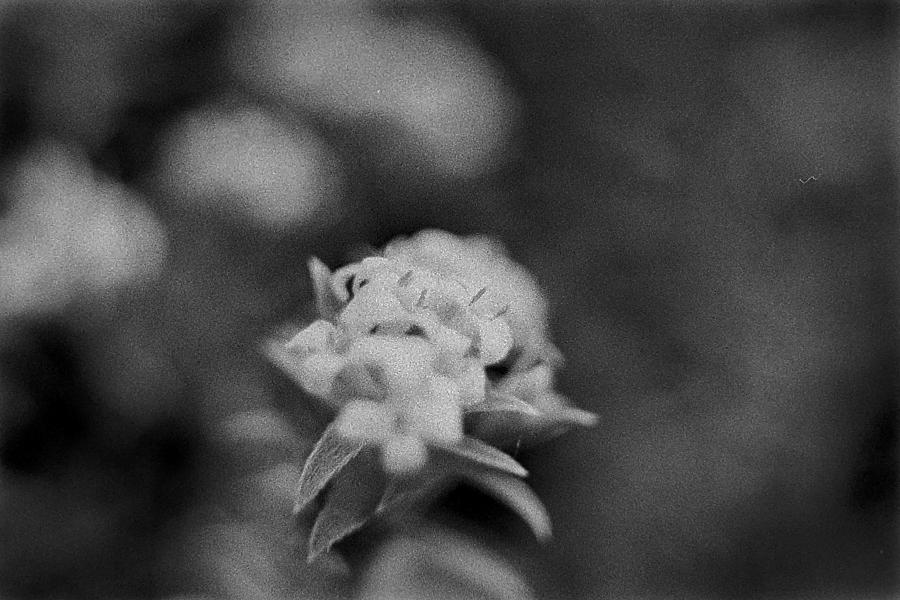
A little disappointed in the sharpness here. I think Retro 400S was simply too grainy and fast for this shot, as it seems the focal plane is in the right spot. Perhaps I just need to stop down the aperture much more. 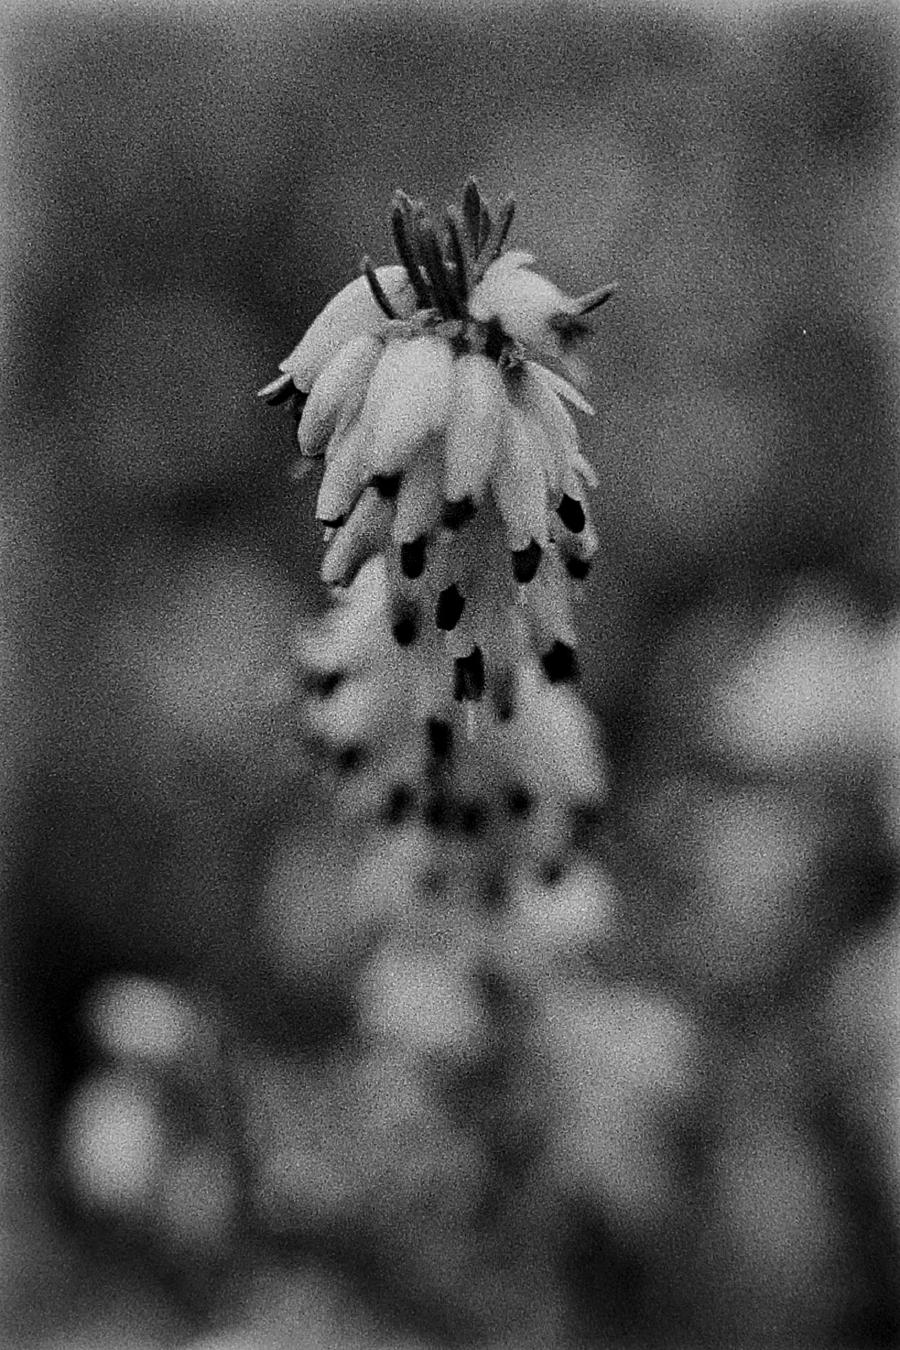
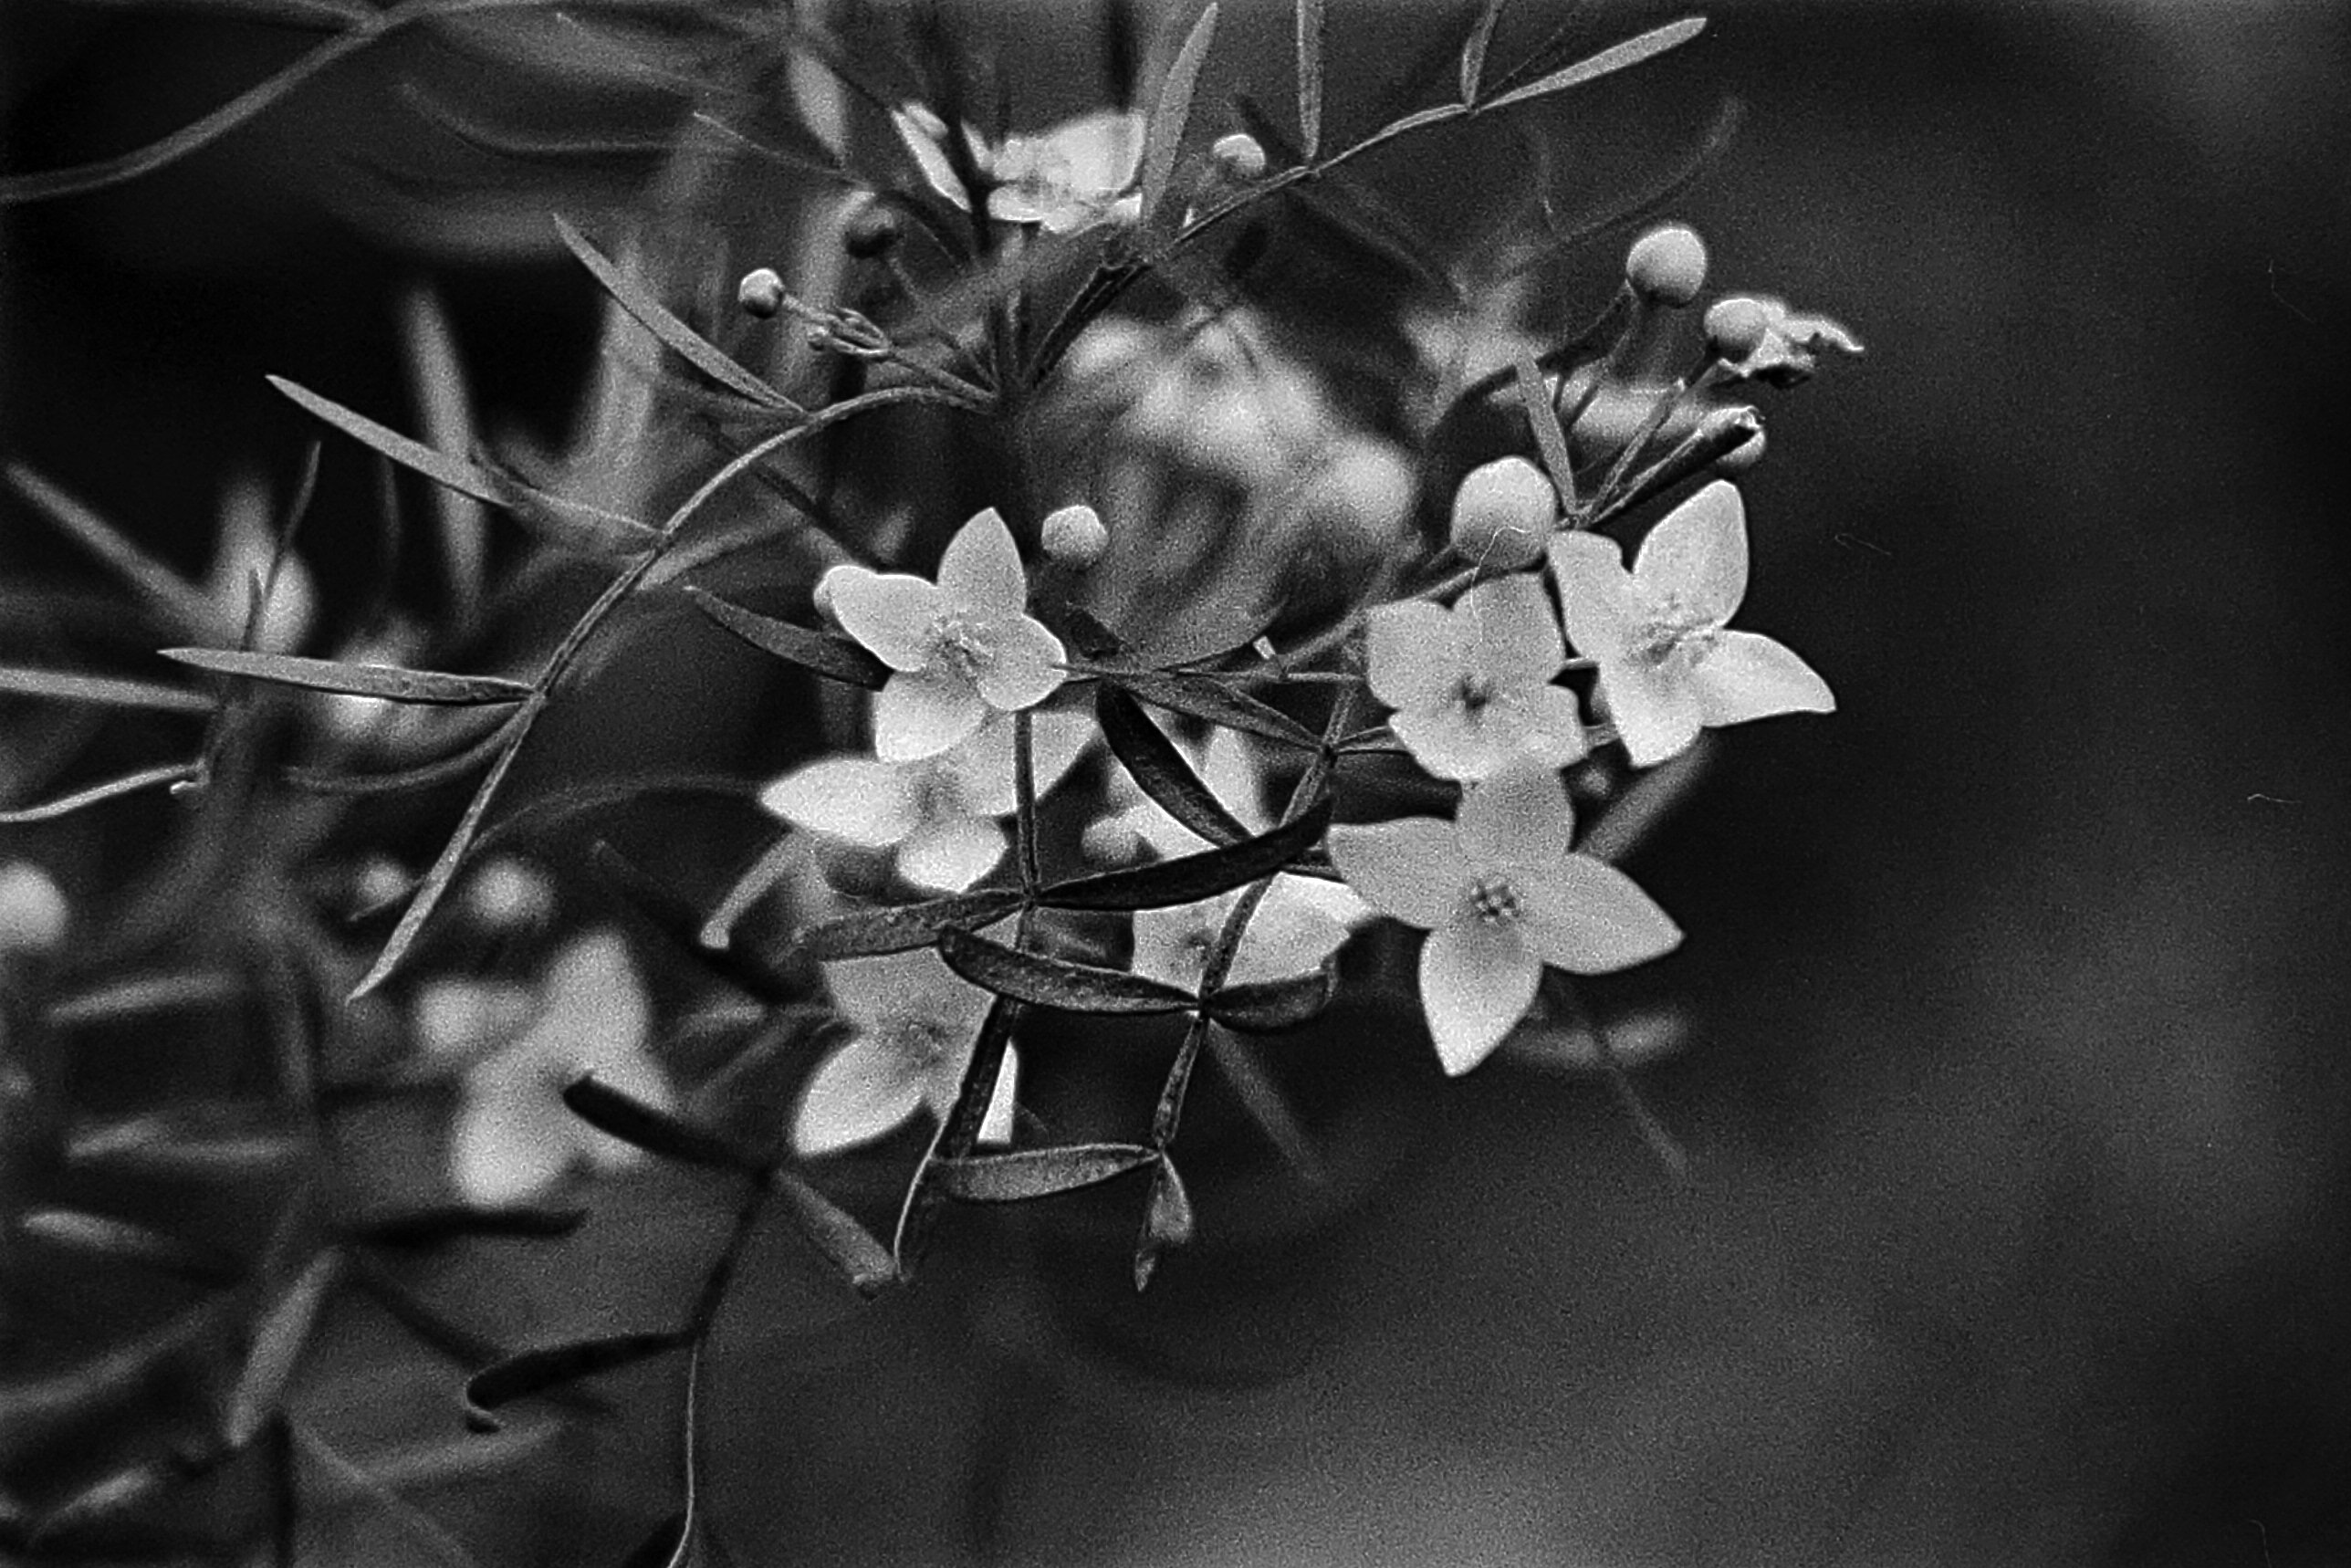
This frame came out much nicer, although I believe it was at f/4, hence the tremendous depth of field effect. Still, quite a nice composition I think! 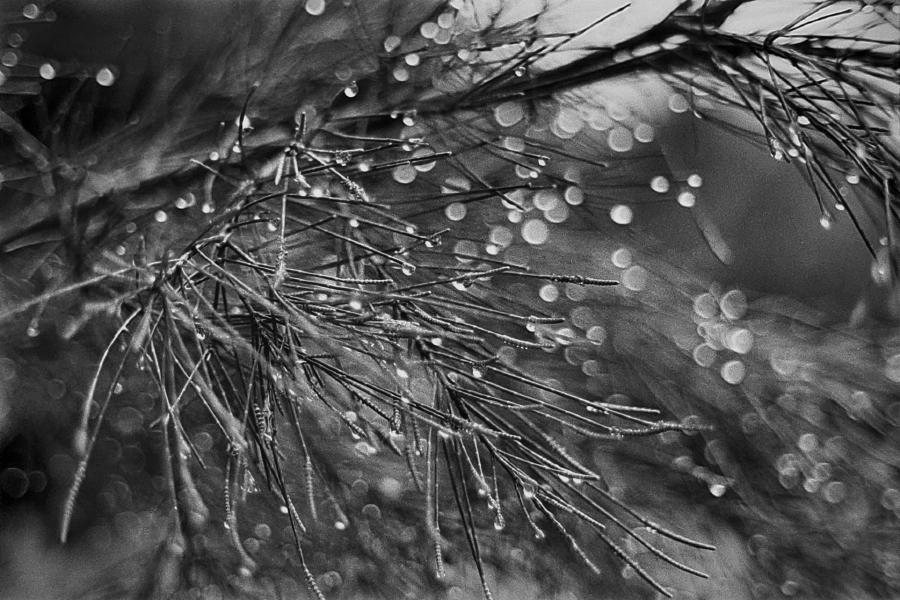
No macro extension tube here, but a wide open aperture gave me some nice bokeh from the droplets in the background. 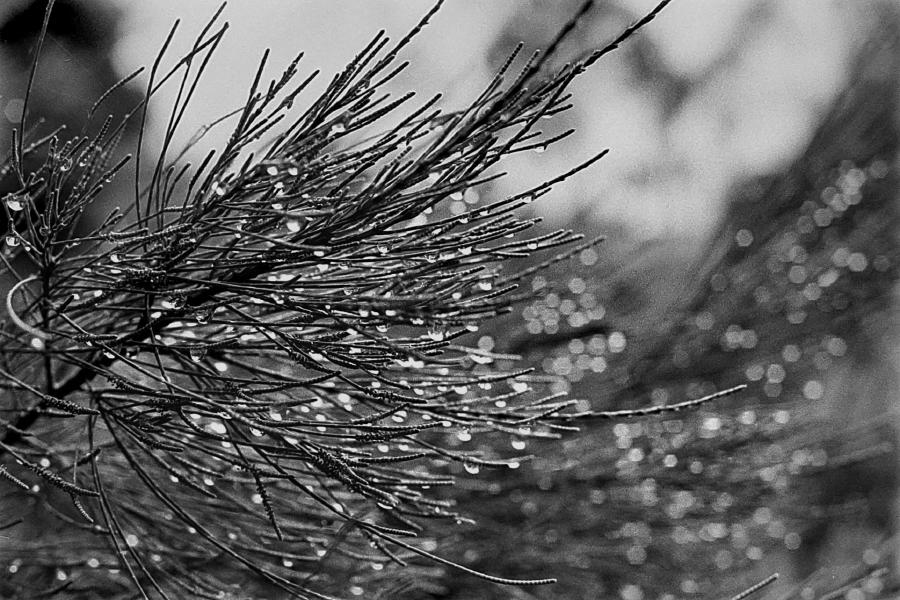
And even better bokeh here! I really like this shot, too. Remaining Frames

The first shot on this roll and it has some pretty severe lightleaks. That’s alright, it was more of a test/loading frame anyway. 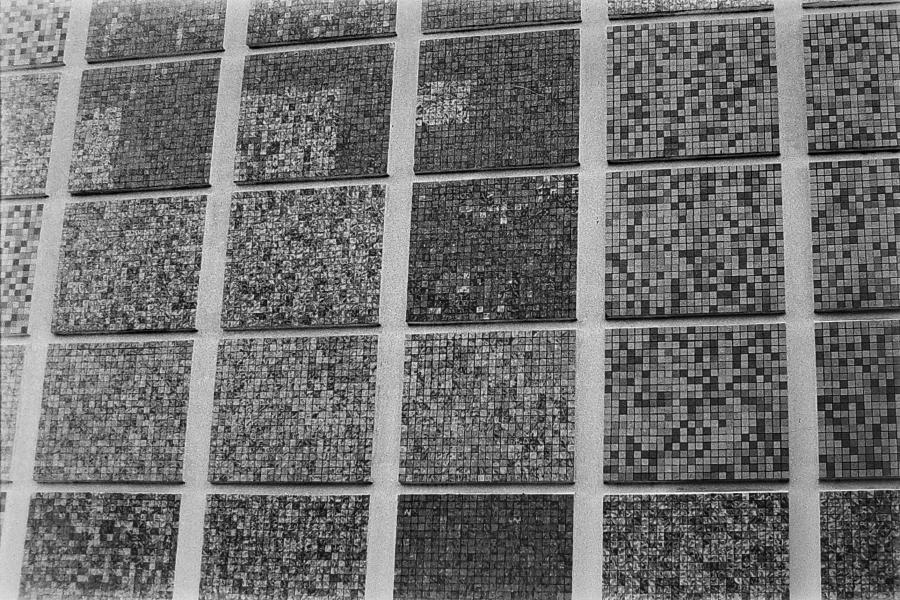
The lightleak is still present on the left of this frame, but I was otherwise happy with the detail on the tiles here. The contrast was also really nice. 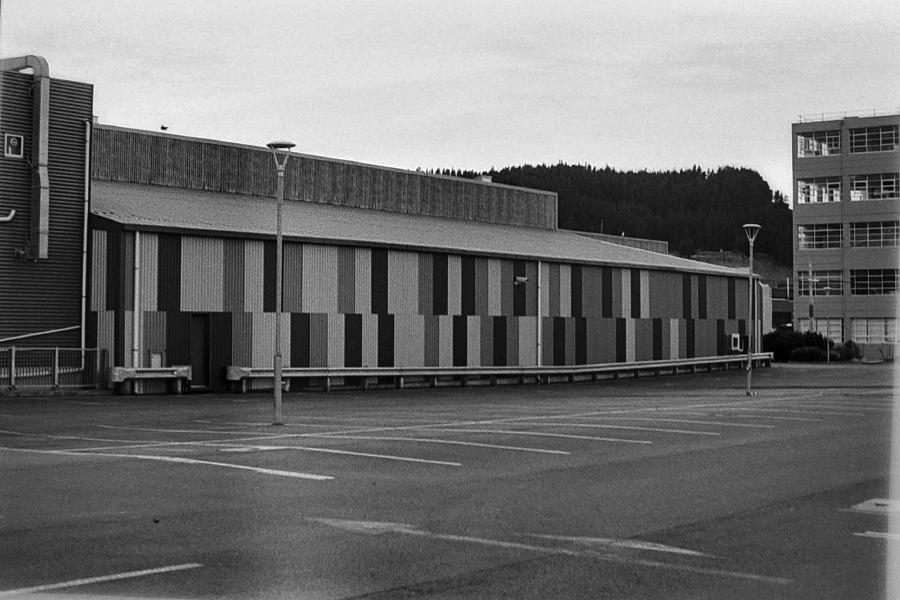
Same again on this frame, there’s a hint of a lightleak. Further, the sky is well overexposed here, although I think the shadow detail is okay, so perhaps that’s simply the tradeoff that must be made. 
The contrast in this composition was really pleasant. The dawn gave some great light, and nice shadows! 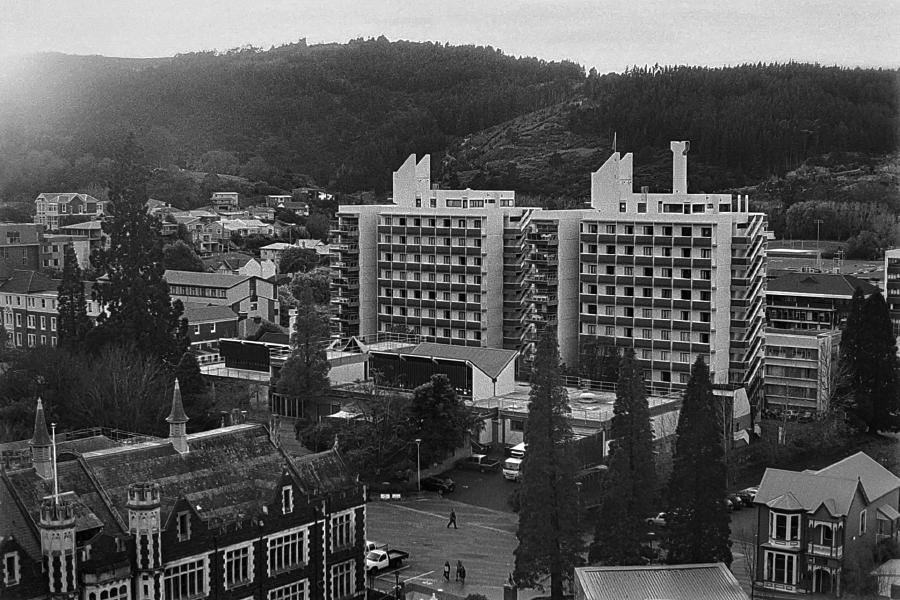
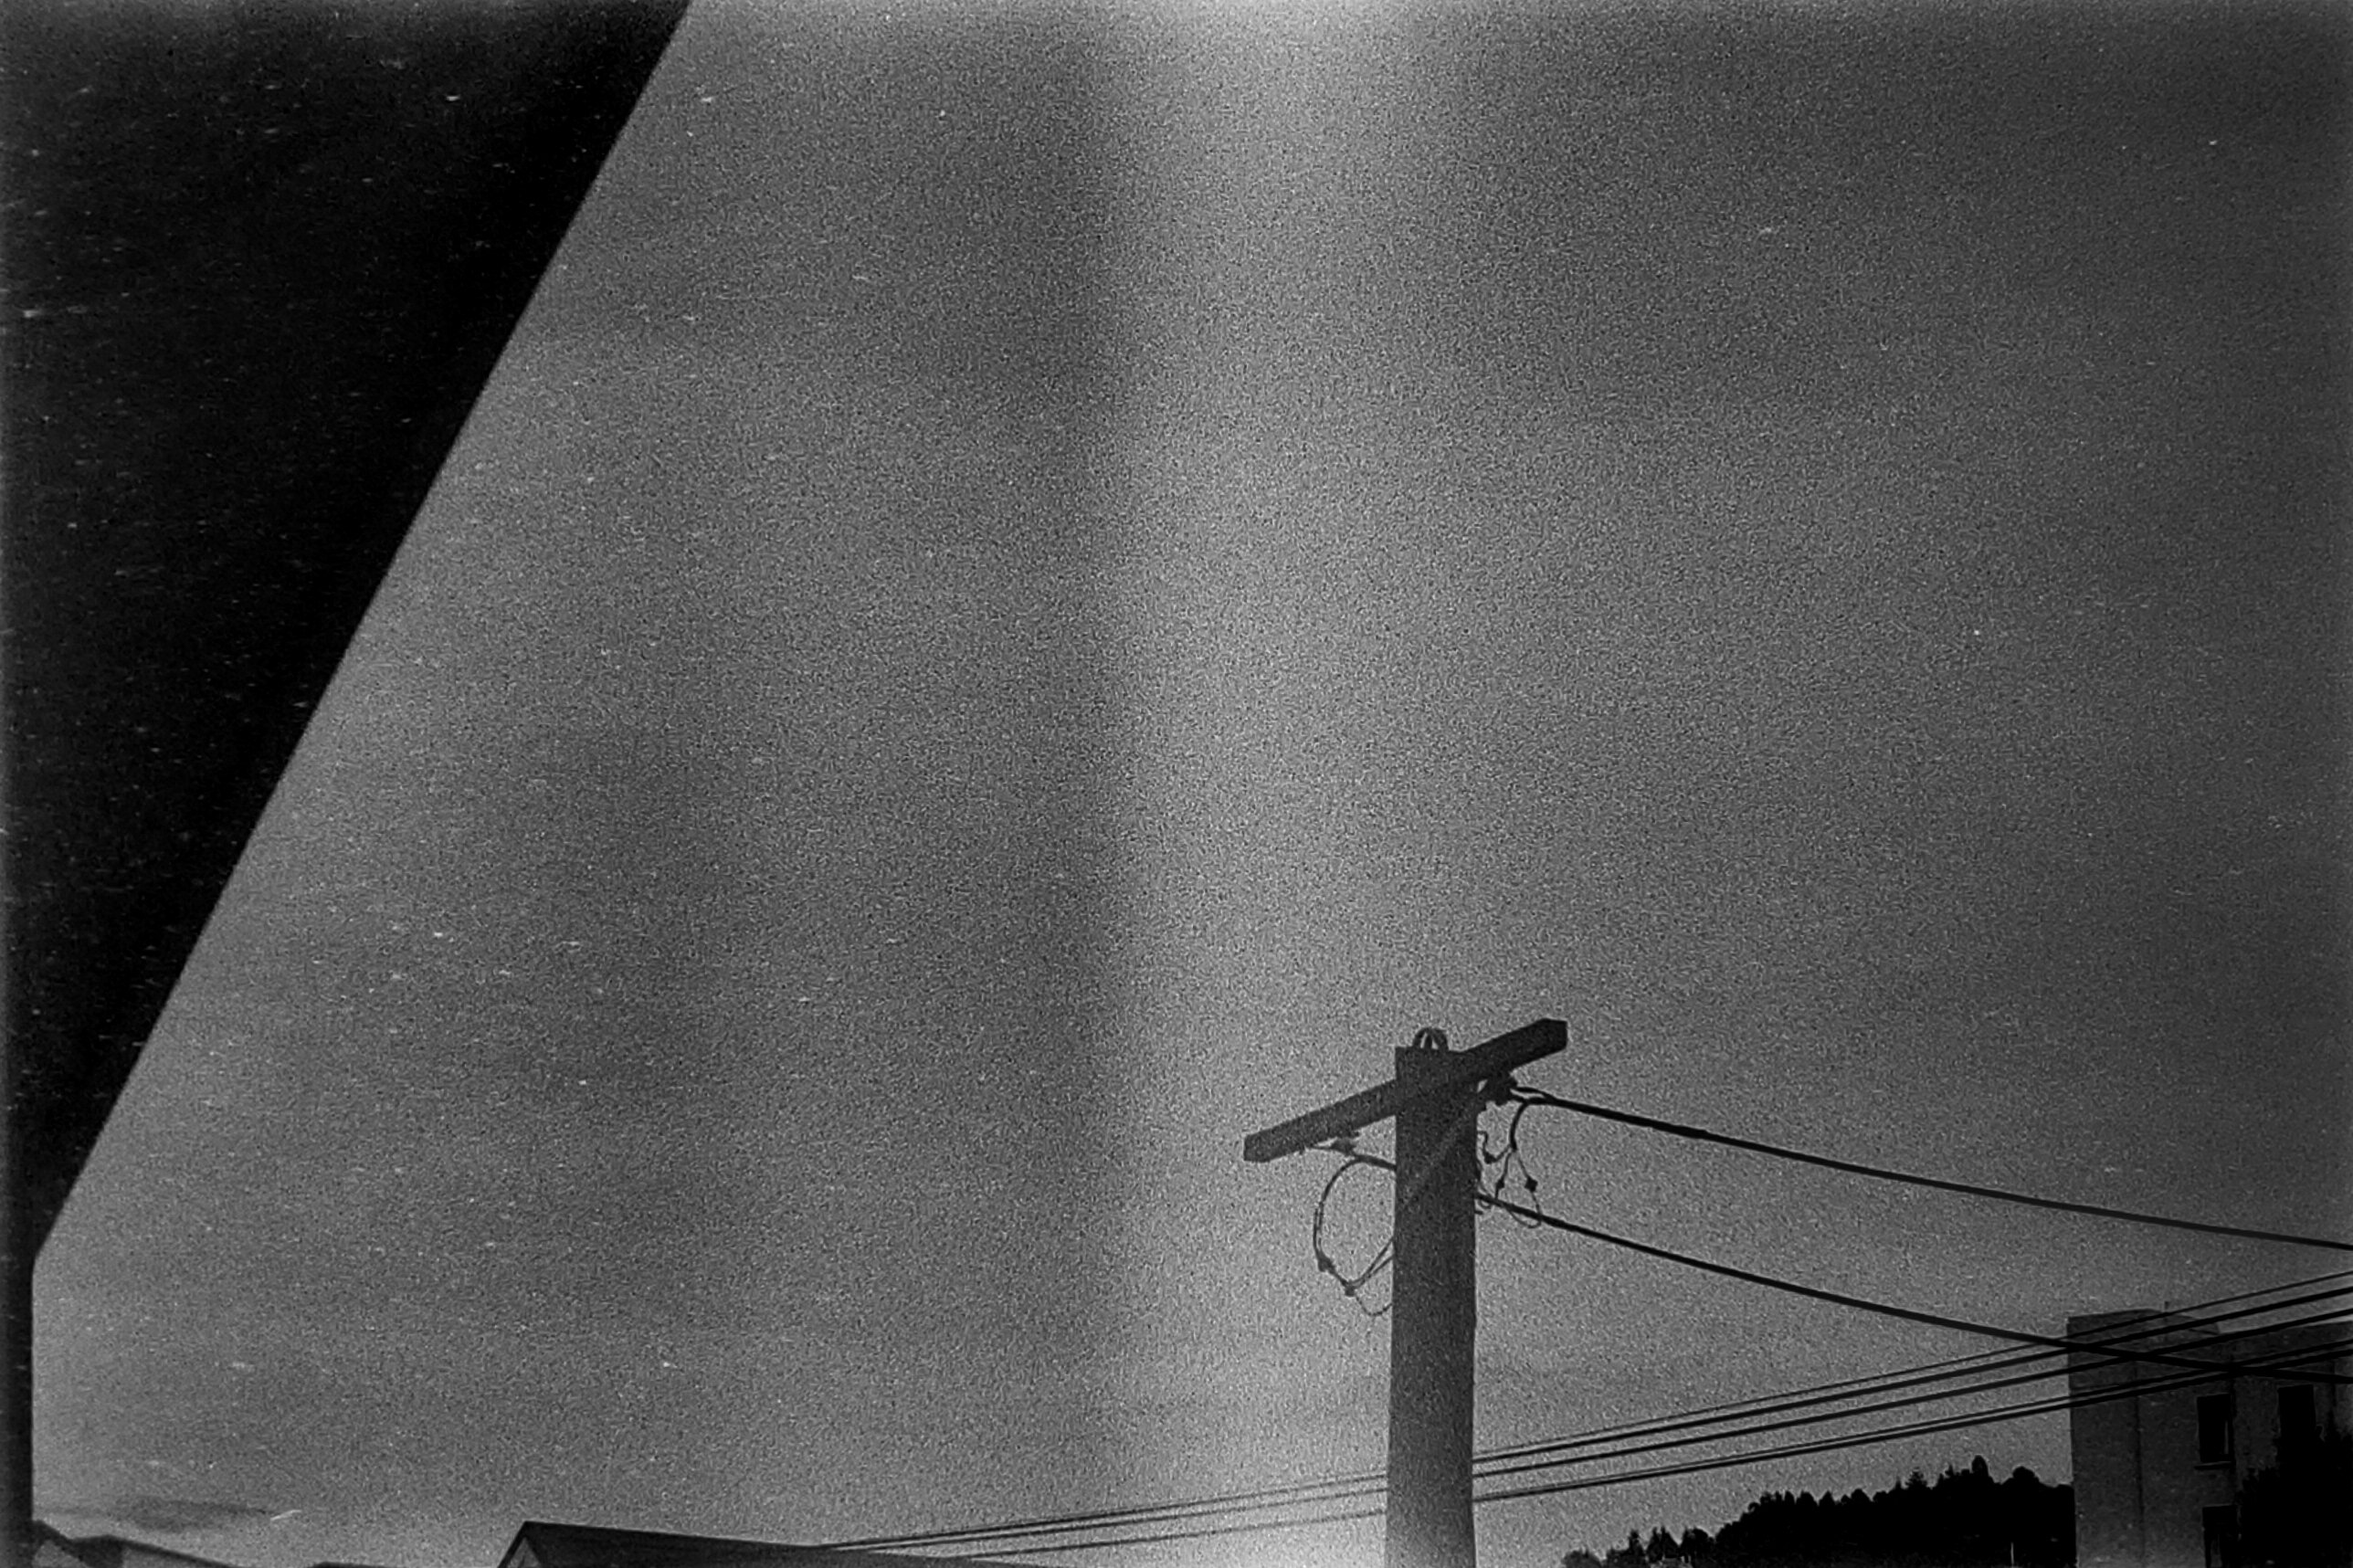
You may think the upper left is another lightleak, but thankfully the issue did not extend so far into the roll. No, that is the rising sun just out of frame. 
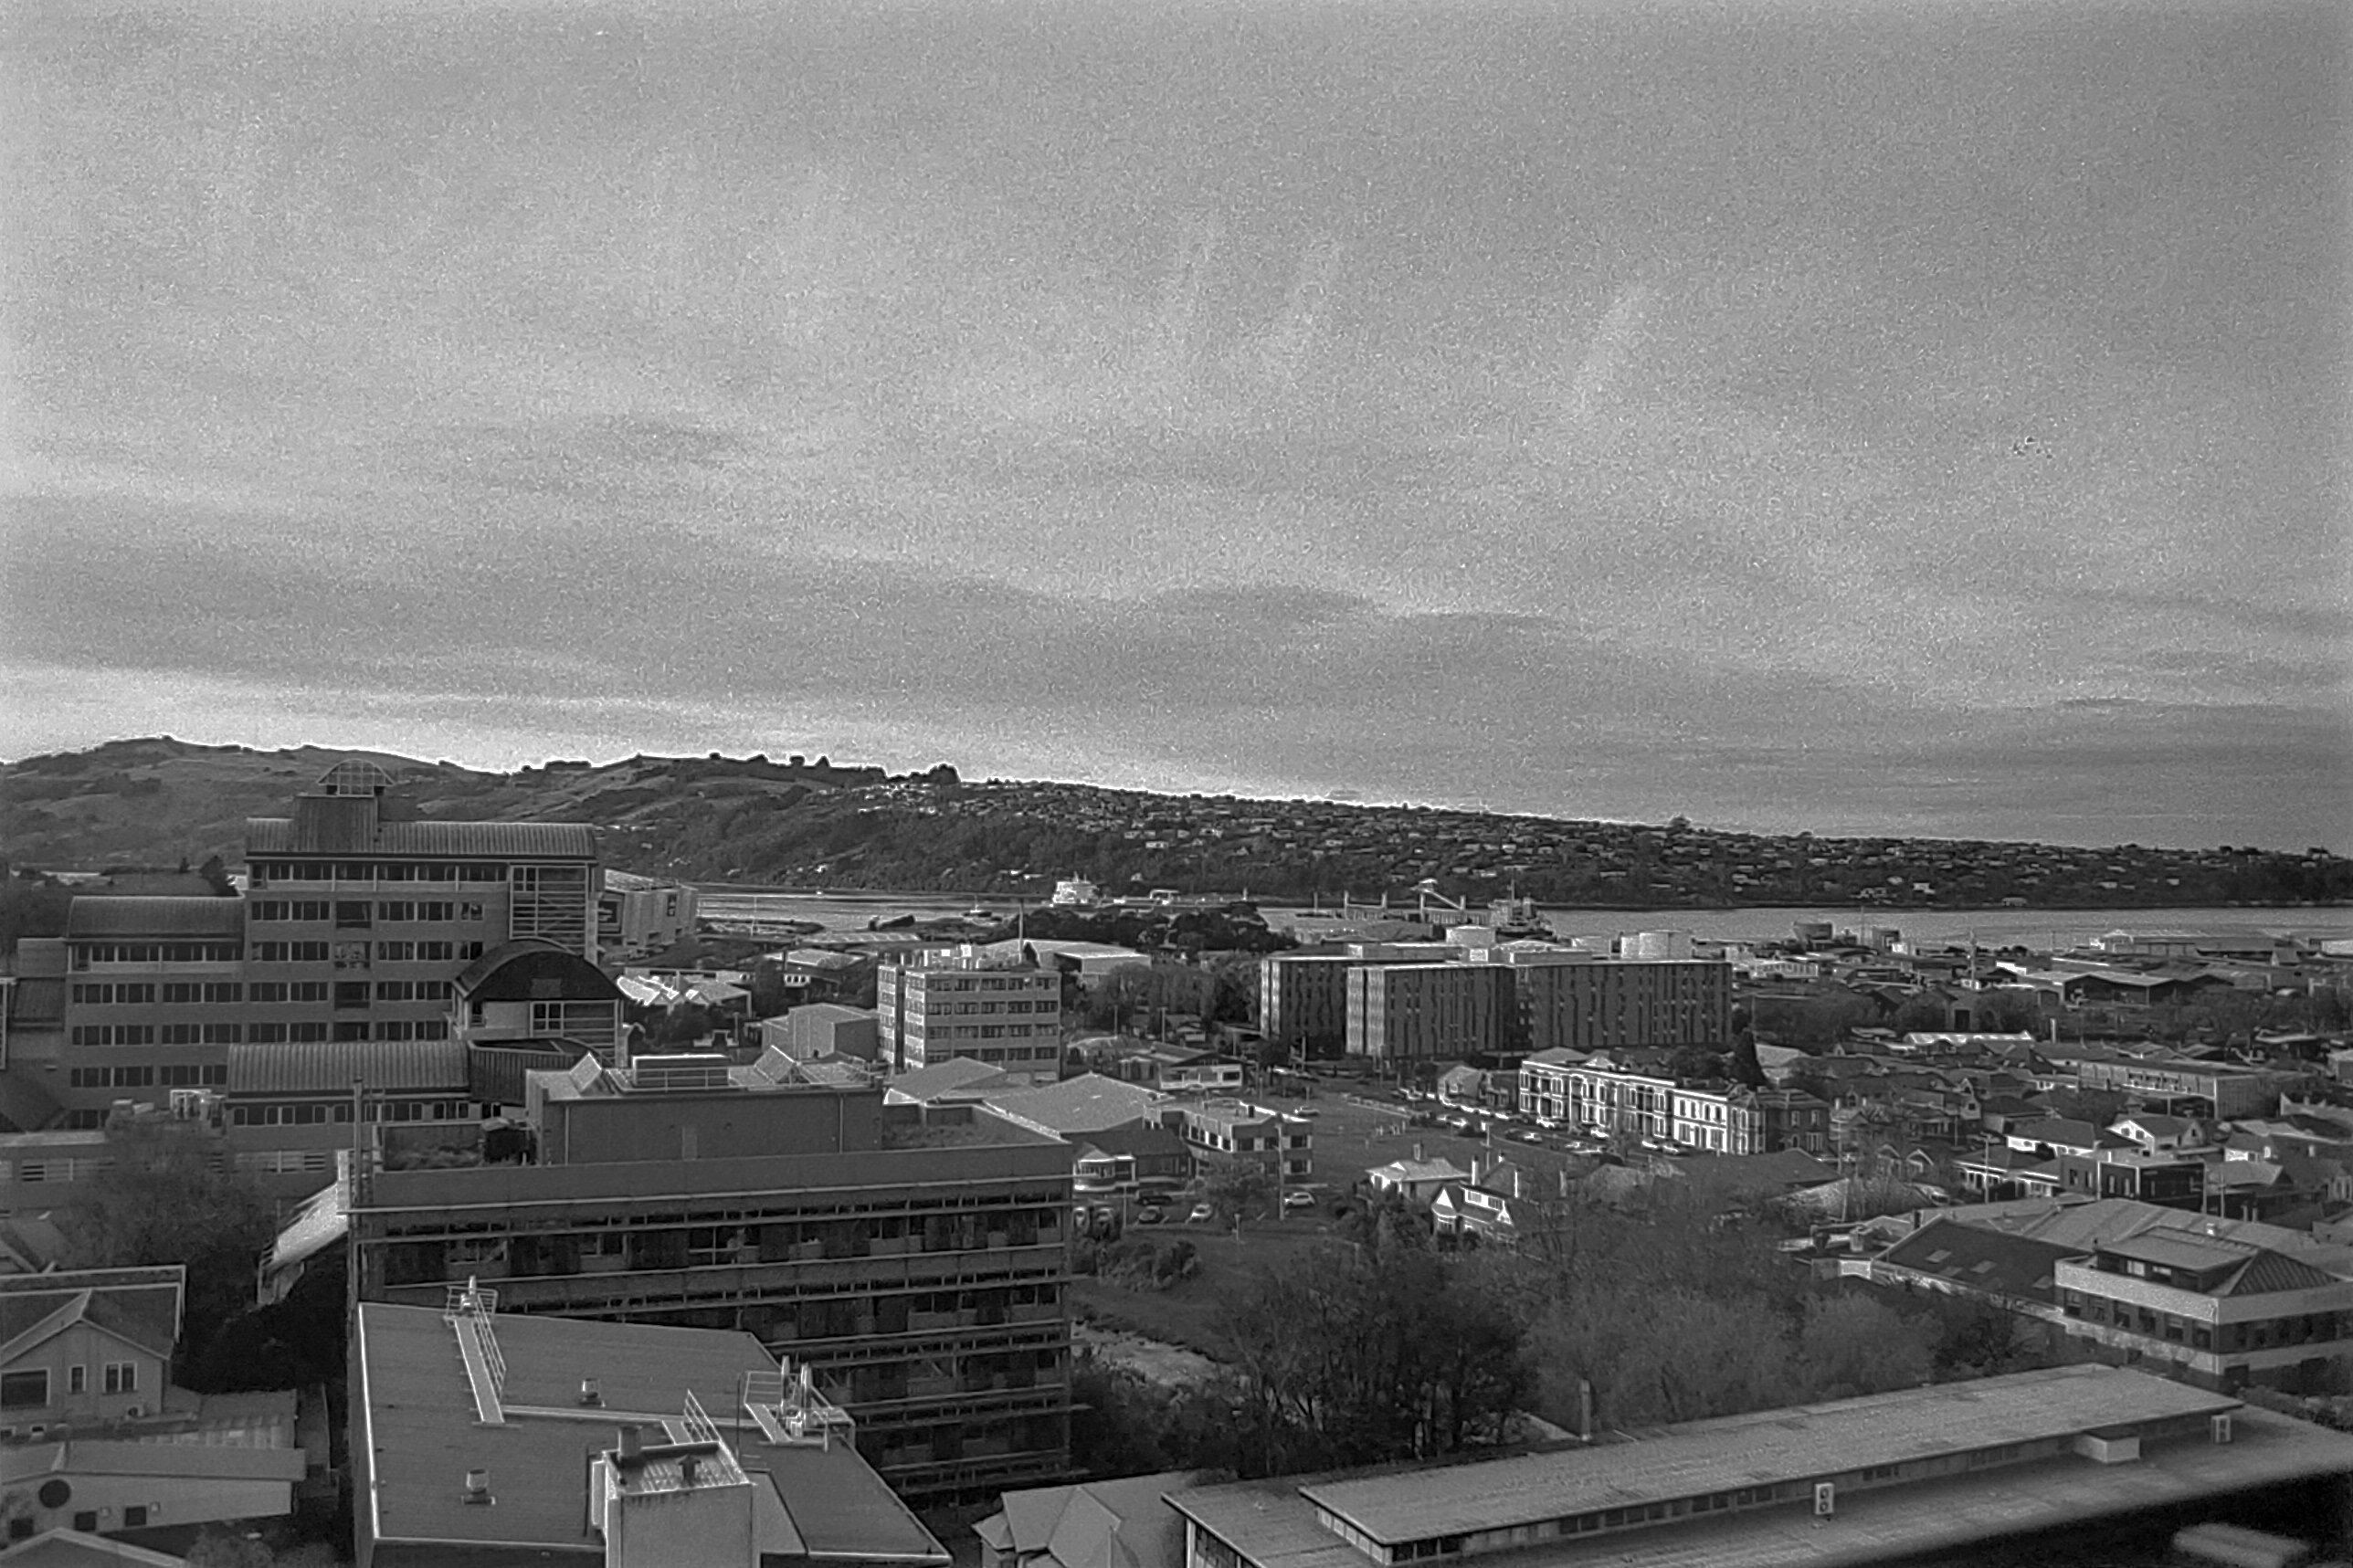
A shame the fluorescent lights are reflected in the windows, leaving odd streaks in the sky. Otherwise, I’m happy with the shadow details (see the side of the building facing us in the lower left) and the highlight details (contrasting the sky and clouds). 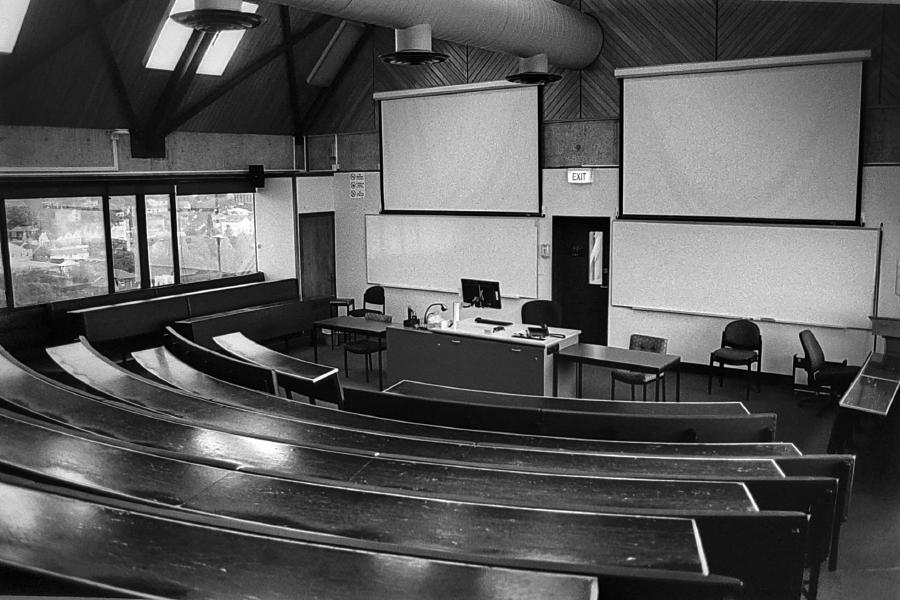
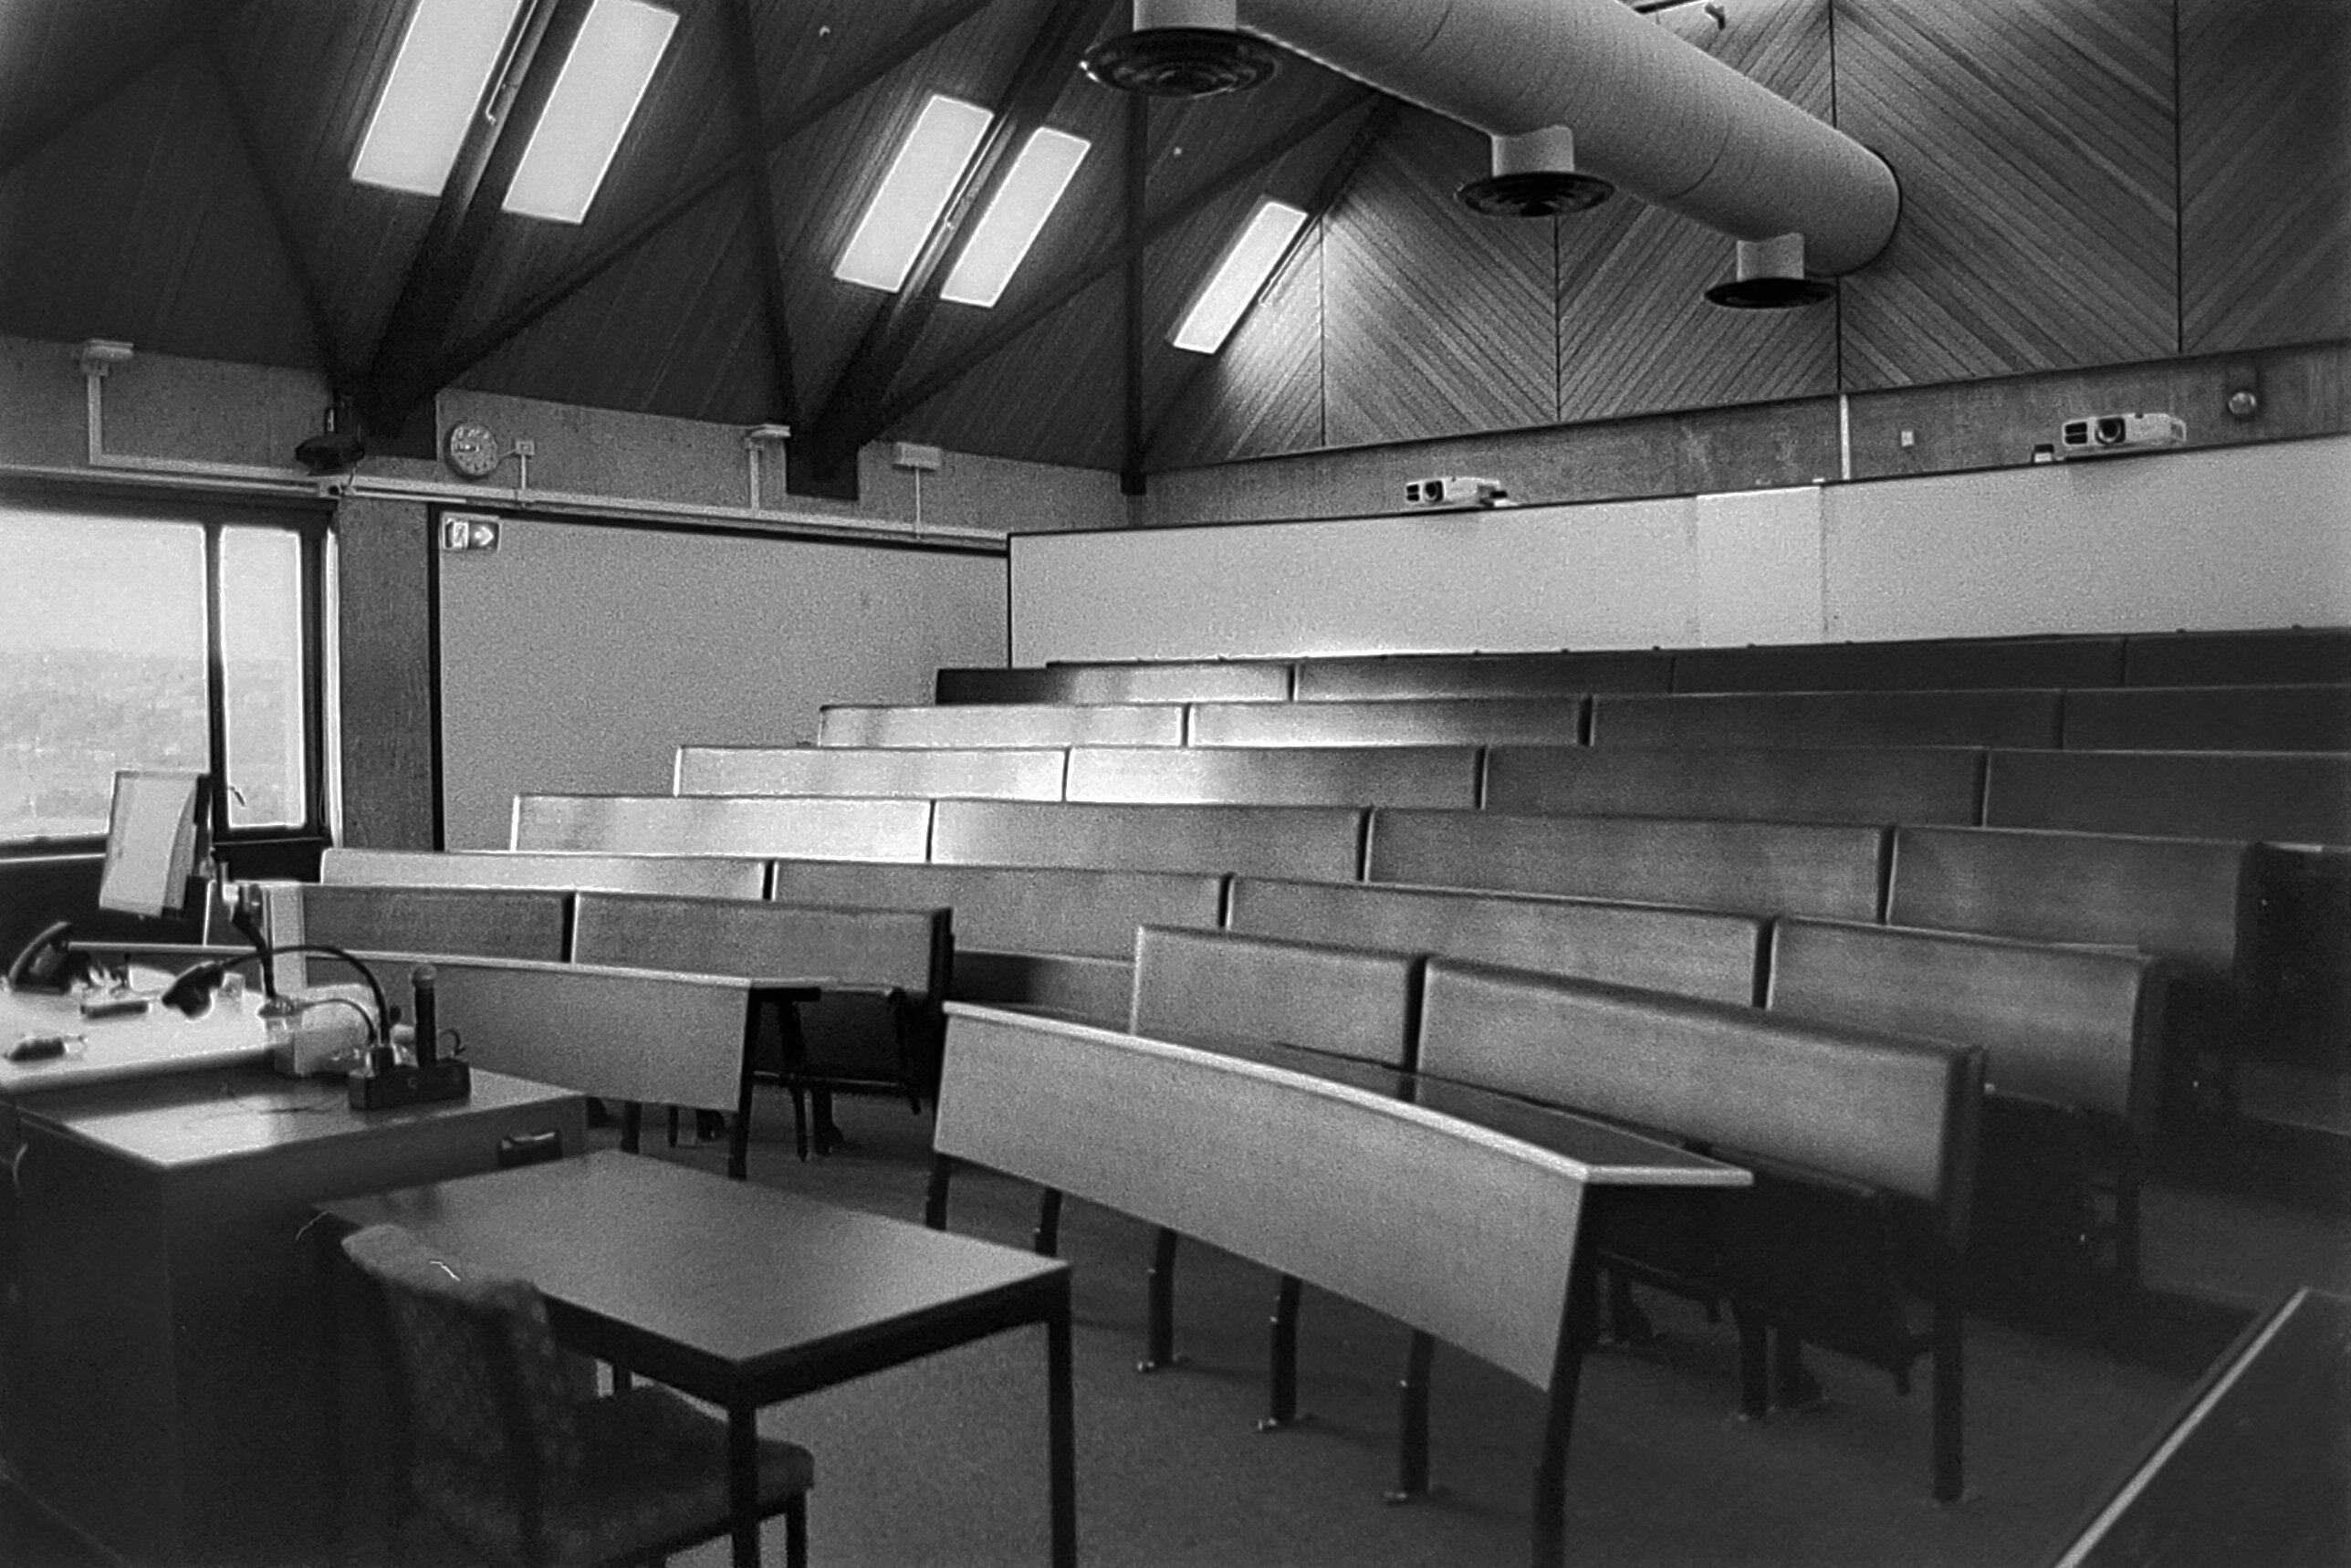
A student’s perspective of a lecture theatre, and… 
The lecturer’s. If I had a half frame camera, these would have made for a nice paired composition. 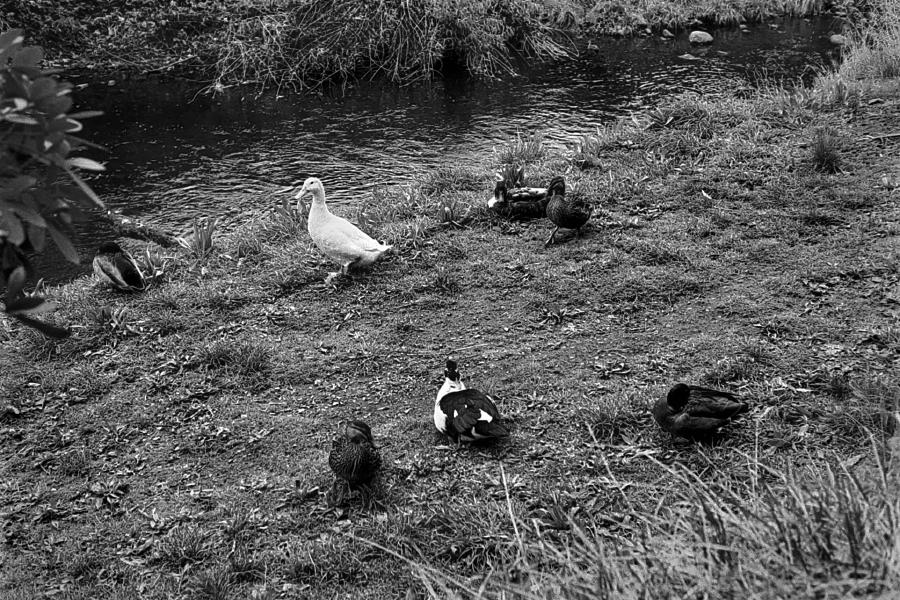
The return of the duck family! Be wary of your Spoonerisms, there. 
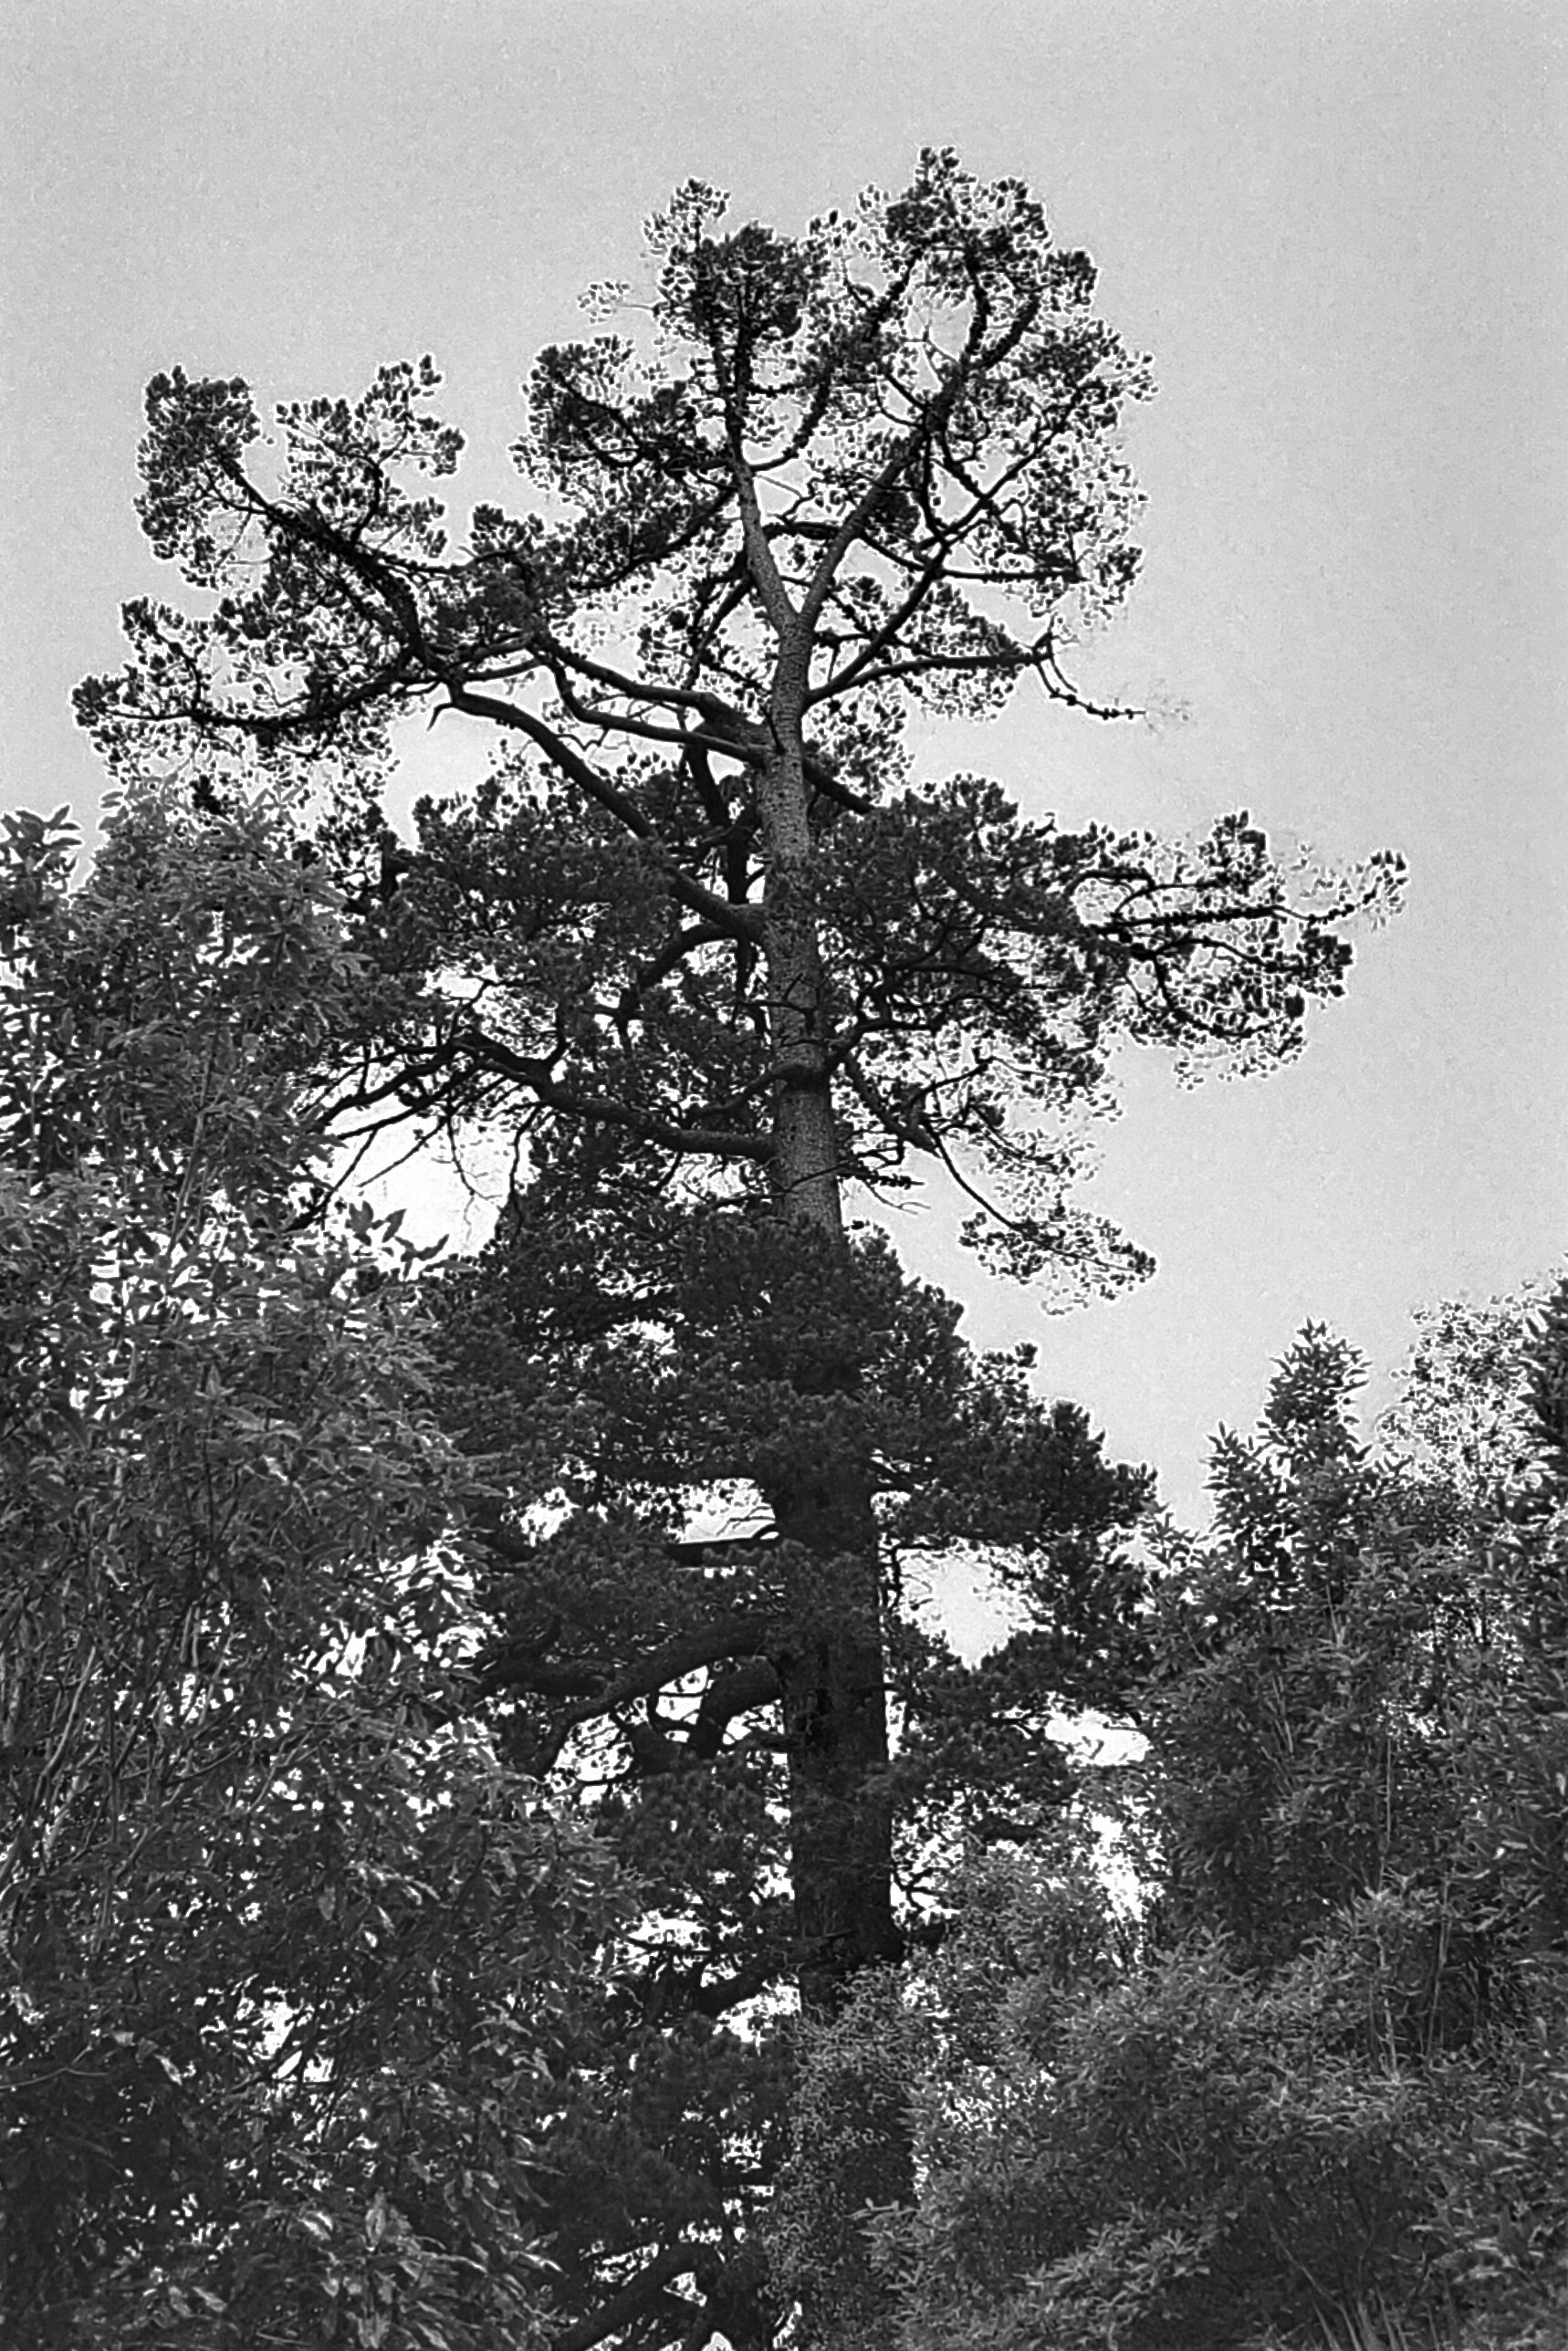
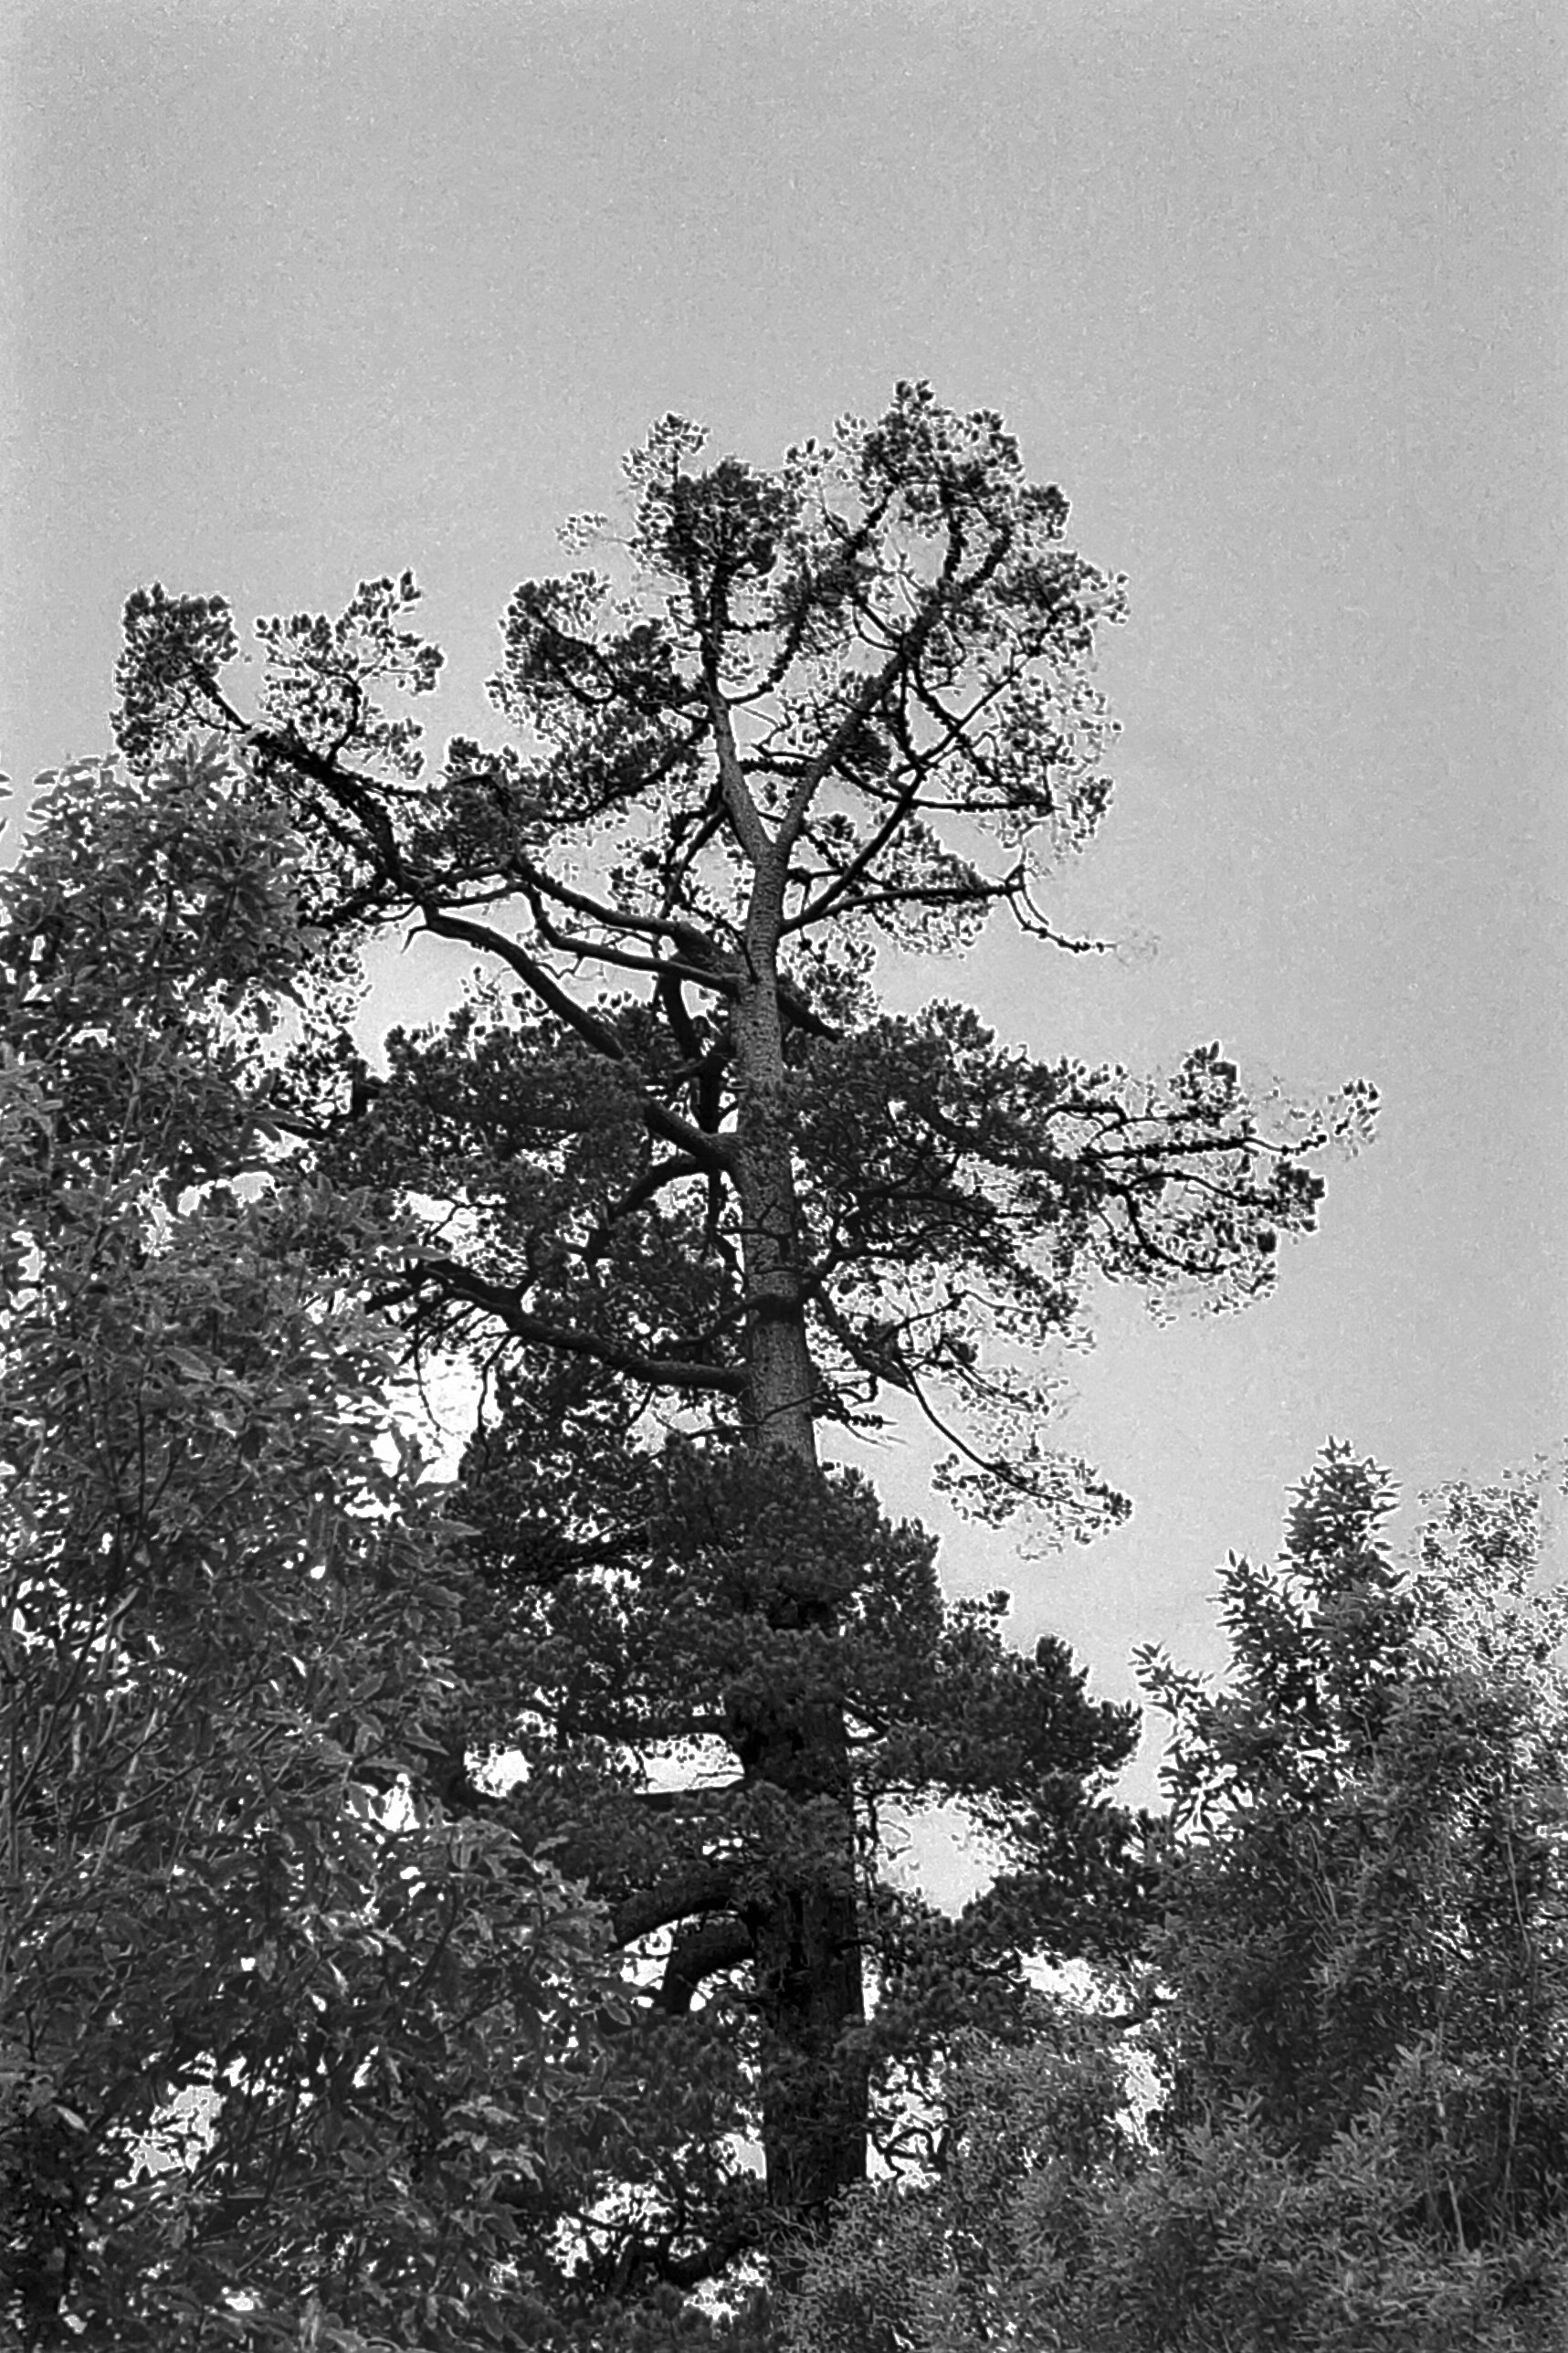
A quick replication of a much earlier photo, trying to get details on a tree that is backlit by a harsh sky. I overexposed based on the lightmeter reading to compensate for the backlit sky, and I think this frame has some pretty nice detail. 
I bracketed the shot, just to be sure. Here’s the same composition but overexposed another stop. Honestly, I can barely tell the difference between the two. Both are good, and get the detail on the tree that I wanted. 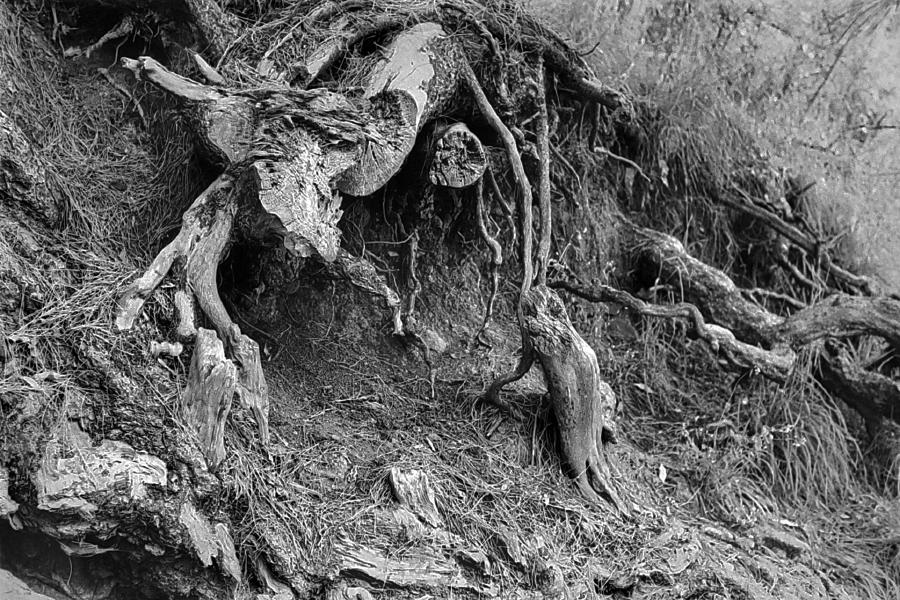
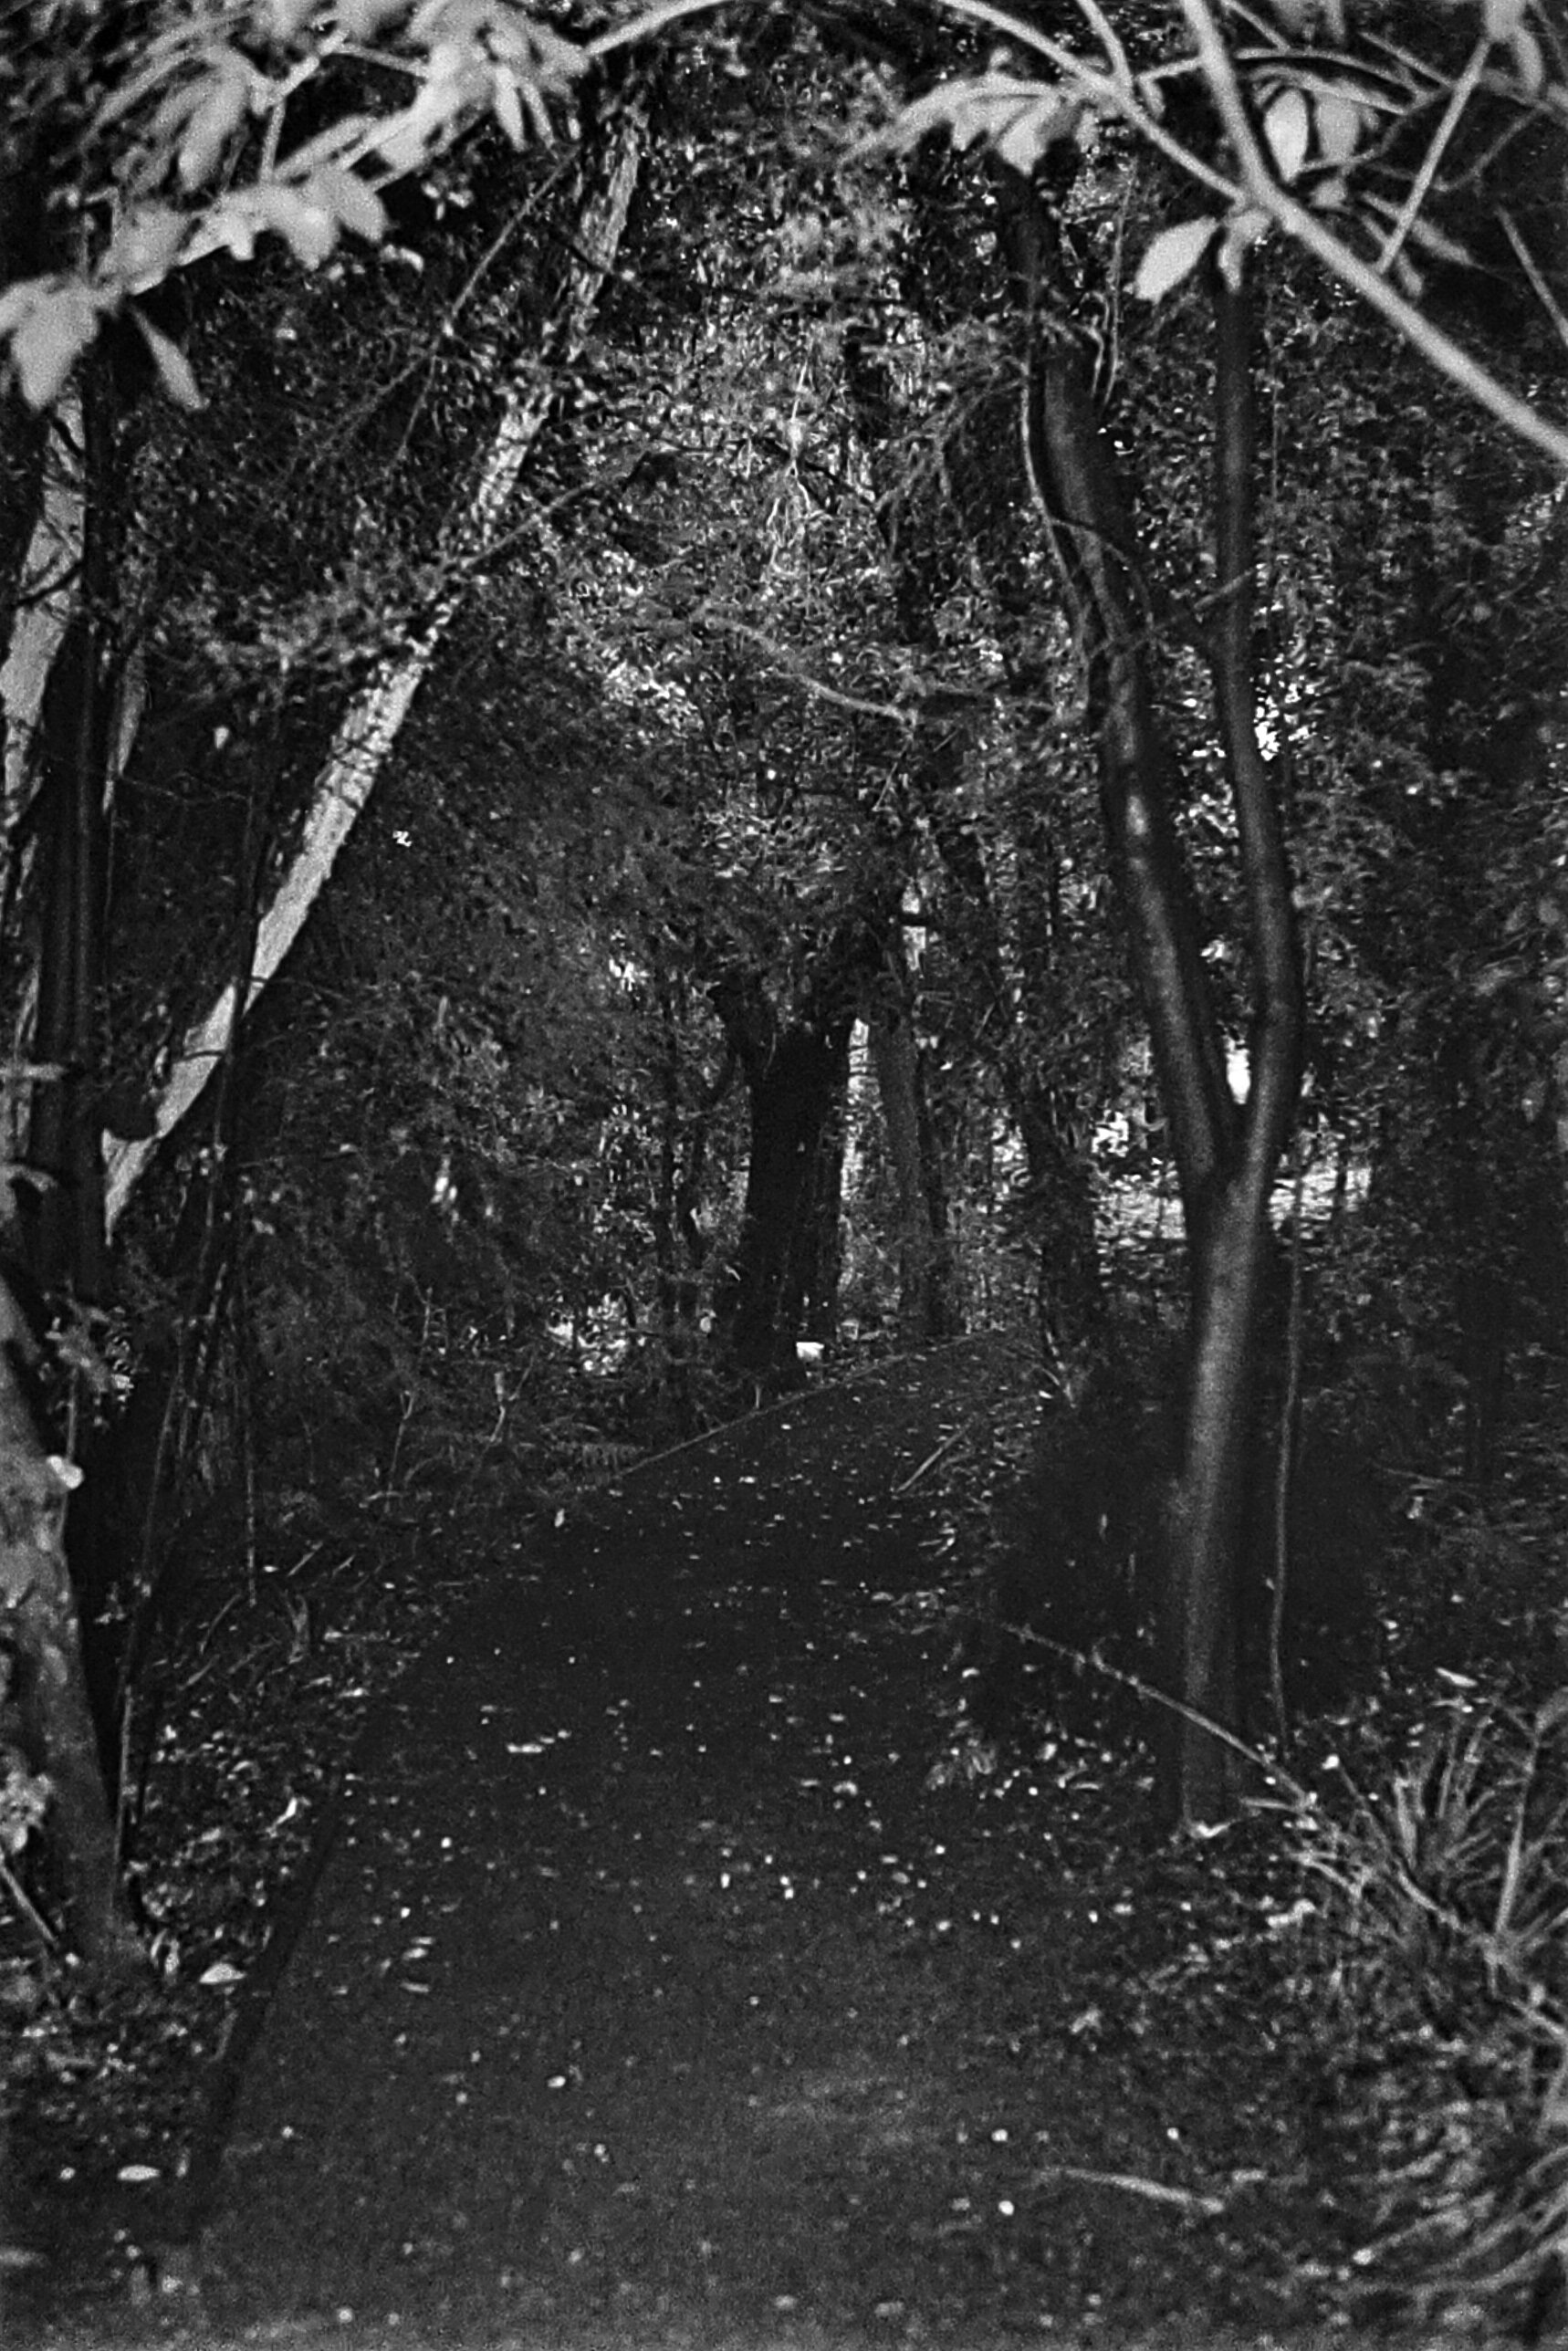
A little too overexposed here, but some nice tree roots and good detail on the fallen pine needles. 
Here’s a quick filter test. This image was taken with a yellow filter. 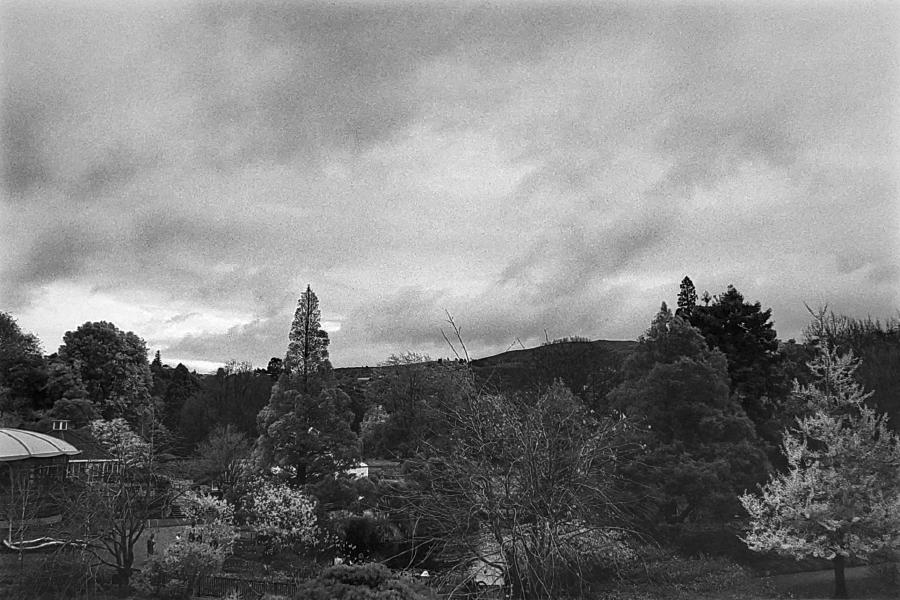
An orange filter. 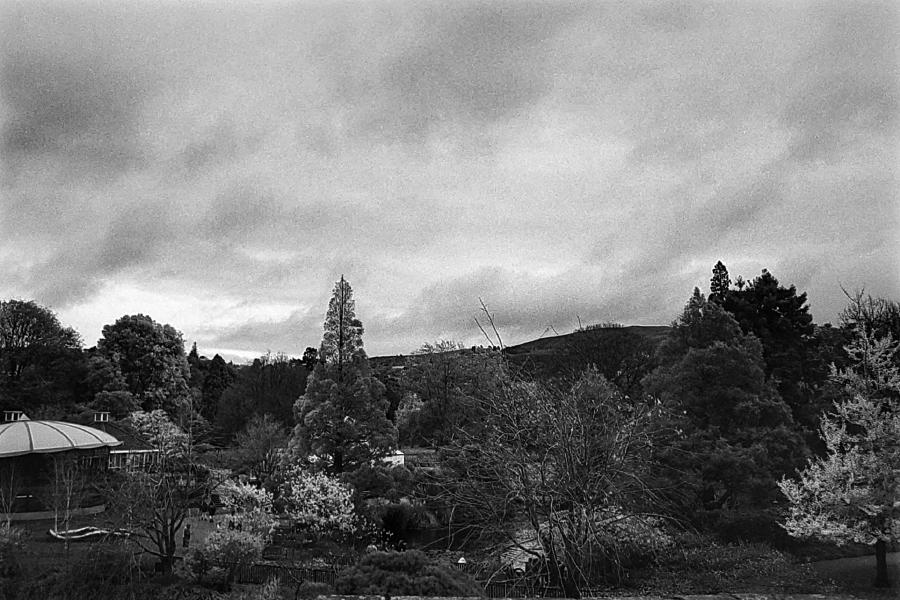
And finally a red filter. I should have realized the yellow filter was a stop more exposed, as this ruined the test a little. Oh well! In general, we expect more contrast in the clouds as we move from yellow to orange to red, but that’s not quite what we see here. Perhaps, in future, I’ll use whatever takes my fancy! 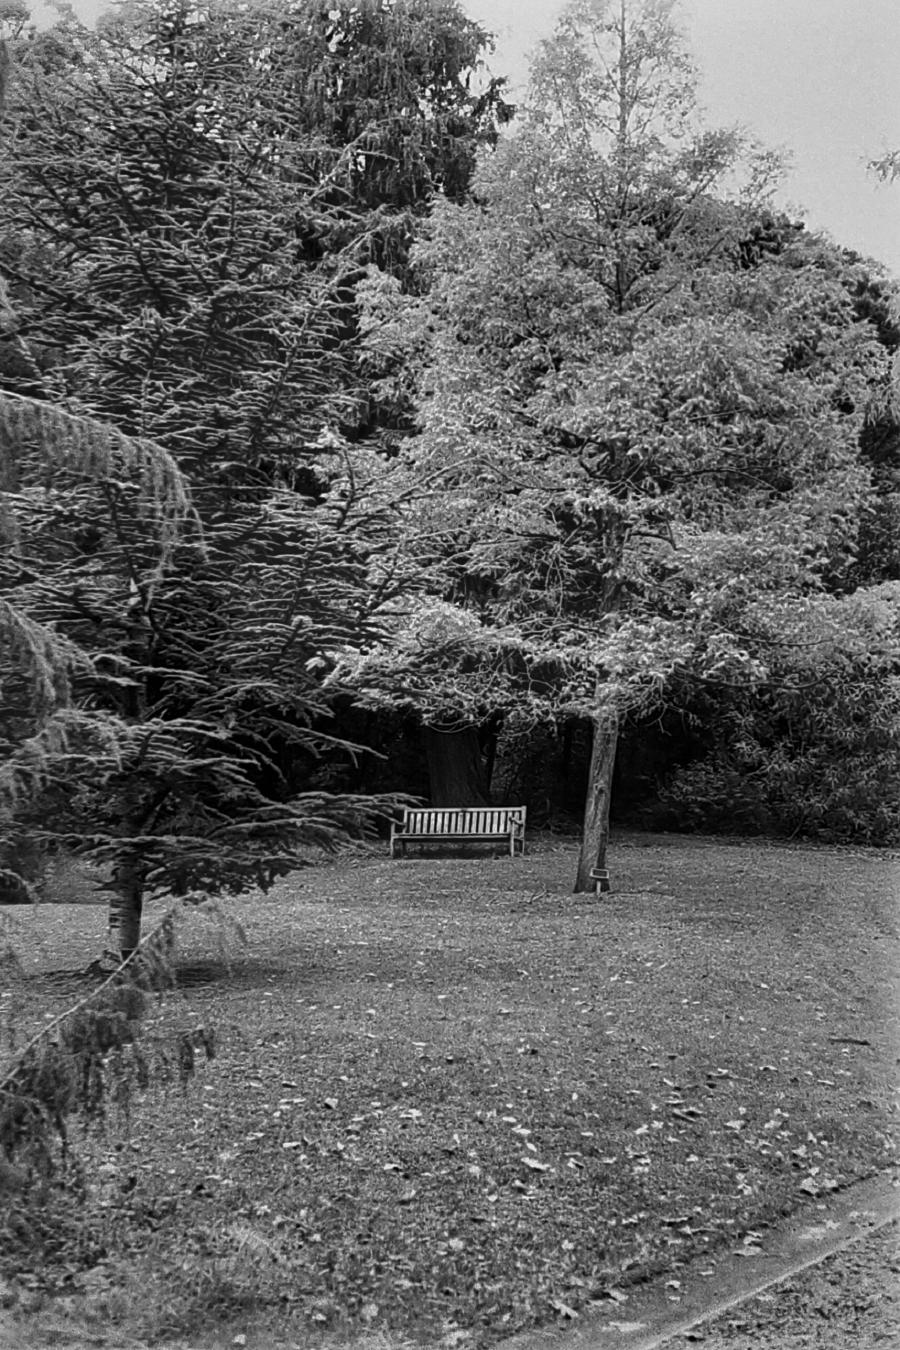
Really happy with this composition. The two trees framing the bench had two very different leaf colors which came through in black and white very well. 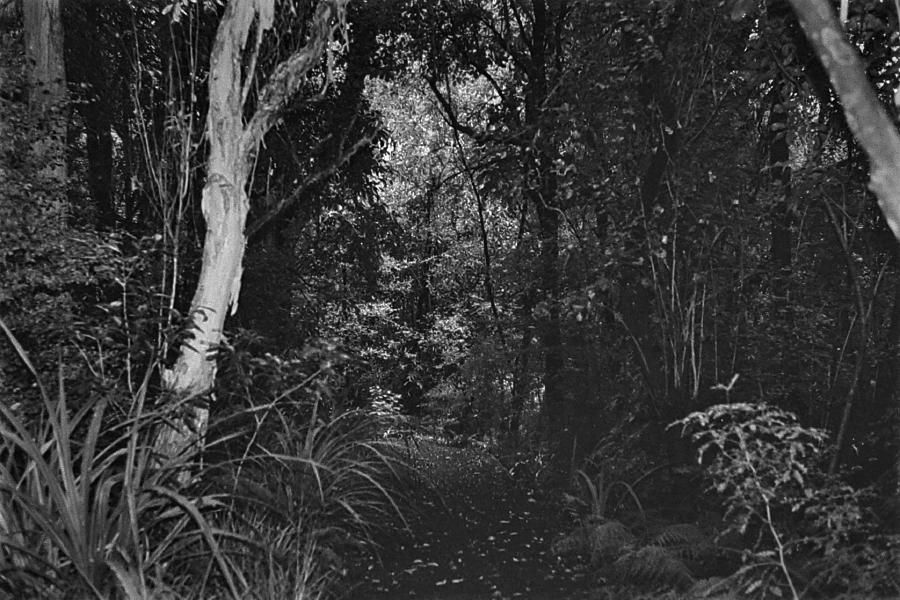
The next two frames are an attempt at using a flash in the wild. As expected, when the “subject” (the foliage and path) is spread over a large distance to the camera, the flash doesn’t work so well. 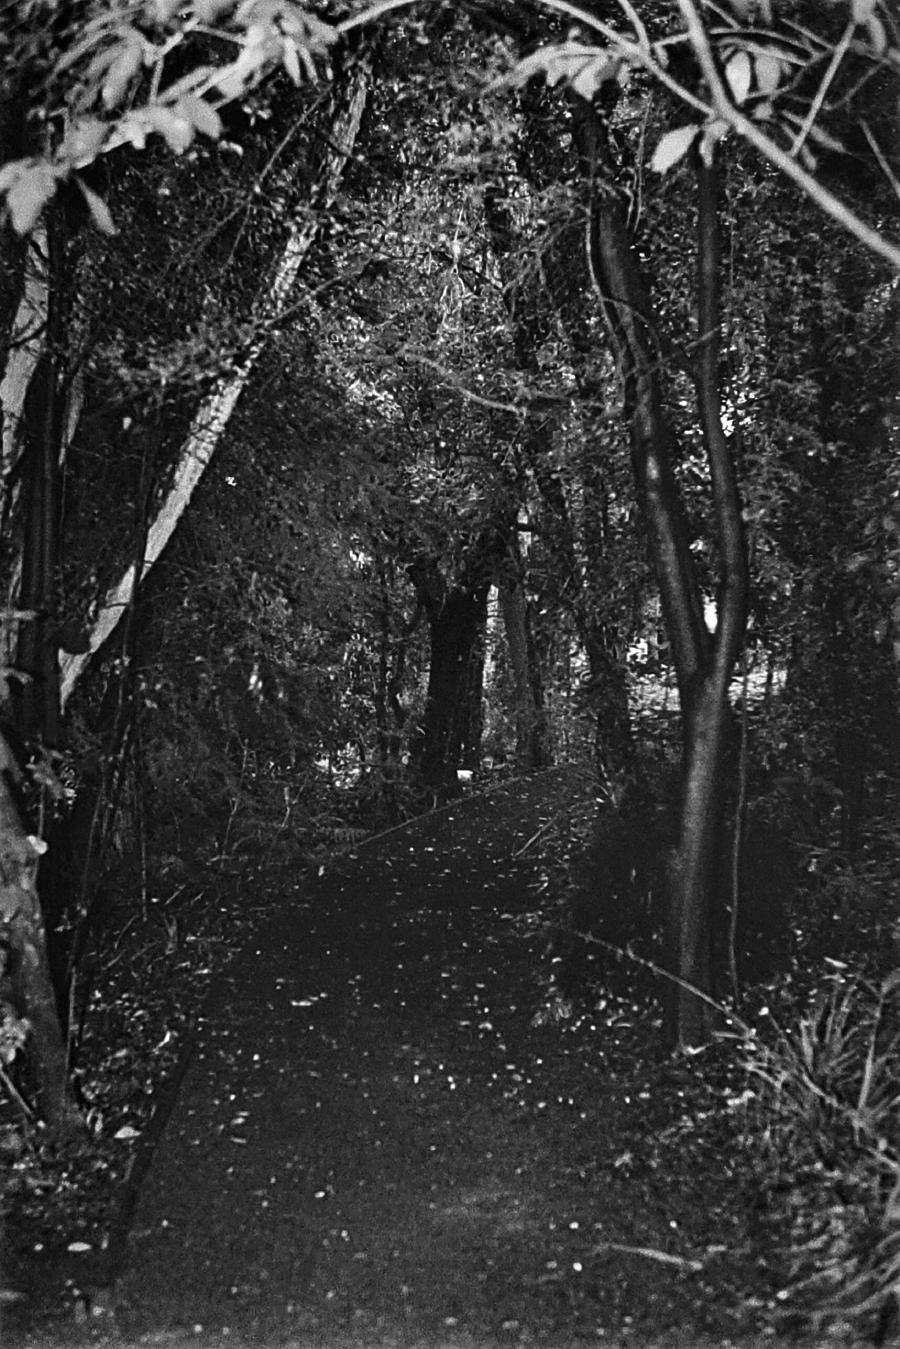
The nearest objects are lit well, since they simply have more photons to reflect. I’ll consider further how to better utilize the flash… 
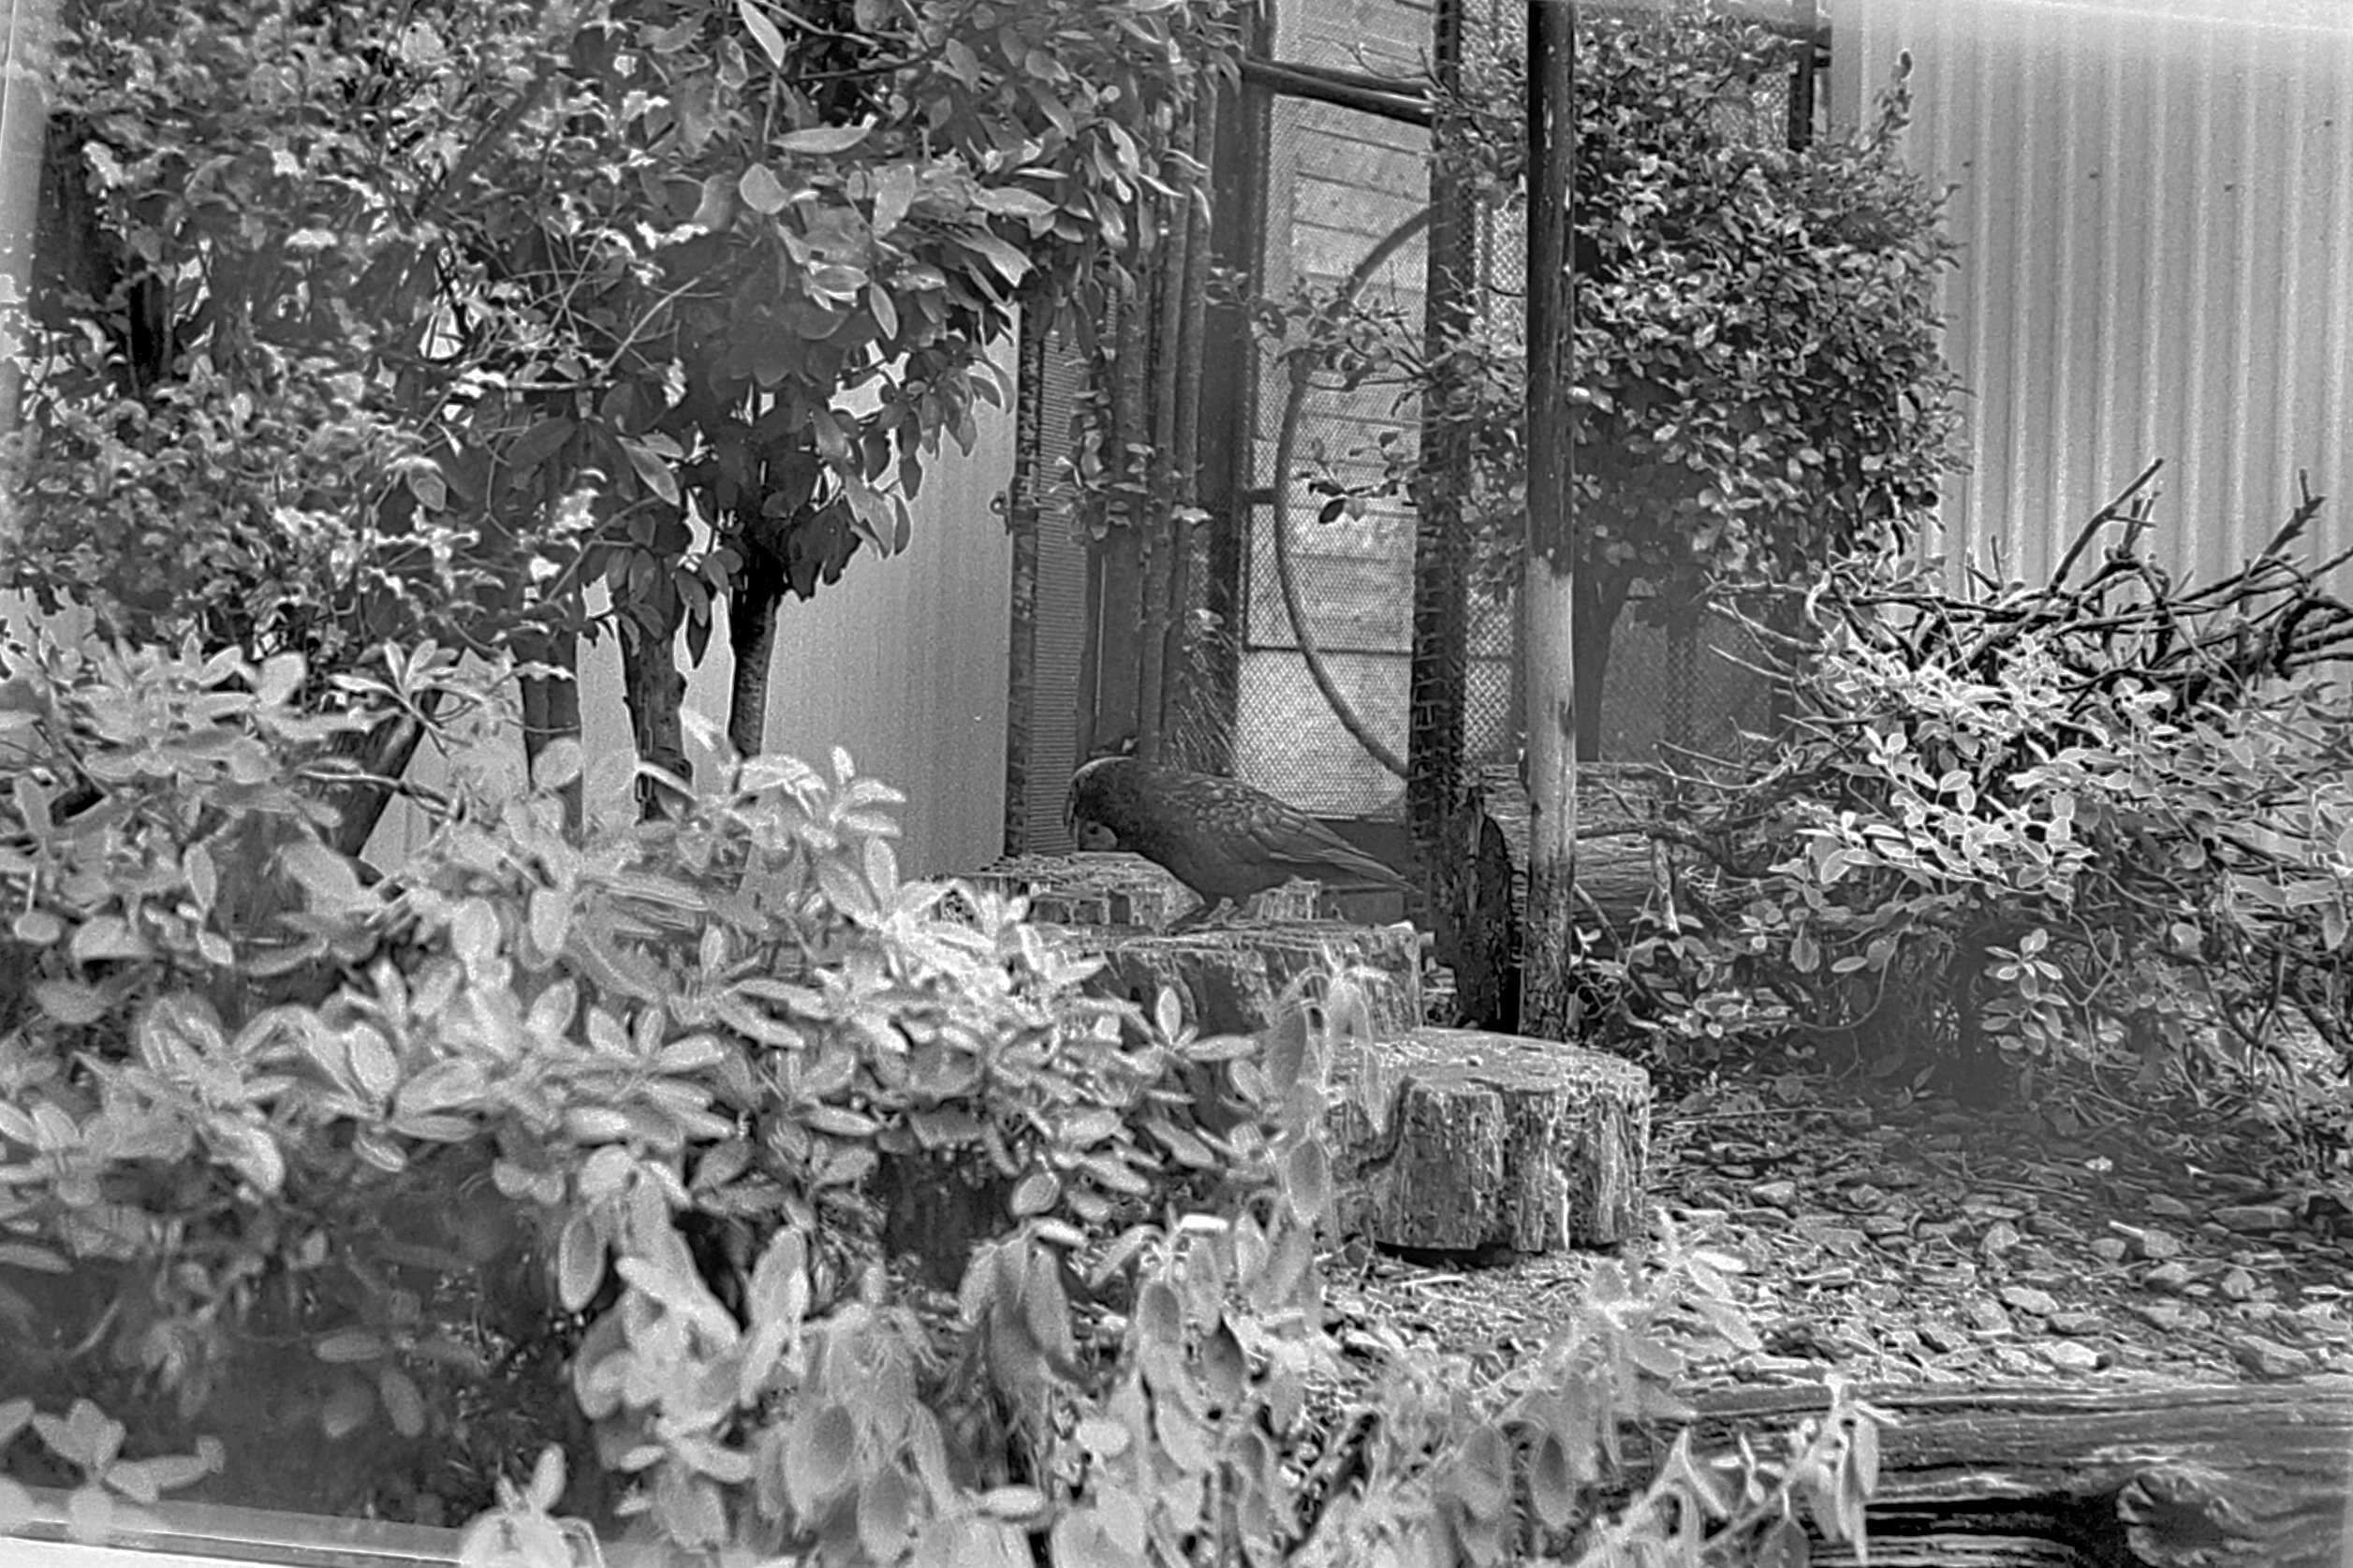
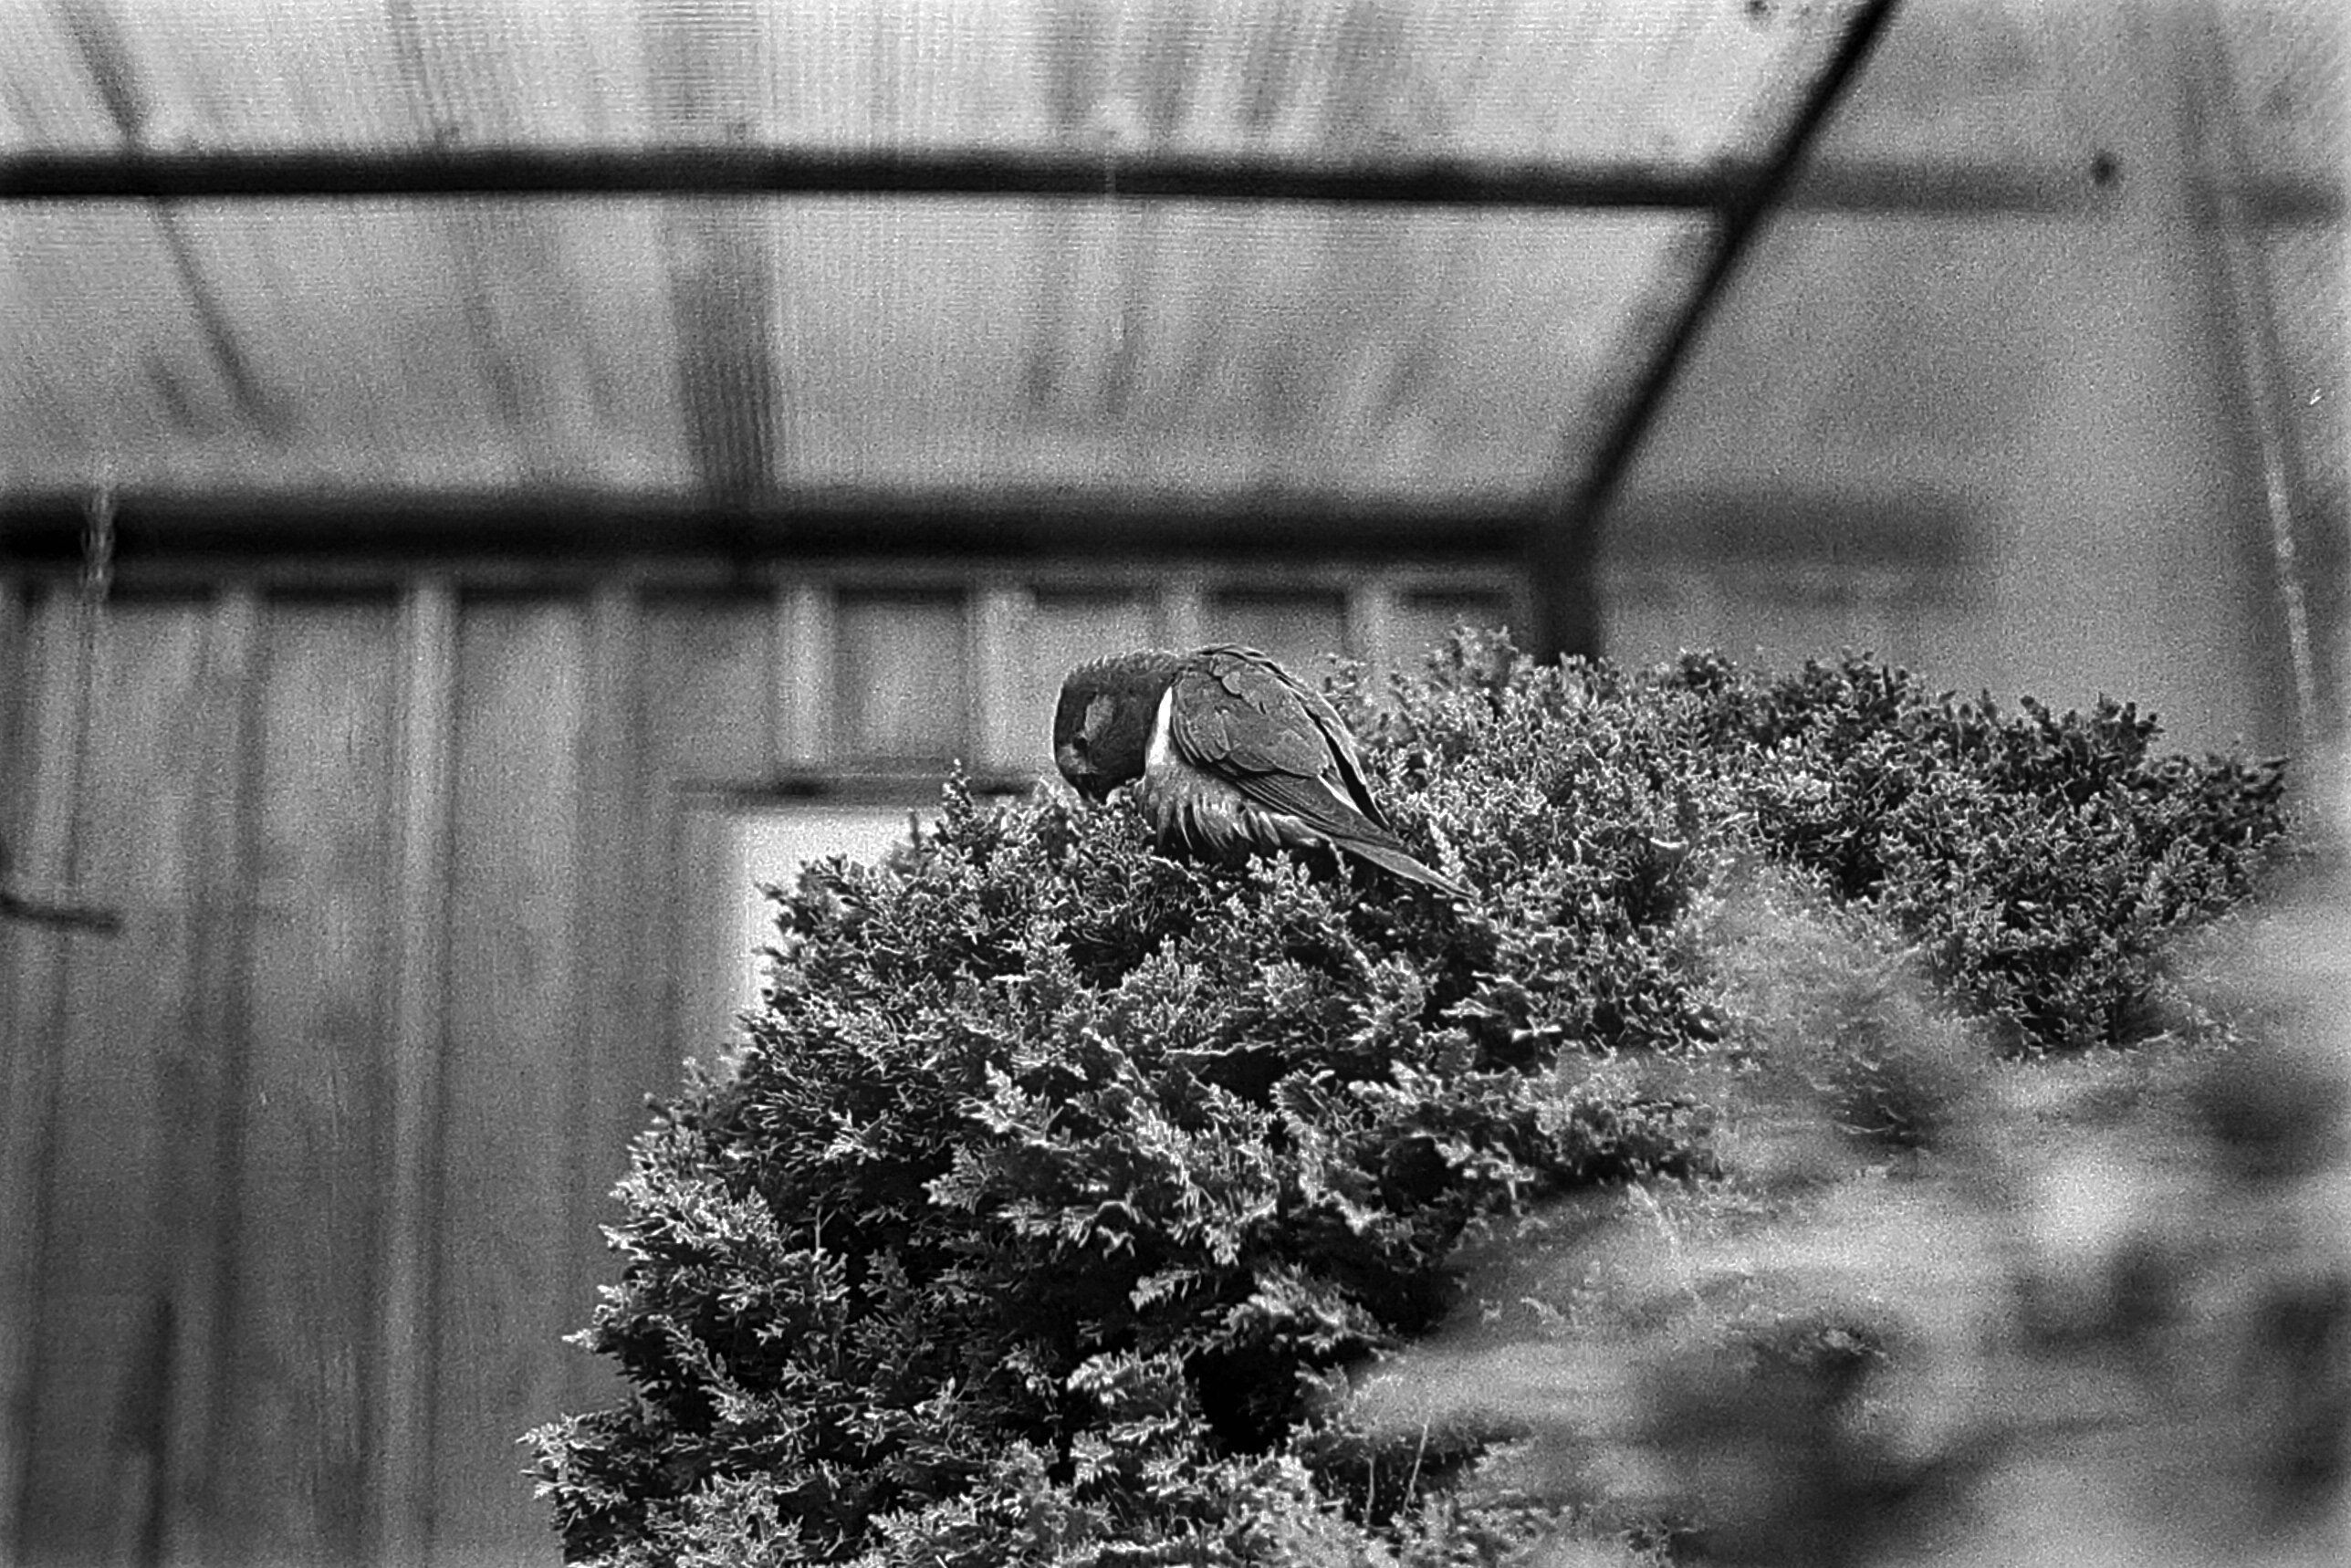
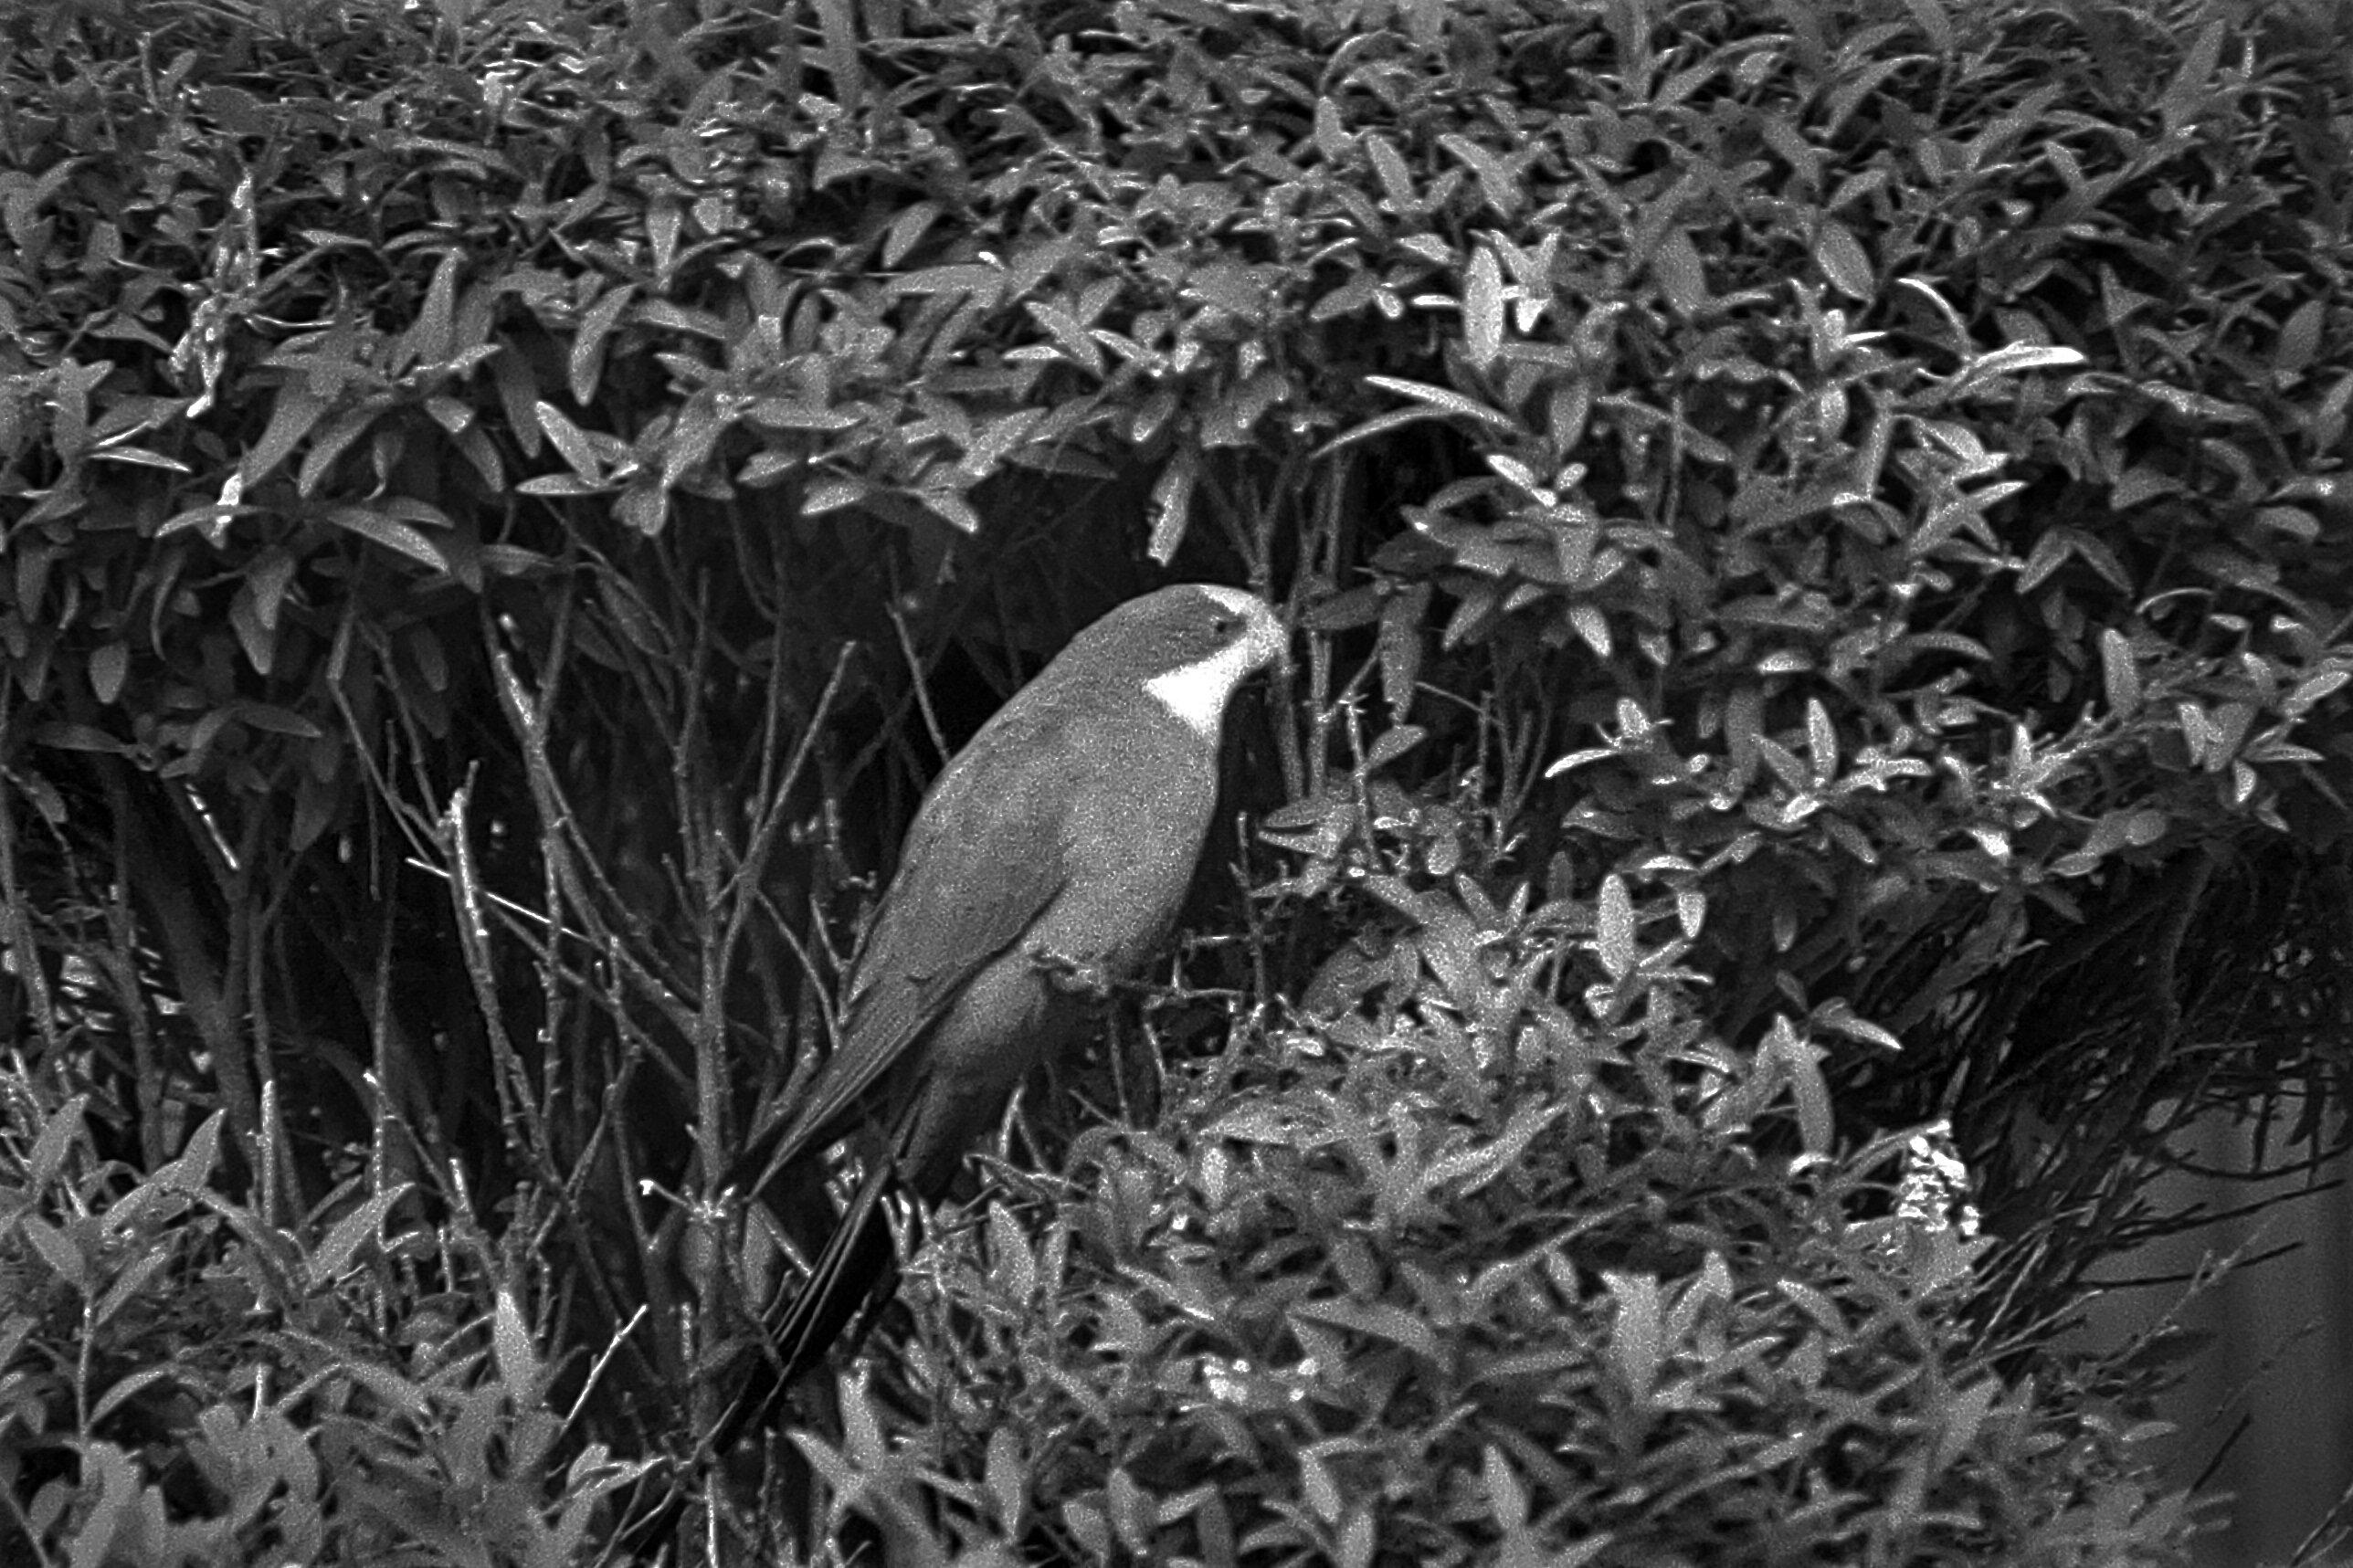
Rounding off the roll with some images of birds from the aviary at the Dunedin Botanic Gardens. Here’s a tip: keeping a wide open aperture and focusing far away will make the mesh in the foreground disappear. Now it seems like you’re taking the photo within the enclosure! 
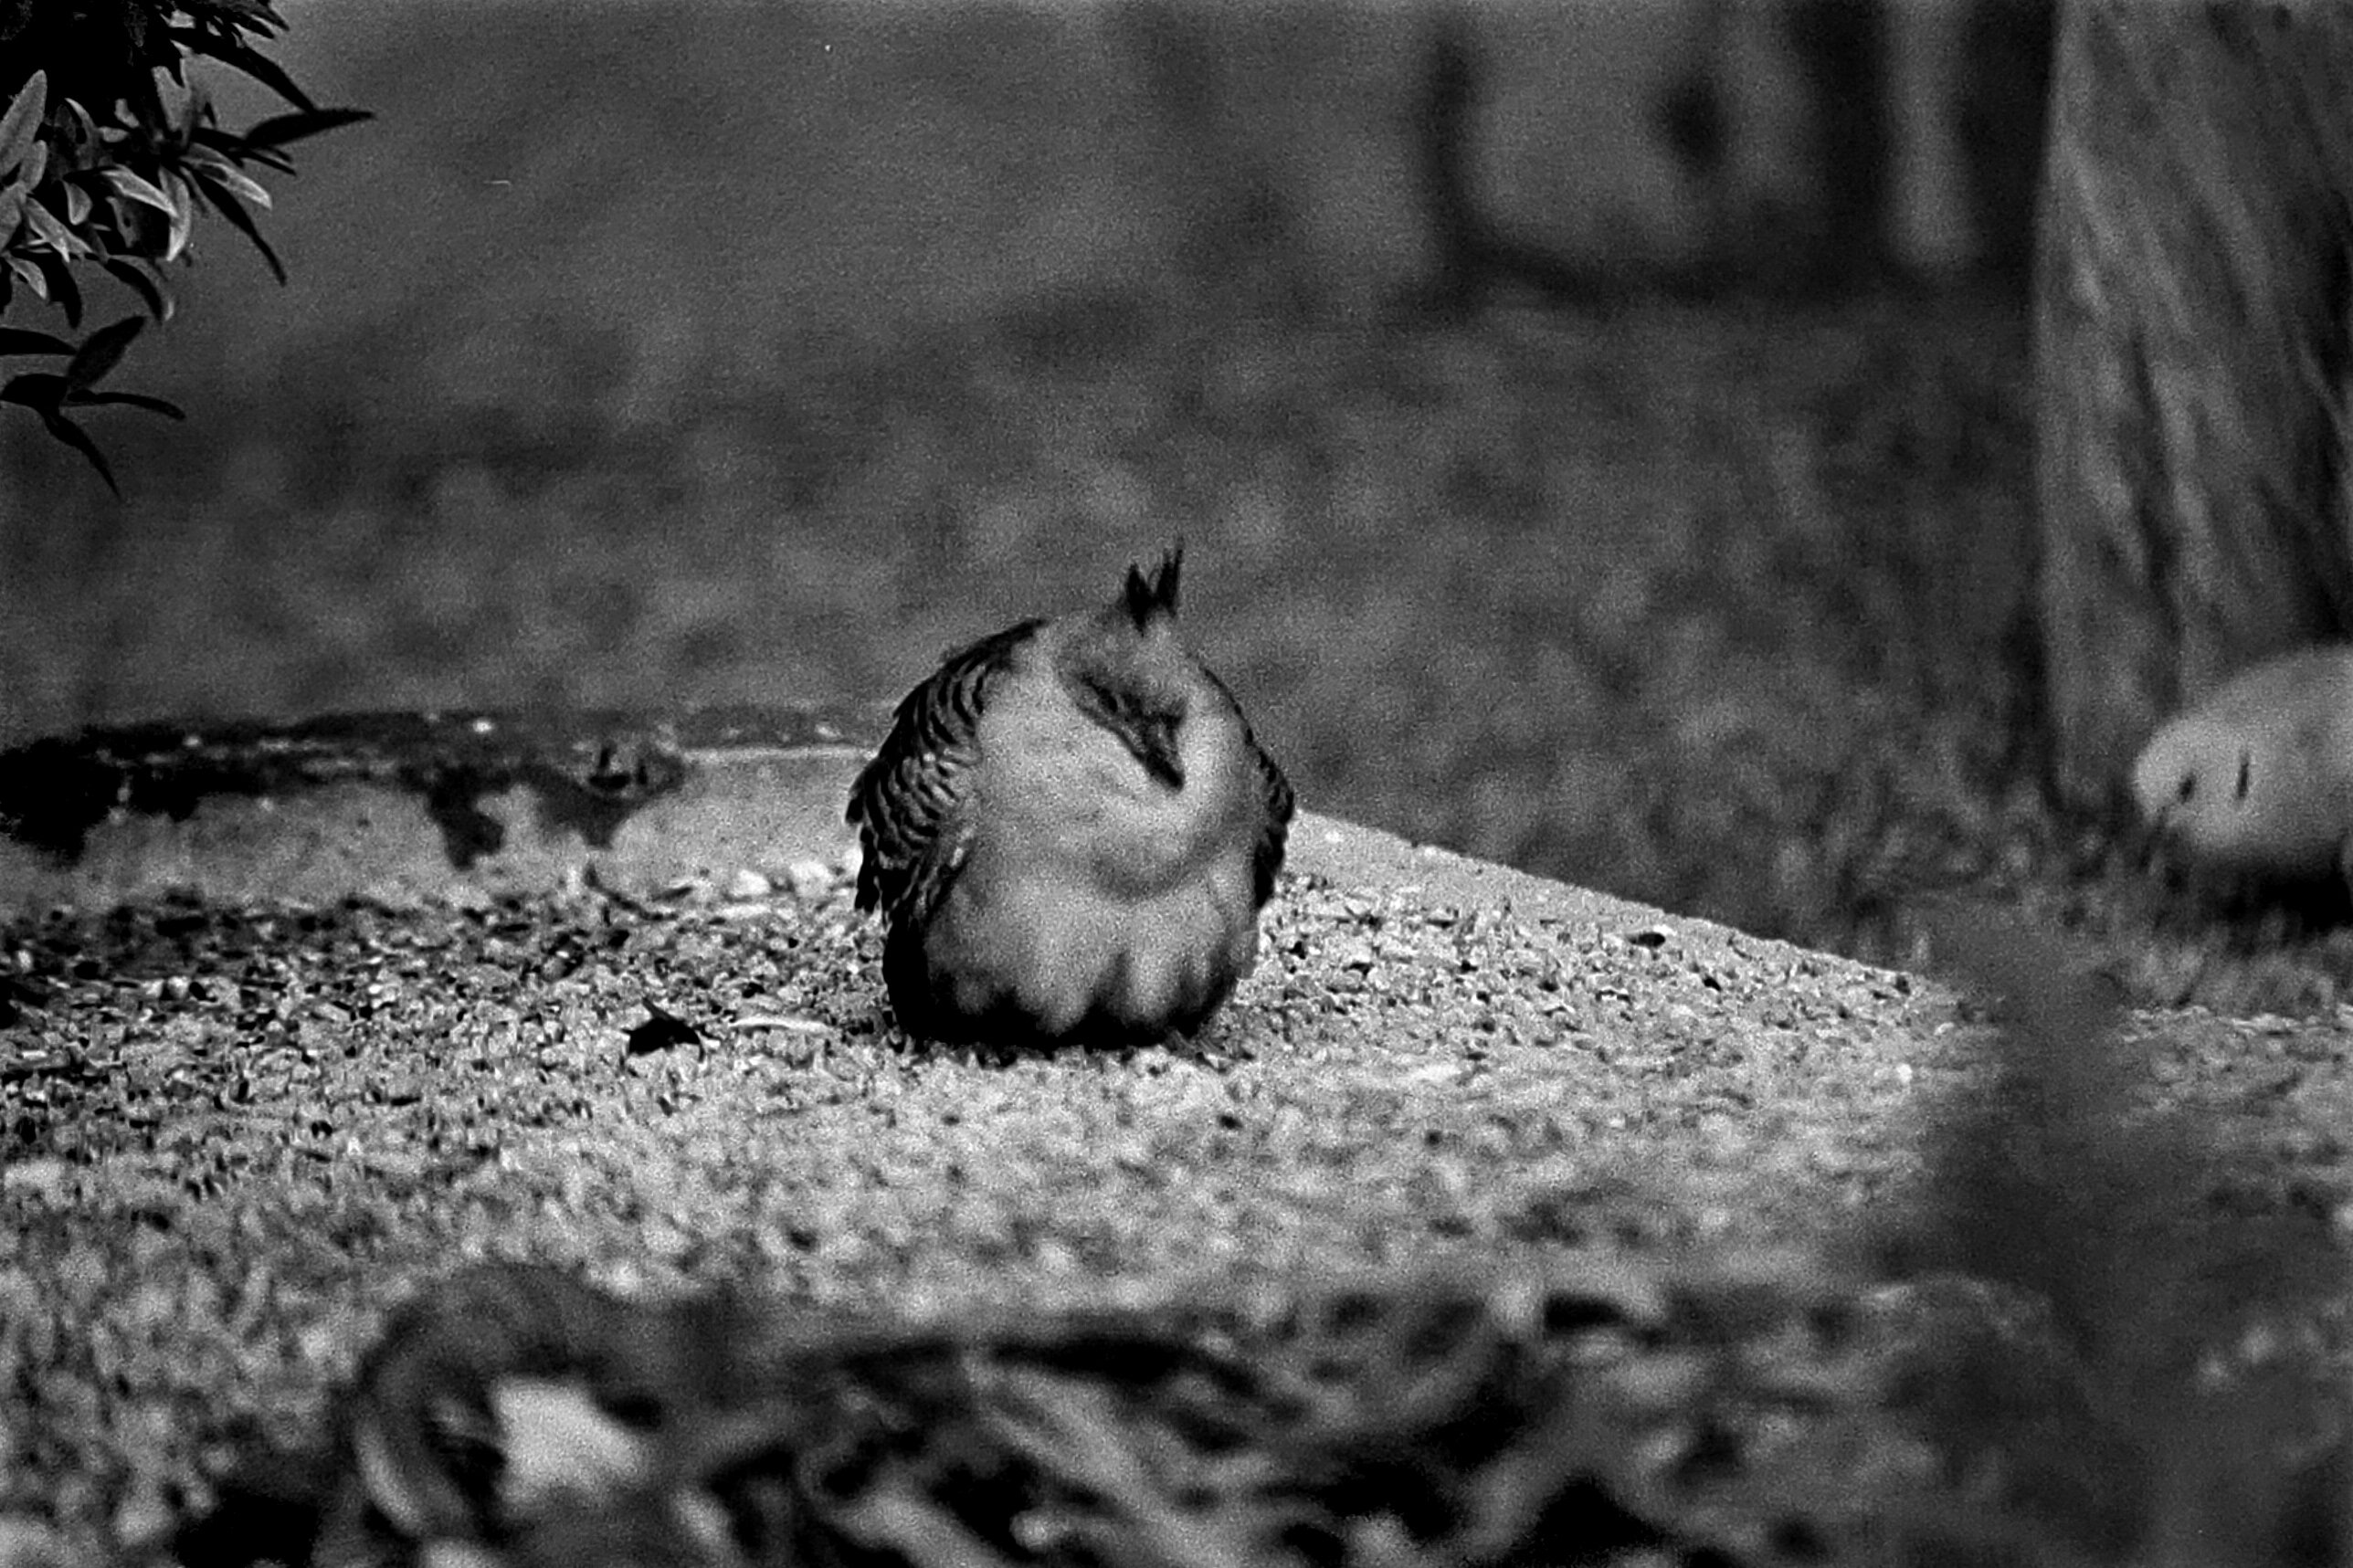
Honestly, love this guy. Just hanging out, living life, chilling out on the ground as a fluffy blob. Respect, keep it up, dude.